
Our Favorite Products
Check out teams' favorite products


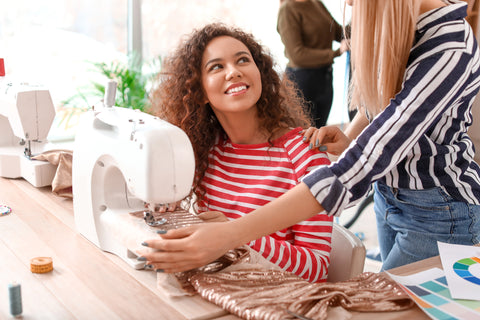
Our Classes & Events
Discover the ultimate hands-on experience with our comprehensive Instructional Guide Classes and Events at B-Sew Inn! Whether you're new to sewing, embroidery, serging, or advanced quilting, our expert-led classes & events are designed to help you master your machine and elevate your craft.