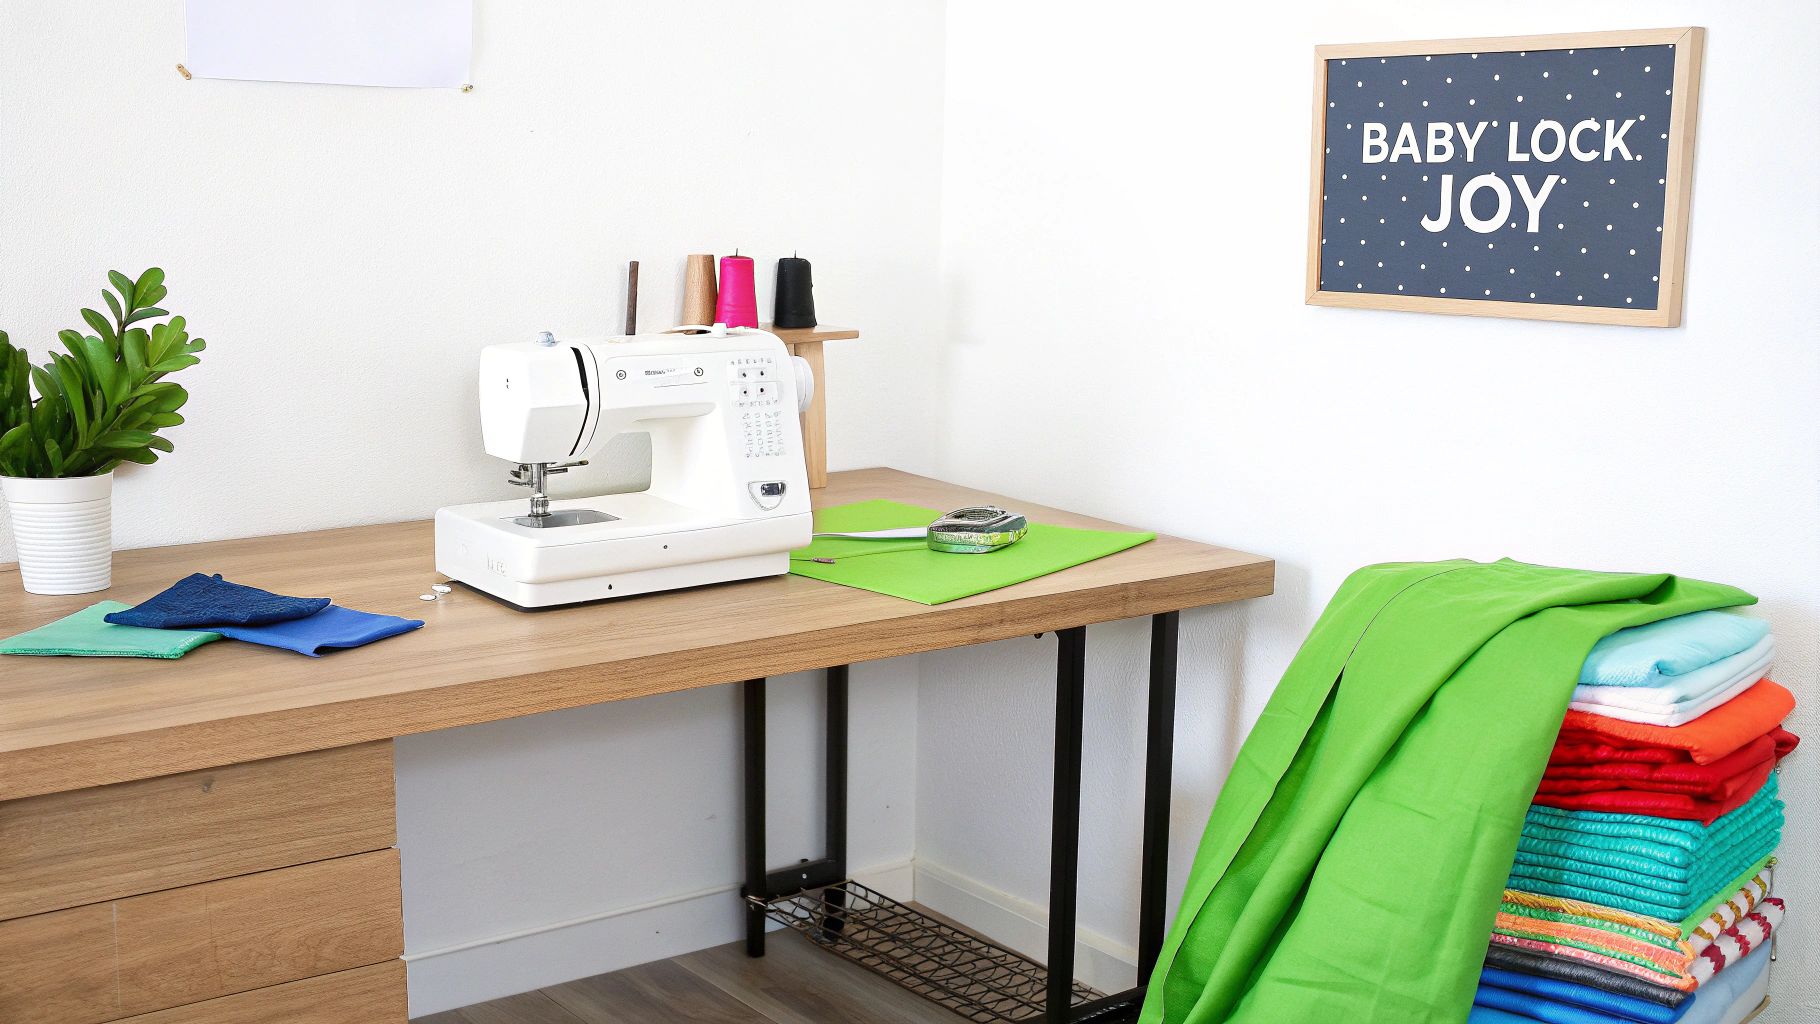
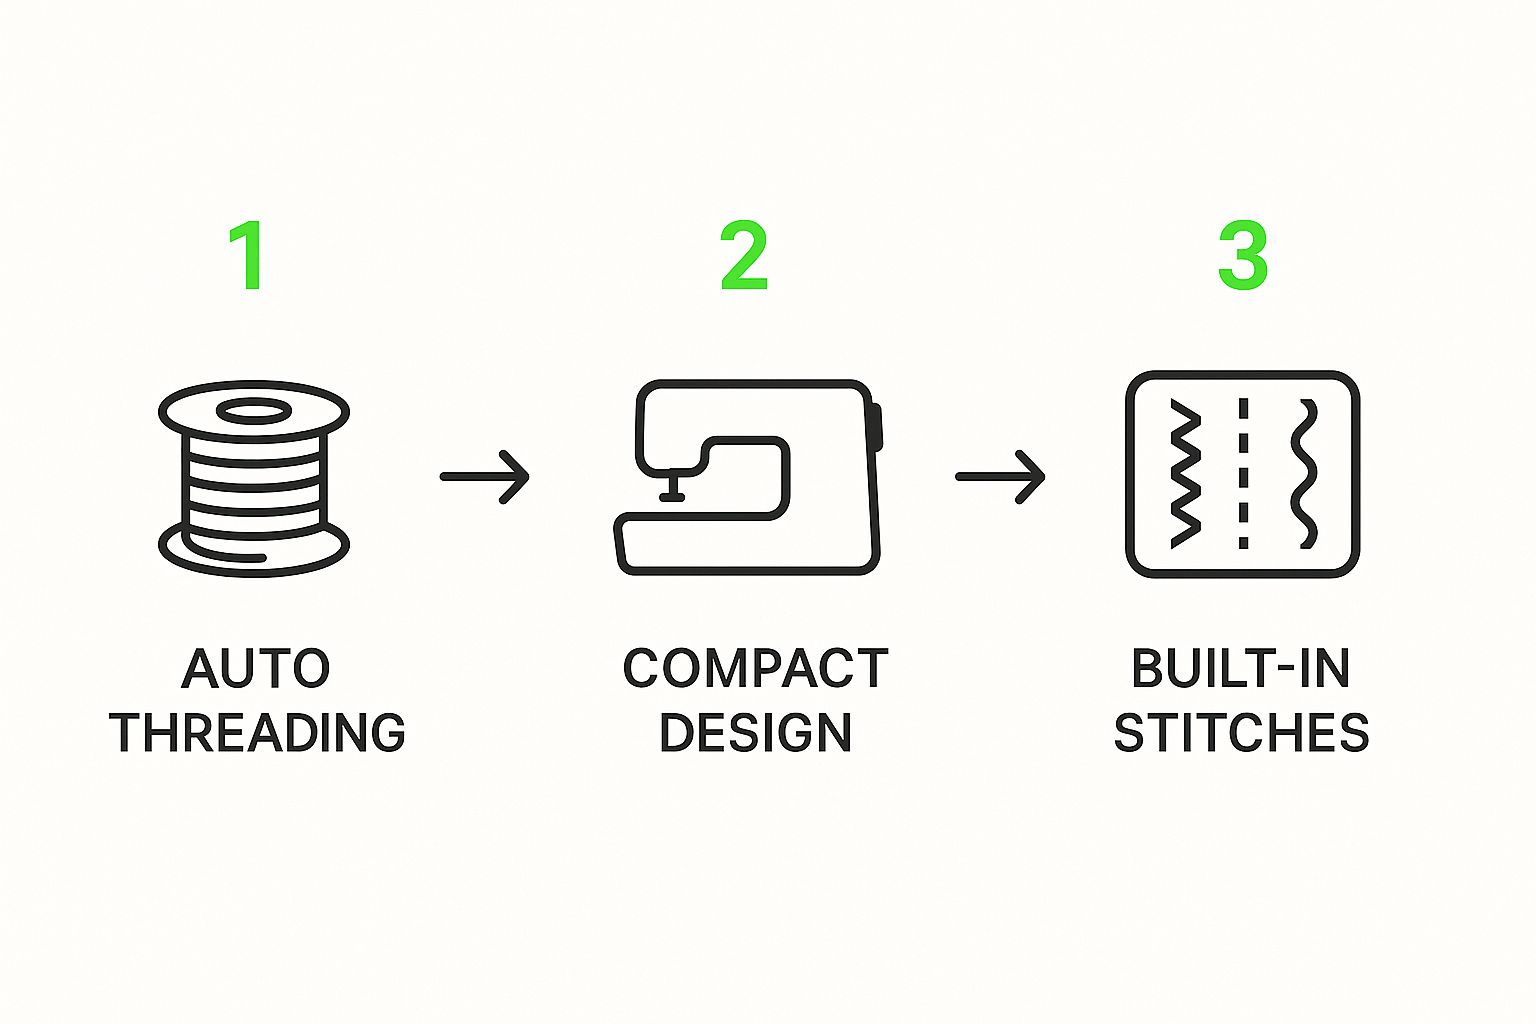
If you're just starting your sewing journey, the last thing you want is a machine that feels like you need an engineering degree to use it. The Baby Lock Joy sewing machine is the answer to that problem. It’s a wonderfully simple, user-friendly machine that gets all the complicated stuff out of your way so you can just focus on creating.
It’s the perfect first step into the world of sewing, giving you reliable performance without the frustrating learning curve.
Why the Baby Lock Joy Is Perfect for New Sewers
Starting a new hobby should be fun, right? It should be exciting, not intimidating. The Baby Lock Joy sewing machine was clearly designed with that exact thought in mind, which is why it’s our go-to recommendation for anyone just dipping their toes into sewing.
Think of the Joy as your friendly guide. It strips away all the confusing bells and whistles, leaving you with a straightforward machine that lets you build real skills and confidence from your very first stitch.
Instead of spending hours deciphering a complicated manual, you get to dive right in. This simplicity means less time troubleshooting and more time actually sewing—whether you’re hemming a pair of pants, whipping up a cute tote bag, or trying your hand at a simple quilt.
At bsewinn.com, we are committed to empowering crafters by not only providing custom sewing machine designs but also the support needed to bring them to life. We believe the right tools, combined with extensive resources like online classes and training, can turn a spark of curiosity into a passion that lasts a lifetime.
A Legacy of Quality in a Beginner-Friendly Machine
Don't let the simplicity fool you; this machine is built to last. The Baby Lock brand has been around since 1968, earning a rock-solid reputation for excellent engineering. They’re known for using more metal parts where it counts, unlike many other entry-level machines that are mostly plastic.
While their manufacturing is spread across Asia, Baby Lock maintains incredibly high standards for every machine that leaves the factory, including the affordable Joy. You're not just buying a starter machine; you're investing in a reliable tool that will see you through countless projects.
Your Starting Point for Creative Exploration
Choosing the Joy isn’t just about the machine itself. It’s about joining a whole ecosystem we’ve built at bsewinn.com to help you succeed. As you get more comfortable, you’ll be amazed at what this little workhorse can do. And we’ll be here to help you every step of the way.
We offer a ton of support to help you master your new machine and create custom designs:
- Online Classes and Training: Easy-to-follow tutorials that walk you through different projects and techniques.
- Tangible Examples: Our guides are packed with real-world projects you can actually make, helping you learn by doing.
- Extensive Resources: From beginner tips to advanced techniques, we provide the information you need to grow as a crafter.
The real beauty of the Baby Lock Joy is that it grows with you. It’s simple enough for day one, but it’s capable enough to handle more ambitious projects as your skills take off.
This machine is your invitation to start creating. When you pair the user-friendly Baby Lock Joy sewing machine with all the resources here at bsewinn.com, you have everything you need to start a sewing journey you’ll love.
Setting Up Your Baby Lock Joy for the First Time
Unboxing a new sewing machine should feel like Christmas morning, not like you're about to assemble a complicated piece of furniture. Thankfully, getting the Baby Lock Joy sewing machine up and running is far simpler than you might think. We'll walk through these first few steps together, turning any of that initial intimidation into pure excitement for all the projects you're about to create.
First, let's get acquainted with the machine itself. Inside the box, you’ll find the machine, a power cord, the foot controller, and a little pouch with accessories. Take a moment to find the key parts: the handwheel on the right side, the stitch selection dial right on the front, and the reverse lever. Just knowing where these are is half the battle to feeling confident right from the start.
This machine was clearly designed with beginners in mind. Features like the easy threading path and its straightforward stitch selection mean you can go from unboxing to sewing in no time at all.
Powering On and Preparing for Threading
Okay, first things first. Plug the power cord into the machine and then into a wall outlet. Next, connect your foot controller. Go ahead and place it on the floor where your foot can rest comfortably—think of it as the gas pedal for your sewing.
Now, flip the power switch, which is usually on the right side near where you plugged the cord in. A little light will pop on, illuminating the needle area so you can see exactly what you're doing. One last thing before we thread: turn the handwheel toward you until the needle is at its absolute highest point. This is a crucial little habit to get into.
Winding the Bobbin with Ease
The bobbin holds the bottom thread, and getting it wound correctly is your secret weapon against tangled stitches later. Don't worry, the Baby Lock Joy makes this part a breeze.
- Pop a spool of thread onto the spool pin and secure it with the little spool cap.
- Follow the diagram printed right on top of the machine, guiding the thread through the small pre-tension disc.
- Take an empty bobbin and poke the thread tail through the tiny hole from the inside out.
- Place the bobbin on the bobbin winder pin (top right of the machine) and push it to the right. You'll feel it click into place.
- Hold onto the thread tail and gently press the foot controller. After it's wound around a few times, pause and snip that little tail off.
- Keep pressing the foot pedal until the bobbin is full. The machine is smart and will slow down or stop on its own. Just push the winder back to the left, take off your perfectly wound bobbin, and snip the thread.
That’s it! A nicely wound bobbin means a happy sewing experience.
Threading Your Machine and Needle
I know threading can look intimidating, but the Joy literally has a numbered, connect-the-dots path printed on its body to show you exactly where to go. Start by making sure the presser foot is lifted up—this opens up the tension discs so the thread can settle in properly.
Follow the numbers down and then back up, making sure you hook the thread around the take-up lever. This little metal hook moves up and down as you sew, and it's super important that your thread is securely in there.
Now for the best part: the built-in needle threader. This little gadget is a total game-changer. Lower the presser foot, bring the threader down, and let it do the tricky work of pushing a tiny loop of thread right through the needle's eye. No more squinting!
Once that’s done, just drop your wound bobbin into its case, pull the thread through the slot, and you are officially ready to sew your first stitch on the Baby Lock Joy sewing machine. See? You've got this.
Mastering the Essential Stitches and Features
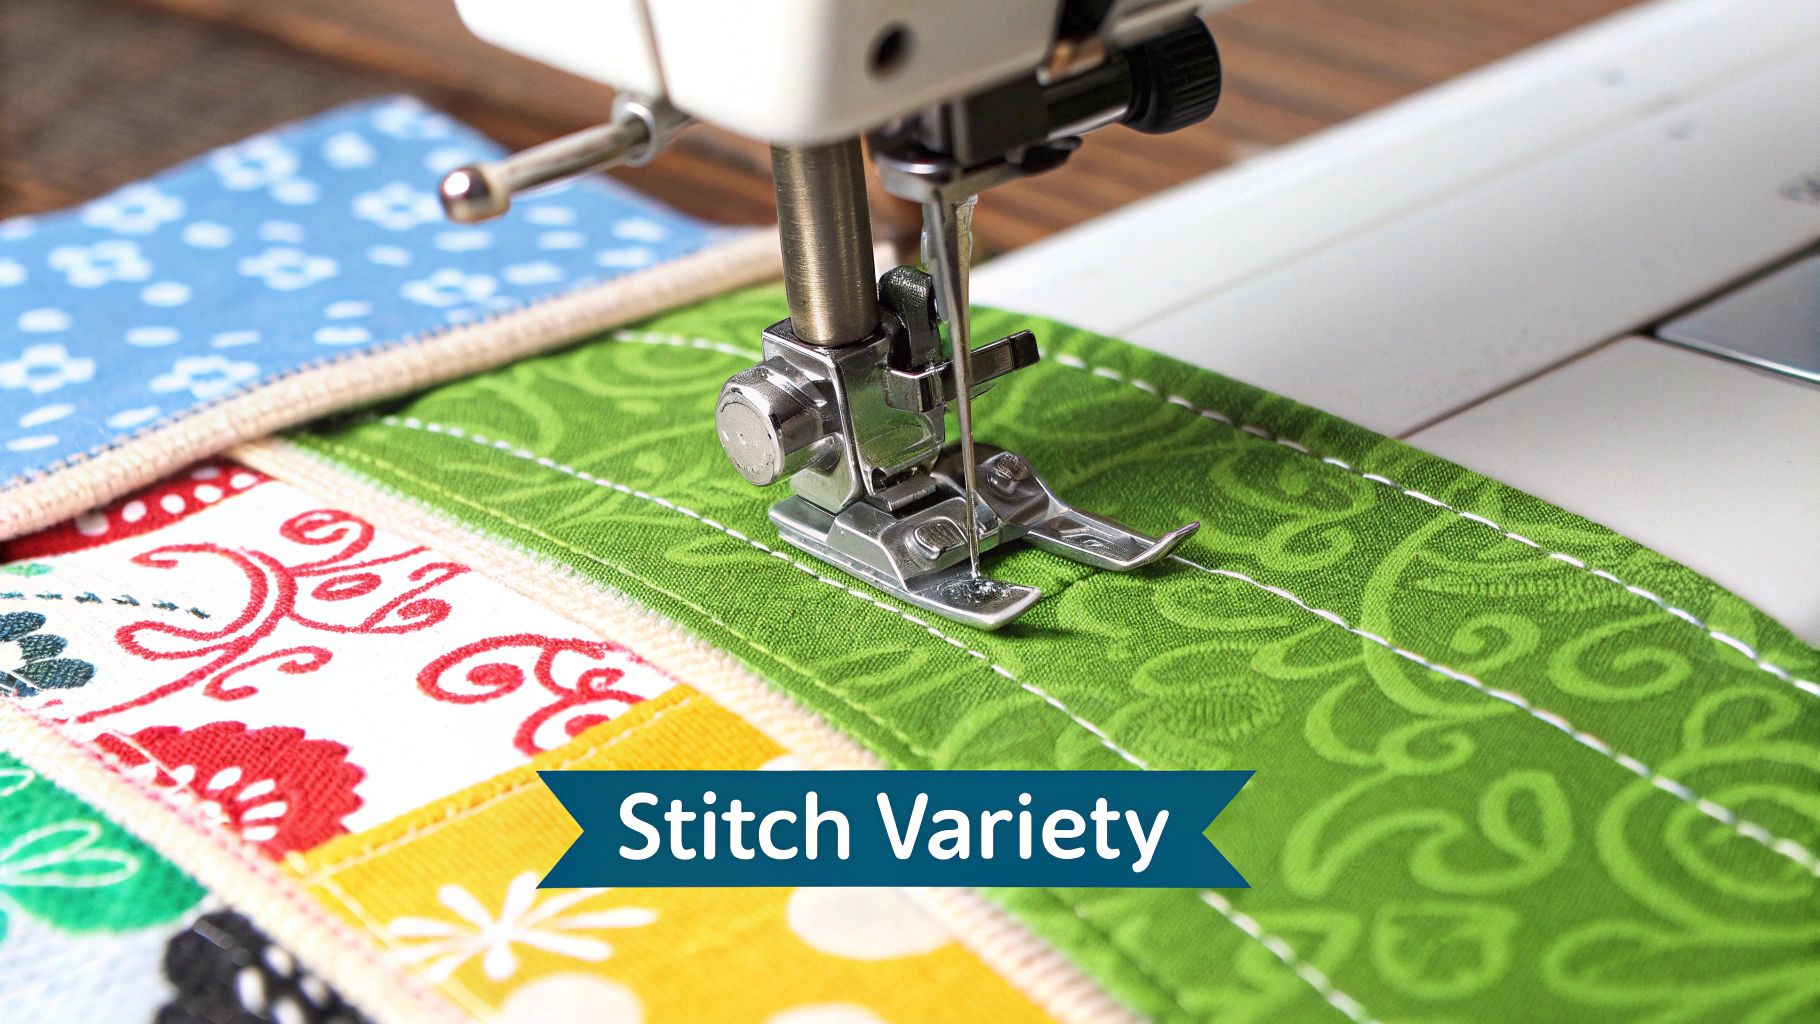
Alright, once your Baby Lock Joy sewing machine is all threaded up, this is where the fun really starts. Looking at that stitch selection dial is like opening a new toolbox—every single stitch has a specific job, and knowing which one to grab makes all the difference in your projects.
The Joy comes loaded with 19 built-in stitches, which is a fantastic collection for tackling everything from basic seams to pretty decorative finishes. Think of these as your creative language. You'll probably find yourself using a simple straight stitch for about 80% of your sewing, but getting to know the others is what unlocks your full potential. Let's walk through the most important ones.
The Foundation: Your Straight and Zigzag Stitches
The straight stitch is the absolute backbone of sewing. You'll use it for constructing seams, adding crisp topstitching, and piecing together quilt blocks. On the Joy, you can easily adjust the length—a shorter stitch (around 2.0-2.5 mm) creates a tough, secure seam for clothes, while a longer one (4.0 mm) is your go-to for basting pieces together temporarily.
Your next workhorse is the zigzag stitch. Its main purpose is to keep fabric edges from fraying into a mess. Just run a zigzag along a raw edge, and it neatly encases the threads for a clean, durable finish. It’s also a lifesaver for sewing with stretchy knit fabrics because its structure allows the seam to flex without popping.
Understanding Stitch Length and Width
Messing with stitch length and width is kind of like changing your handwriting from print to cursive. Stitch length controls how far the machine pulls the fabric forward between each poke of the needle.
- Shorter Length: This gives you small, tight stitches. It's perfect for creating strong seams on delicate fabrics.
- Longer Length: This creates bigger, looser stitches. Use this for gathering fabric to create ruffles or for temporary basting.
Stitch width, on the other hand, is for stitches like the zigzag. It adjusts the side-to-side motion of the needle. A narrow zigzag is great for finishing the edge of lightweight fabric, while a wider one gives you more coverage for heavy materials that love to fray, like linen or flannel.
It's these kinds of thoughtful, easy-to-use features that make the Baby Lock Joy sewing machine such a standout entry-level machine. It’s priced right, but it delivers serious value with its 19 stitches, four-step buttonhole, and handy needle threader. It really simplifies the whole process, which is why it's a favorite for anyone tackling basic to moderately complex projects. For more info on what makes a great beginner machine, check out the resources over at sewingmachineshop.com.
To help you get a better feel for the stitches on your Joy, here's a quick guide to some of the most useful ones and what they're perfect for.
Baby Lock Joy Stitch Guide and Common Uses
| Stitch Type | Appearance | Primary Use | Example Project |
|---|---|---|---|
| Straight Stitch | --------- |
Seam construction, topstitching, basting | Assembling a tote bag or piecing a quilt |
| Zigzag Stitch | /\/\/\/\/\ |
Finishing raw edges, sewing knits, appliqué | Finishing the inside seams of a skirt |
| Blind Hem Stitch | __/\__/\__ |
Creating invisible hems on garments | Hemming a pair of dress pants or a curtain |
| Three-Step Zigzag | ///\\\///\\\ |
Attaching elastic, mending tears, sewing knits | Sewing a waistband on pajama pants |
| Decorative Scallop | UUUUUUU |
Adding a decorative edge to projects | Embellishing the edge of a pillowcase or apron |
This is just a starting point, of course. The best way to learn is to grab some scrap fabric and just play around with the different stitches to see what they can do!
Creating Perfect Buttonholes Every Time
I know the idea of sewing a buttonhole can feel a little intimidating, but the Joy’s four-step buttonhole feature breaks it down into a super simple, manageable process. The machine literally guides you through sewing each of the four sides one at a time.
- Step 1: Sews the bottom bar tack of the buttonhole.
- Step 2: Sews the left side of the buttonhole in reverse.
- Step 3: Sews the top bar tack.
- Step 4: Sews the right side, moving forward to meet where you started.
By following the marks on the special buttonhole foot and just turning the dial for each step, you can create totally consistent, professional-looking buttonholes. It's a feature that really elevates your handmade clothes from "homemade" to "handcrafted."
This four-step process is a fantastic way to build a core sewing skill. It removes the guesswork and allows you to focus on guiding the fabric, ensuring you get a great result every time.
Unlocking More with the Free Arm
One of the cleverest parts of the Baby Lock Joy sewing machine is its free arm. See that flatbed attachment that gives you a nice big work surface? Just slide it off, and you’ll find a smaller, narrower arm underneath.
This is a game-changer for sewing small, circular things that you could never fit around the main body of the machine.
- Sleeves: Easily hem or attach cuffs without fighting to keep the fabric flat.
- Pant Legs: Perfect for hemming trousers or sewing the seams on kids' clothes.
- Small Bags: Makes it simple to add details to narrow pouches or tiny purses.
This feature is a perfect example of how bsewinn.com helps crafters succeed with versatile tools. Providing machines with practical functions like this, backed up by our extensive resources and training, helps you master every feature to bring your ideas to life. The free arm turns a tricky task into a simple one, giving you the confidence to tackle a much wider range of projects.
Three Beginner Projects to Build Your Confidence
The best way to get to know your new Baby Lock Joy sewing machine is to, well, sew with it. Reading the manual is one thing, but there's nothing like hands-on practice to really build your skills and get comfortable behind the needle.
We've cooked up three fun, beginner-friendly projects that are really mini-tutorials in disguise. This is how-to at its best, showcasing tangible examples that you can replicate. Each project is designed to help you master a different core sewing technique. Don't worry, we'll walk you through everything with a simple materials list and crystal-clear instructions. Let's get started!
Project 1: Master Straight Seams with a Stylish Tote Bag
Ah, the simple tote bag. It's the quintessential first sewing project for a good reason—it's almost entirely straight lines! This makes it the perfect training ground for guiding fabric, keeping a steady seam allowance, and nailing those sharp pivots at the corners. Your Baby Lock Joy sewing machine is a champ at this, giving you a smooth, steady performance every time.
What You'll Need:
- Fabric: Two pieces of medium-weight cotton or canvas, each measuring 18" x 16".
- Straps: Two pieces of cotton webbing, each 24" long.
- Thread: A spool of all-purpose thread that matches your fabric.
Step-by-Step Instructions:
- Prep the Bag: Lay your two fabric pieces right sides together, making sure all the edges are perfectly lined up. Pin them in place along the two long sides and one of the short sides.
- Sew It Up: Using a standard straight stitch (a length of 2.5 is perfect), sew along the three sides you just pinned. Aim for a 1/2-inch seam allowance. And don't forget to backstitch at the start and finish of each seam to lock it in!
- Finish the Top: Fold the raw top edge down by 1/2 an inch and give it a quick press with an iron. Fold it down again, this time by 1 inch, to create a clean, double-fold hem. Pin it all the way around.
- Add the Straps: Tuck one end of each strap under the hem on the front of the bag, placing them about 4 inches in from each side seam. Pin them down securely. Flip the bag over and repeat on the back with the other ends.
- Topstitch and Secure: Now, stitch along the very bottom edge of the folded hem, about 1/8 of an inch from the fold. This single line of stitching secures both the hem and the straps. It's a good idea to go back and forth over the strap sections a few times for extra strength.
Turn your bag right side out, and you're done! You've just tackled the most fundamental skill in sewing. Pat yourself on the back.
Project 2: Experiment with Decorative Stitches on Pillowcases
Okay, you've got straight seams down. Now let's have some fun and explore the creative side of your machine! This project is all about using the Baby Lock Joy's built-in decorative stitches to add a personal touch to a set of simple pillowcases. This is a great example of creating a custom design you can easily replicate.
What You'll Need:
- Fabric: Two pieces of soft cotton, each measuring 42" x 36".
- Thread: Grab a contrasting color of all-purpose thread so your decorative stitches can really shine.
Step-by-Step Instructions:
- First Seam: Fold one piece of fabric in half lengthwise, but with the wrong sides together. Sew along the long edge and one short edge with a 1/4-inch seam allowance.
- Enclose the Seam: Trim that seam allowance down a bit, then turn the pillowcase inside out and press it flat. Now, sew those same two seams again, this time with a beefier 1/2-inch seam allowance. You've just created a French seam! It's a fantastic technique that hides all the raw edges inside for a super professional finish.
- Create the Cuff: Turn the pillowcase right side out. At the open end, fold the raw edge down by 1/2 an inch and press. Fold it down again by 3 inches to make a nice, wide cuff. Press and pin it down.
- Get Decorative: Here's the best part! Pick one of the decorative stitches on your Baby Lock Joy—maybe the scallop or a cool geometric pattern. Slowly sew along the inner edge of the cuff, about 1/4 inch from the fold.
- Finish the Cuff: Switch back to a straight stitch and sew along the top edge of the cuff to secure it completely. Now just repeat the whole process for your second pillowcase!
Look at that! You've made a beautiful set of custom pillowcases and learned how to play with your machine's more creative features.
Want to take it even further? The online classes and resources here at bsewinn.com can show you how to combine different stitches and techniques for truly one-of-a-kind designs. We are committed to empowering you with the tools and training to turn simple projects into works of art.
Project 3: Learn to Install a Zipper with a Simple Pouch
I know, I know—zippers can feel a little intimidating at first. But trust me, once you learn how, a whole new world of sewing opens up. This little zippered pouch is the perfect low-stakes project to nail the technique. The secret weapon? The zipper foot that came with your Baby Lock Joy.
What You'll Need:
- Outer Fabric: Two pieces of a sturdy fabric like canvas or denim, each 9" x 6".
- Lining Fabric: Two pieces of cotton fabric, also 9" x 6".
- Zipper: One 8-inch nylon zipper.
- Thread: All-purpose thread to match.
Step-by-Step Instructions:
- Make a Zipper Sandwich: Lay one piece of lining fabric right side up. Place your zipper on top of it, also right side up, lined up with the top edge. Finally, lay one piece of your outer fabric on top, right side down. Pin these three layers together.
- Sew the First Side: Snap the zipper foot onto your Baby Lock Joy. Sew right along that pinned edge, keeping your stitches nice and close to the zipper teeth.
- Sew the Second Side: Fold the fabrics back so their right sides are showing and give it a press. Now, repeat the "sandwich" process for the other side: lining fabric (right side up), the other side of the zipper tape (right side up), and the second piece of outer fabric (right side down). Pin and sew.
- Assemble the Pouch: Unzip the zipper about halfway—this is super important! Place the two outer fabric pieces right sides together and the two lining pieces right sides together. Pin all the way around, but leave a 3-inch gap at the bottom of the lining.
- Finish and Turn: Sew around the entire perimeter, leaving that gap in the lining open. Trim the corners to reduce bulk, then turn the whole pouch right side out by pulling it through the gap. It feels like a magic trick!
- Close the Gap: Tuck the raw edges of the opening in the lining inward and sew it shut with a simple straight stitch. Push the lining back inside the pouch, and you're finished!
Once you've conquered zippers, you can make anything from bags to clothes. If you're feeling adventurous and want to move from simple projects to something bigger like quilting, check out our guide on the 4 easy steps to start quilting for your next challenge.
How to Keep Your Sewing Machine Running Smoothly
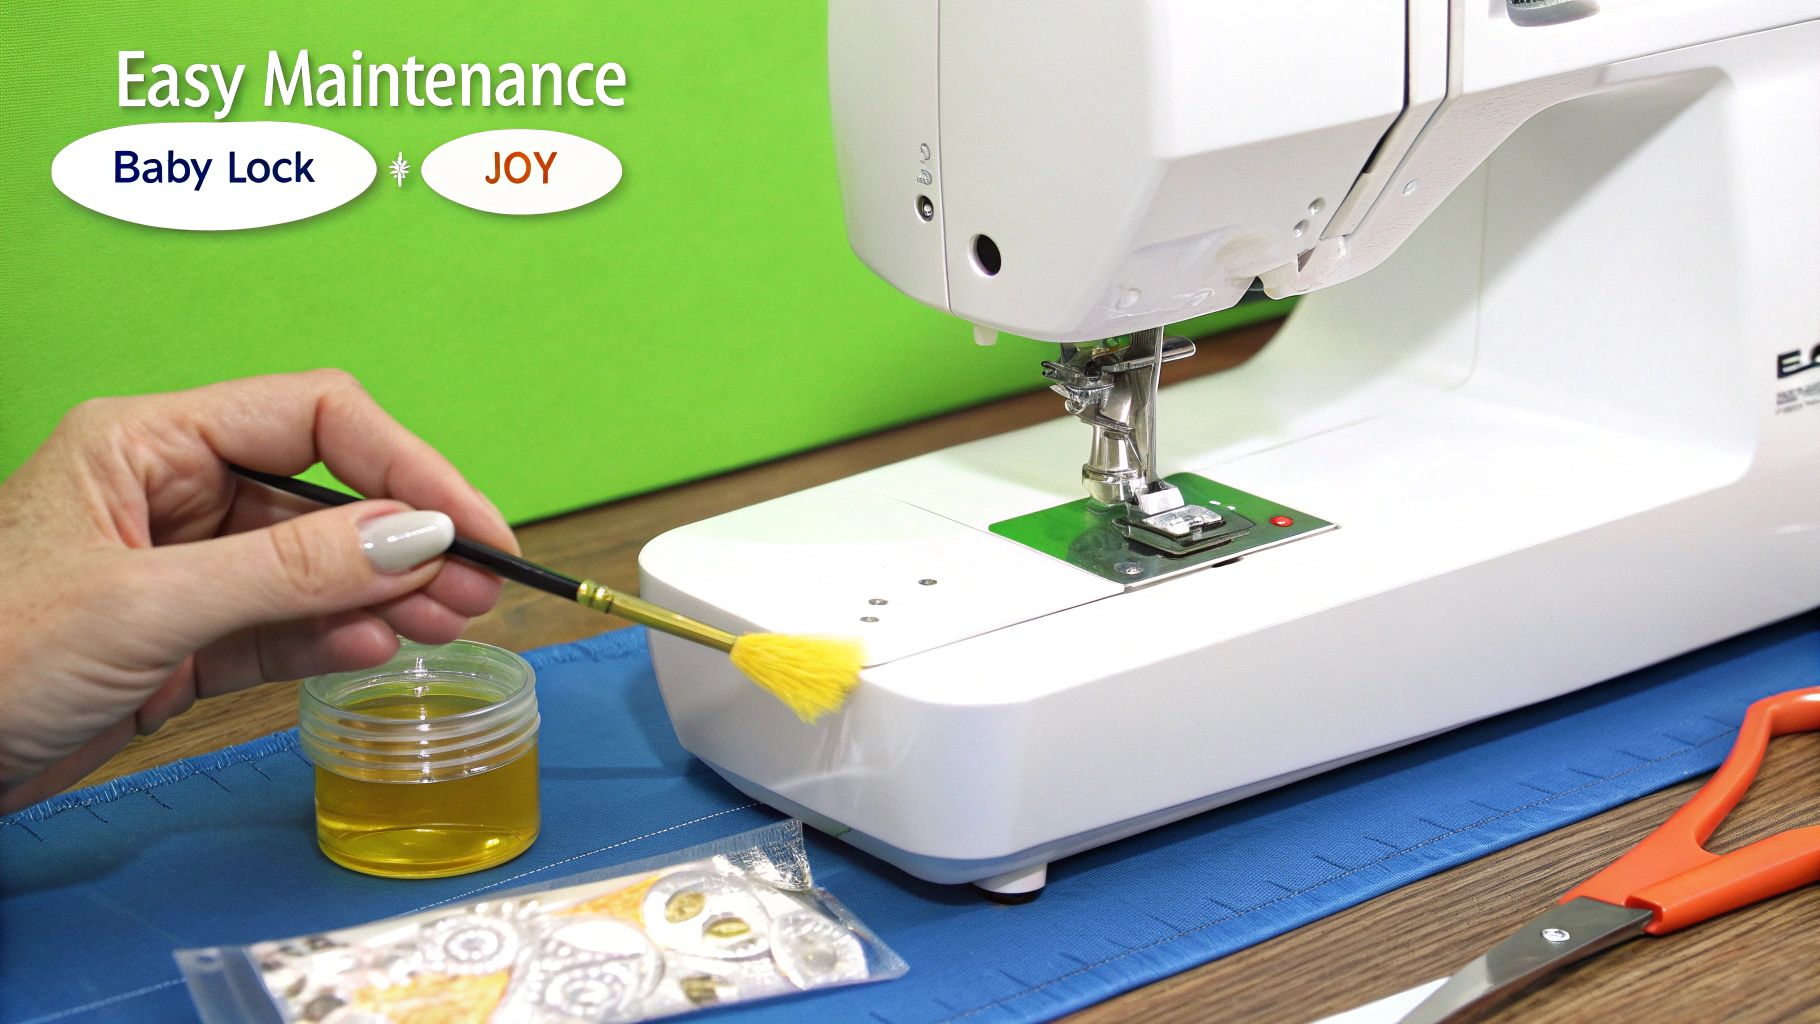
A well-cared-for sewing machine is a happy sewing machine. Just like any important tool, your Baby Lock Joy sewing machine needs a bit of regular attention to keep it stitching perfectly. Think of it as a quick health check-up that prevents bigger headaches down the road.
Honestly, regular maintenance is the real secret to a lifetime of smooth, frustration-free sewing. If you can dedicate just a few minutes to care after every few projects, you're not just protecting your investment—you're making sure every stitch is as perfect as the last. This simple routine stops common hiccups like thread nests and skipped stitches before they even start.
These easy steps will keep your machine humming along beautifully, making every sewing session a joy instead of a chore.
The Importance of a Clean Machine
Lint and dust are the inevitable sidekicks of sewing, but they can build up and cause some real trouble. Over time, this fluff can absorb oil, jam delicate mechanisms, and lead to skipped or uneven stitches. Keeping your machine clean is the single most effective thing you can do for its longevity.
The bobbin area is ground zero for lint. It’s a great habit to pop off the needle plate after every couple of projects and give the area a quick sweep with a small brush. One quick tip: never use canned air. It seems like a good idea, but it can actually push lint deeper into the machine's gears where it can cause more problems.
A clean machine is a reliable partner in your creative journey. Taking the time for simple maintenance, like cleaning and changing the needle, is a foundational skill that sets you up for success.
When and How to Change Your Needle
Here’s something many new sewers don’t realize: a sewing machine needle isn't meant to last forever. In fact, a dull, bent, or damaged needle is the number one culprit behind most common sewing problems. A good rule of thumb is to change your needle after every 8-10 hours of sewing, or at the very least, before starting a new major project.
Using a fresh needle pays off in a few big ways:
- It Prevents Skipped Stitches: A sharp needle pierces the fabric cleanly, allowing a perfect stitch loop to form every single time.
- It Protects Your Fabric: A dull needle can snag, pull, or even leave little holes in your material, which is especially heartbreaking on delicate fabrics.
- It Reduces Machine Strain: A worn-out needle has to work much harder to get through the fabric, putting unnecessary stress on your machine's motor.
Changing the needle on your Baby Lock Joy is a piece of cake. Just loosen the small screw on the side of the needle clamp, slide the old needle out, and pop a new one in with the flat side facing the back of the machine. Tighten the screw, and you’re good to go. A well-stocked sewing kit is a must, and you can check out our guide on the top sewing tools for beginners to make sure you have everything you need.
Troubleshooting Common Sewing Hiccups
Even with the best care, you might run into a small issue here and there. Don't panic! Most problems are surprisingly easy to fix. Before you get frustrated, just run through this quick checklist.
If your stitches are skipping:
- Change the needle. Seriously, this is the fix almost every time.
- Re-thread the machine. Make sure the presser foot is up when you thread the top, and double-check that the thread is seated correctly in the take-up lever.
- Check the bobbin. Is it inserted correctly? Is the thread flowing smoothly from the case?
If your thread is shredding or breaking:
- You might be using old or low-quality thread. It can get brittle over time. Try a fresh spool from a brand you trust.
- Make sure you’re using the correct needle size and type for your fabric. A needle that's too small can cause friction that shreds the thread.
By building these simple habits, you'll keep your Baby Lock Joy sewing machine in top-notch condition, ensuring it’s always ready for your next creative idea.
Your Top Questions About the Baby Lock Joy
Once you start sewing with your new machine, a few questions are bound to come up. It happens to everyone! Think of this as your personal cheat sheet for the most common things we hear from fellow Baby Lock Joy sewing machine owners. Getting these little details sorted out will help you sew with confidence and keep your projects moving along smoothly.
We'll tackle everything from the essentials—needles and bobbins—to figuring out which fabrics your machine loves to sew. These are the practical tips that solve problems quickly so you can get right back to the fun part.
What Needles and Bobbins Are a Must-Have?
This is probably the most important question of all, because the right tools make for a happy machine. The Baby Lock Joy takes standard home sewing machine needles, the ones labeled Type 130/705H. For bobbins, you'll want to stick with Class 15 bobbins. Using anything else is just asking for trouble—it can throw off the machine's timing, cause skipped stitches, or even damage the delicate bobbin case.
The needle size you pick should always match your fabric:
- Lightweight Fabrics: For silky or sheer materials like cotton voile and chiffon, a smaller 75/11 needle is the way to go.
- Medium-Weight Fabrics: When you're working with quilting cotton, flannel, or a lightweight denim, a size 90/14 is your workhorse.
Trust me on this: don't skimp on your needles and bobbins. Investing in high-quality ones is a tiny detail that pays off big time in stitch quality and saves you from the headache of thread jams.
Can This Machine Really Handle Heavy Fabrics Like Denim?
The Baby Lock Joy sewing machine is a wonderfully solid mechanical machine that shines with light to medium-weight fabrics. It will happily stitch through several layers of quilting cotton, flannel, and even lighter denims, especially if you pop in a 90/14 or 100/16 denim needle.
But it’s also good to know your machine's boundaries. This isn't an industrial workhorse built for heavy-duty projects. Trying to force it through thick leather, heavy upholstery fabric, or layers of dense canvas puts a real strain on the motor. Pushing it too hard can cause long-term damage, so it's always best to stick with the fabrics it was designed to sew with ease.
Help! Why Are My Stitches Skipping or Uneven?
Skipped or uneven stitches are the most frequent hiccup every sewer runs into, but the good news is, the fix is usually pretty simple. Before you start fiddling with the tension dial, just run through this quick checklist. About 90% of the time, one of these steps will solve the mystery.
- Start Fresh and Re-thread: Take all the thread out. With the presser foot lifted up, carefully re-thread the top thread and the bobbin. Make sure the thread clicks securely into every guide.
- Swap in a New Needle: A dull, bent, or nicked needle is the number one culprit behind skipped stitches. A good rule of thumb is to change your needle after every 8-10 hours of sewing.
- Check Your Needle-Fabric Match: Are you using the right needle for your fabric? A universal needle might protest when sewing on knit fabric, causing it to skip stitches.
- Clean Out the Bobbin Area: Lint builds up faster than you'd think and can mess with how stitches are formed. Just pop off the needle plate and use a little brush to sweep out any dust bunnies hiding in there.
So many sewing frustrations can be solved with these basic steps. A fresh needle and a clean machine are truly the secret to beautiful, even stitches.
Where Can I Find More Accessories for My Machine?
One of the coolest things about the Baby Lock Joy sewing machine is its compatibility with a huge range of standard low-shank presser feet. This opens up a whole world of creative techniques that go way beyond what the feet in the box can do. Specialty feet can make tricky tasks feel surprisingly simple.
You can find all sorts of fun accessories, like a zipper foot, a walking foot for quilting, or a blind hem foot, at your local Baby Lock retailer or online. Here at bsewinn.com, we don't just sell machines; we are committed to empowering crafters with the support they need to get the most out of them. Our extensive resources, including online classes and training, are designed to show you exactly how to use these accessories, helping you grow your skills and tackle those bigger, more ambitious projects you've been dreaming of.
Ready to start your creative journey with a machine that’s simple, reliable, and backed by a supportive community? Explore the Baby Lock Joy Sewing Machine at B-Sew Inn and discover all the resources we offer to help you succeed from your very first stitch. Find your new machine here: https://www.bsewinn.com