There’s nothing worse than running out of fabric halfway through a project. On the flip side, overbuying can be a real hit to the budget. Getting your fabric calculation right from the start is one of those fundamental skills that separates a frustrating sewing experience from a joyful one, allowing you to bring any sewing machine design to life.
The core idea is to figure out the total length you need in inches, account for the fabric's width and any pattern repeats, and then convert that final length into yards. Let's break down how to do this accurately every single time.
Nail Your Fabric Math: The Foundation of Every Great Project
Before you even think about threading a needle, getting your fabric math right sets you up for success. It’s a classic beginner mistake to just guess or eyeball the amount needed, which often leads to wasted money or a frantic trip back to the store (where you might discover your fabric is sold out!).
At bsewinn.com, we are committed to empowering crafters to create beautiful sewing machine designs. We believe it's not just about having a great machine; it's about mastering the basics through our supportive online classes, training, and extensive resources. Nailing your yardage calculation is a core skill that makes every other step feel so much easier.
Fabric Width is a Game-Changer
A common oversight is forgetting to factor in the fabric's width. You buy fabric by the length (in yards), but the width dictates how many of your pattern pieces you can fit side-by-side. Fabric comes in all sorts of widths, from narrow 33-inch quilting cottons to wide-back 108-inch options, with 44 inches and 60 inches being very common for apparel and home decor.
Here's a pro-tip: A wider fabric, say 60 inches, often lets you place more pattern pieces across its width. This can seriously reduce the total length (and yards) you need to buy compared to working with a narrower 44-inch bolt.
To help you get a feel for what to expect, here’s a quick guide to standard fabric widths and what they’re typically used for.
Standard Fabric Widths and Their Common Uses
| Fabric Width (Inches) | Common Uses | Calculation Tip |
|---|---|---|
| 36 – 45 inches | Quilting cottons, crafts, some apparel (blouses) | Great for smaller projects. For garments, you may need more length. |
| 54 – 60 inches | Apparel (dresses, pants), home décor (curtains) | A versatile width. Allows for efficient pattern layout, often reducing waste. |
| 90 – 108 inches | Quilt backings, tablecloths, seamless draperies | Known as "wide-back," it eliminates the need for piecing large panels together. |
This table is a great starting point, but always double-check the width of the specific fabric you’re buying!
The Go-To Formula (And How to Pad It)
At its heart, the math is straightforward:
(Total length of all your pattern pieces in inches) ÷ 36 = Yards needed
But wait! This simple formula doesn't account for the real world of sewing. You need to think about matching patterns, potential pre-washing shrinkage, or even the occasional cutting mistake. We’ve all been there.
That's why I always recommend adding a little buffer. A good rule of thumb is to add an extra 10% to 15% to your final number. This little bit of "insurance fabric" is a lifesaver.
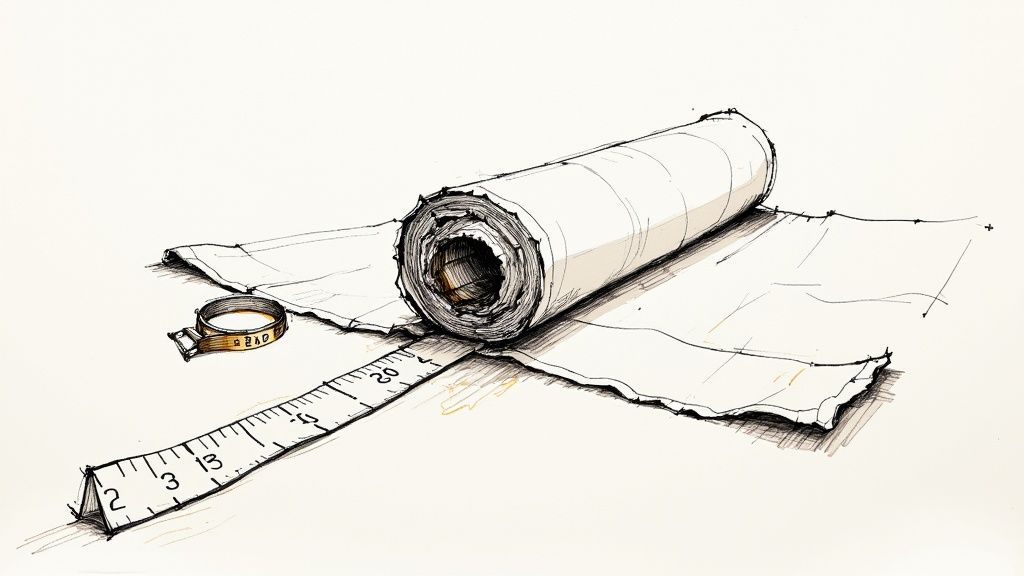
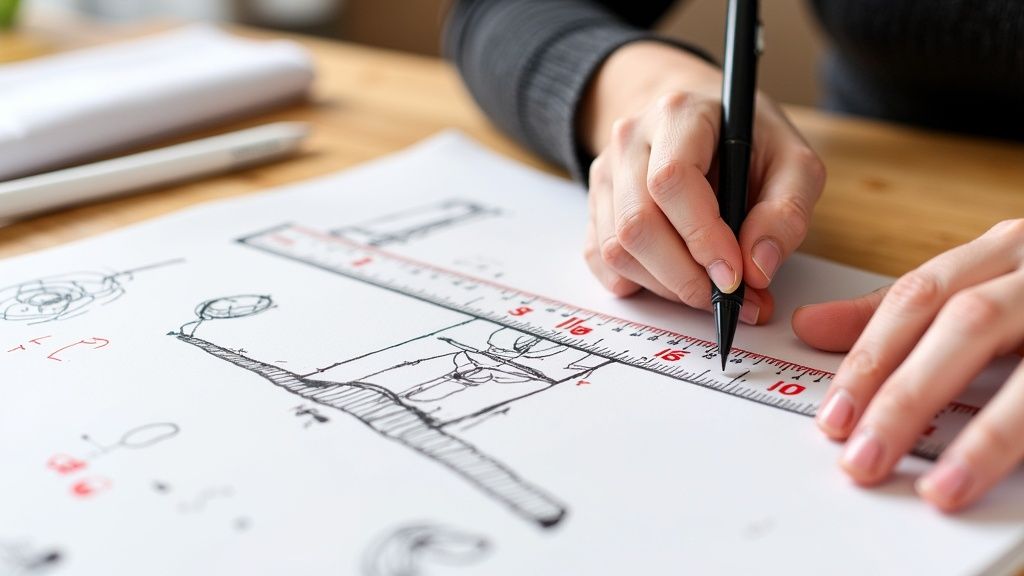
Of course, all this math relies on precise measurements from the get-go. Having the right tools makes all the difference. If you're just starting out, check out our guide on the top sewing tools for beginners to make sure your toolkit is ready for anything.
Calculating Yardage for Simple Projects
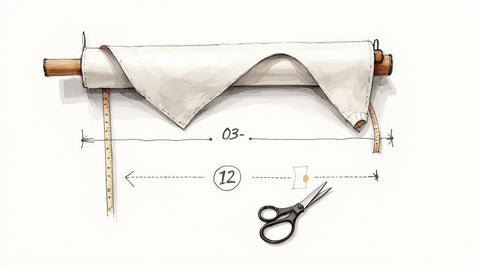
Alright, let's get down to the nitty-gritty and turn your project idea into an actual number. This is where the magic happens, and it’s a lot simpler than you might think, especially for straightforward projects. The whole process boils down to measuring your item, doing a little math, and then you’re ready to shop.
Let’s walk through a tangible example that you can replicate. Say you want to sew four new cushions for your dining room chairs. The finished size for each cushion will be a perfect 18 inches long by 18 inches wide.
Measure and Convert First
For each cushion, you’ll need one continuous piece of fabric that measures 19 inches by 37 inches. You might be wondering, "Where did those numbers come from?"
It's simple: we need to account for a ½ inch seam allowance on all four sides of the 18x18 square. That bumps our initial piece up to 19x19 inches. Since every cushion needs a top and a bottom, we double the length (19 + 19 = 38 inches). I’ve rounded it to 37 inches just to keep the math clean—that small difference won't matter in the grand scheme.
Now, because we're making four of these cushions, we just multiply the length needed for one by four.
37 inches (per cushion) x 4 cushions = 148 inches
That 148 inches is the total length of fabric you'll need to cut off the bolt. Once you have this number, you're on the home stretch.
It's a repeatable process: measure, do the math, and jot it down. This simple workflow is key to getting it right every time.
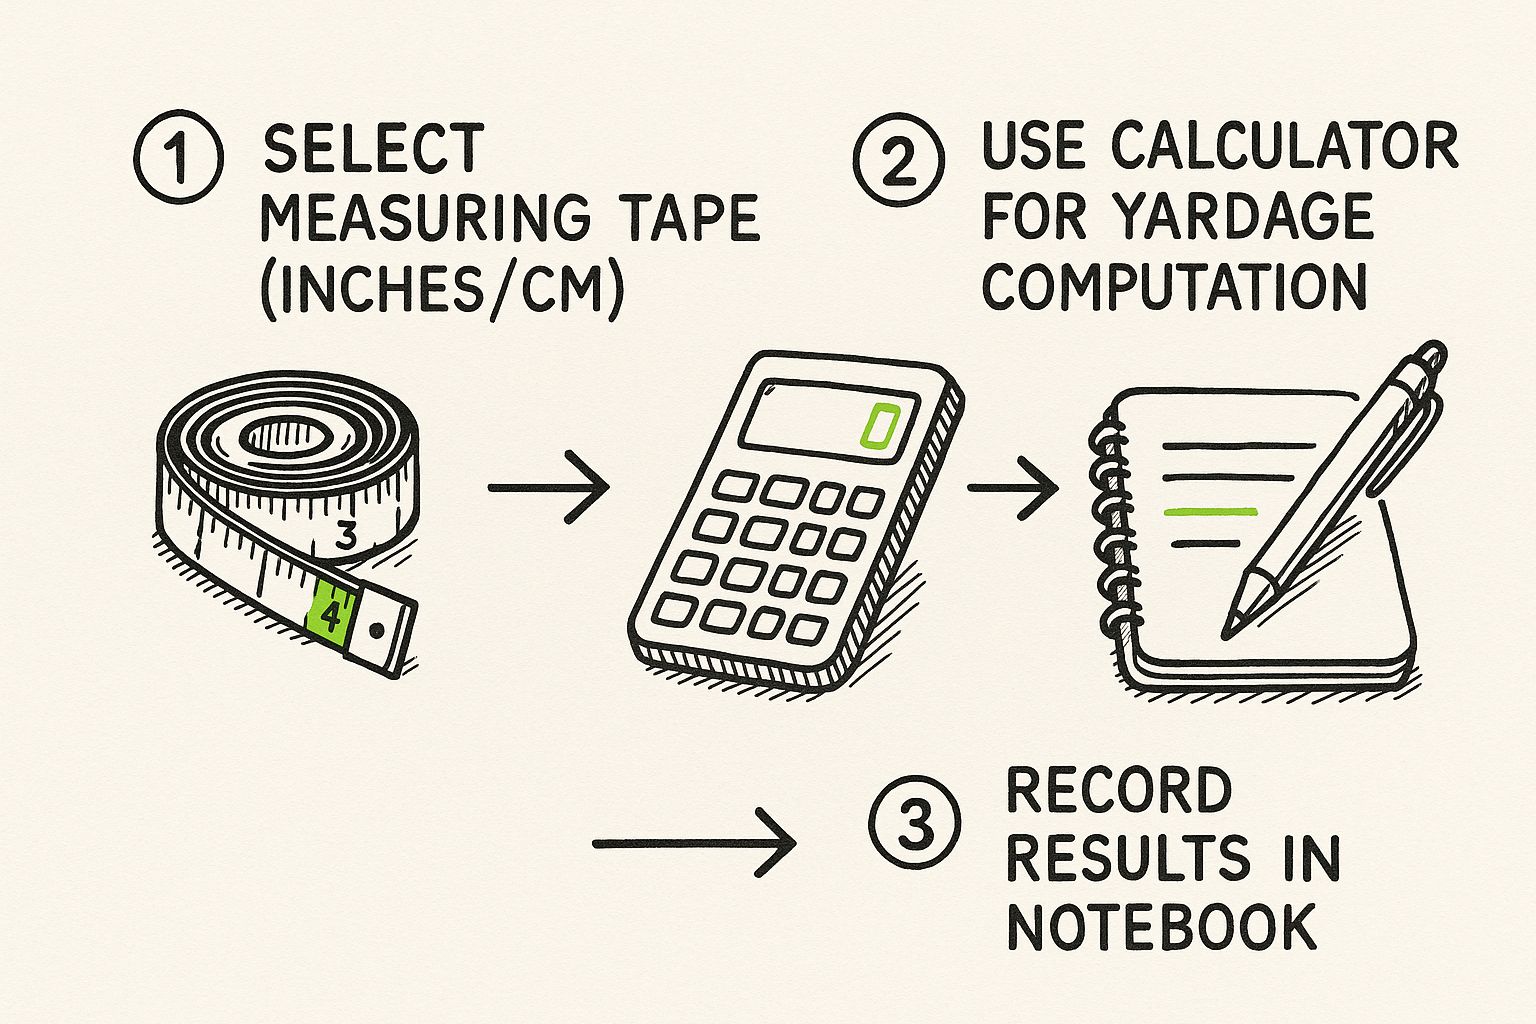
This just goes to show that calculating yardage is a methodical process, not a wild guess.
Finalizing Your Yardage Calculation
With your total length of 148 inches figured out, the last thing to do is convert it into yards. Since we know one yard is 36 inches, a quick division problem is all that's left.
148 inches ÷ 36 inches/yard = 4.11 yards
My best advice? Always round up to the next quarter or half yard. For this project, you’d want to purchase 4.25 yards of fabric. This little buffer gives you a safety net and peace of mind, just in case of a cutting mistake.
Knowing how your chosen fabric behaves is also a huge part of the equation. If you want to learn more about different material types, our comprehensive fabric guide is a fantastic place to start. At bsewinn.com, we're all about empowering you with these foundational skills so you can tackle any project with confidence.
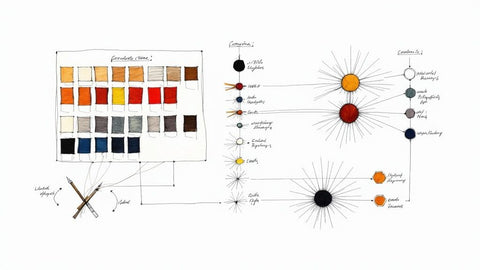
Making Sense of Pattern Repeats and Directional Prints
Working with patterns—whether it's bold florals, classic stripes, or even tricky napped fabrics like velvet—is where a project really comes to life. But these beautiful materials need a little extra thought to get that polished, professional finish. The secret lies in understanding how to handle pattern repeats and fabric direction.
A pattern repeat is just the distance from one point in the design to the next time that exact point appears again vertically. If you ignore it, you’ll end up with patterns that look choppy and mismatched at the seams. It's a lot like laying tile; you have to line everything up just right for the final result to look seamless.
How to Calculate for Pattern Repeats
To get those patterns to match perfectly across your seams, you're going to have to buy a bit more fabric. How much extra? That depends entirely on the size of the vertical repeat, which you can almost always find listed on the fabric bolt or in the online product details.
Here’s the practical way to factor it into your math:
- Find the repeat size: First things first, get that vertical pattern repeat measurement in inches.
- Add one repeat for each cut: For every separate piece you need to cut along the length of the fabric, you'll add the length of one full pattern repeat. This is your "fudge factor"—it gives you the freedom to slide the pattern piece up or down to get the perfect alignment.
Let's say you're making curtains and need three separate panels. The fabric has a 24-inch pattern repeat. You would add an extra 48 inches (one extra repeat for the second panel, and another for the third) to your total length before converting to yards. It might seem like a lot, but this is the fabric that makes the difference between "homemade" and "high-end."
The Puzzle of Directional Prints
Directional prints, where the design only works one way up (think of a fabric with tiny cars or ascending vines), pose a similar puzzle. Every single one of your pattern pieces has to be laid out facing the same direction. You can't just flip a piece upside down to make it fit, like you could with a solid-colored fabric.
This restriction means you'll almost always need more fabric because you can't nest your pattern pieces as efficiently to save space.
Crucial Tip: Both pattern repeats and directional prints demand more yardage. Underestimating this is one of the most common mistakes that leaves people scrambling for more fabric halfway through a project.
When you're joining panels for things like wide curtains or large upholstery pieces, getting the pattern repeat right is absolutely essential. Each new panel has to be a perfect match for the one next to it. This often means adding one full vertical repeat to the length of each additional panel, which can easily increase your total yardage needs by 10% or more. If you're tackling a big project, that can really add up. You can dig deeper into how pattern matching impacts your calculations on onlinefabricstore.com.
Mastering skills like these is at the heart of the expert training we provide at bsewinn.com. Our online classes and extensive resources are all about giving you the confidence to work with any fabric that inspires you.
Estimating Fabric for Common Sewing Projects
Ever find yourself in a fabric store, completely smitten with a beautiful print, but have no idea how much to buy? It happens to all of us. Having a good ballpark figure in mind can make all the difference, turning a stressful guess into a confident purchase.
When it comes to clothing, the yardage needed can be all over the place. A simple T-shirt might only take 1.5 to 2 yards of fabric. But a flowing A-line dress? That could easily ask for 2 to 5 yards, depending on the length and your specific size. Trousers usually land somewhere between 2 and 3 yards, while a more structured jacket often requires 2.5 to 4 yards, especially if you're adding a lining.
Remember, fabric width is a game-changer. A wider, 60-inch bolt of fabric gives you more real estate to lay out your pattern pieces, which often means you can buy less yardage than you would with a standard 45-inch fabric. For more details on apparel yardage, Source of Fabric has a great breakdown.
Quick Yardage Guide for Popular Sewing Projects
To make things a little easier, I've put together a quick reference table. It covers some of the most common apparel and home decor projects you might tackle.
| Project Type | Yardage for 45" Fabric | Yardage for 60" Fabric |
|---|---|---|
| Simple T-Shirt | 1.5 - 2.5 yards | 1 - 1.5 yards |
| A-Line Dress | 3 - 5 yards | 2.5 - 4 yards |
| Tailored Trousers | 2.5 - 3 yards | 2 - 2.5 yards |
| Standard Pillowcase | 1 yard | 1 yard |
| Throw Pillow (18") | 0.75 yards | 0.5 yards |
| Twin Size Quilt Top | 4 - 5 yards | 3.5 - 4 yards |
Think of these numbers as a starting point. It’s always a smart move to buy a little extra just in case!
At bsewinn.com, we know that every project is unique. Our extensive resources and online classes are designed to build your confidence, helping you move from general estimates to precise calculations for any custom sewing machine design you can dream up.
For bigger projects like quilting, your fabric needs will naturally go up. A twin-size quilt top, for example, will likely require around 5 yards of fabric. A king-size version? You could be looking at 9 or 10 yards for the top alone. If you're just dipping your toes into this wonderful craft, our guide on the 4 easy steps to start quilting is the perfect place to begin.
Expert Tips for Minimizing Fabric Waste
Knowing how to calculate your fabric is one thing, but using it wisely is a whole different skill. After all, you want that beautiful material to end up in your project, not tossed in the scrap bin. It all comes down to smart cutting and a little bit of prep work.
One of the biggest rookie mistakes is skipping the pre-wash. I can't stress this enough: always pre-wash your fabric! Natural fibers like cotton, linen, and rayon are notorious for shrinking. If you cut and sew first, you might find your perfectly fitted garment is suddenly a size too small after its first trip through the laundry.
Nail Your Cutting Layout
Think of your pattern pieces like a game of Tetris. Before you even think about putting scissors to fabric, lay everything out and experiment. The goal is to create the most efficient layout possible, nesting pieces together to find the tightest fit.
You can dramatically reduce waste this way. Try tucking smaller pieces, like collars or cuffs, into the empty spaces around larger bodice or pant leg sections. A curved sleeve cap can often fit neatly alongside a straight hem. This little bit of planning makes a huge difference.
Here's a piece of advice I give every sewer: always buy a little extra fabric. A good rule of thumb is to add about 10% to your final yardage calculation. This gives you a safety net for any shrinkage, a cutting mistake, or a tricky pattern repeat that needs careful matching.
Here at bsewinn.com, our goal is to help you build these practical skills. With our extensive resources and online classes, you'll get the support you need to sew more efficiently, saving you time and money on every single project.
Common Questions About Fabric Calculations
Even with the best formulas on hand, real-world projects have a way of throwing curveballs. When you're standing in the fabric store or about to make that first cut, questions inevitably pop up. Let's walk through some of the most common ones I hear from fellow crafters.
What if My Fabric is Too Narrow?
This is a classic problem. You've fallen in love with a print, but it’s narrower than what your pattern calls for. If your biggest pattern piece won't fit across the width, you'll have to piece the fabric together.
This usually means creating a seam down the middle. To do this, you'll need to buy extra fabric to account for that seam allowance and, most importantly, for pattern matching. There's nothing worse than a beautiful print that's misaligned right down the center, so give yourself plenty of extra length to get it just right.
How Much More Fabric Do I Need for Bias Cuts?
Ah, the bias cut. It creates that gorgeous, fluid drape we all love, but it's a notorious fabric hog. When you lay pattern pieces out on a 45-degree angle, you can't nest them together as efficiently as you can on the straight grain.
This creates a lot of triangular waste between the pieces. As a rule of thumb, I always plan on buying at least 25% to 50% more fabric for any project that features a lot of bias-cut elements. It’s better to have leftovers than to run out mid-project.
How Do I Handle Lining or Contrasting Fabrics?
When you're working with multiple fabrics—like a main fabric plus a lining or a contrast for cuffs and collars—the key is to treat each one as its own separate project.
- First, pull out all the pattern pieces designated for the lining.
- Next, lay them out and calculate the yardage you need, just as you did for your main fabric.
- Then, repeat the exact same process for any contrast pieces.
Never just assume you need the same amount of lining as you do your main fabric. Linings often don't include facings or other details, so you'll usually need a bit less. Calculating them separately is the only way to be sure.
Treating each fabric type as an independent calculation is crucial. It stops you from under-buying and ensures you have enough of every material to bring your design to life without any last-minute fabric store panic.
Do I Really Need to Buy Extra Fabric?
I get this question all the time, and my answer is always the same: yes, you absolutely do. It might feel like you're saving a few dollars by buying the exact amount on the pattern envelope, but that shortcut can end up costing you the whole project.
One tiny cutting mistake, a bit of unexpected shrinkage when you pre-wash, or a tricky pattern repeat that just won't line up—any of these can leave you stranded.
Buying just an extra quarter- or half-yard is a small price to pay for a safety net. It’s a habit every seasoned sewer I know swears by, and it’s one you should adopt from day one. Here at bsewinn.com, we’re all about sharing that kind of practical, real-world knowledge. Our goal, through our extensive resources, online classes, and expert training, is to help you sew with complete confidence.
Ready to put that fabric knowledge to use? Find custom sewing machine designs, top-tier training, and all the supplies you need to turn your vision into a finished project at bsewinn.com. Stop by our website at https://www.bsewinn.com to get started.