Ever found yourself staring at a sewing pattern's supply list, wondering what on earth all those little extras are? You're not alone. We're talking about sewing notions, and they're the unsung heroes of every project.
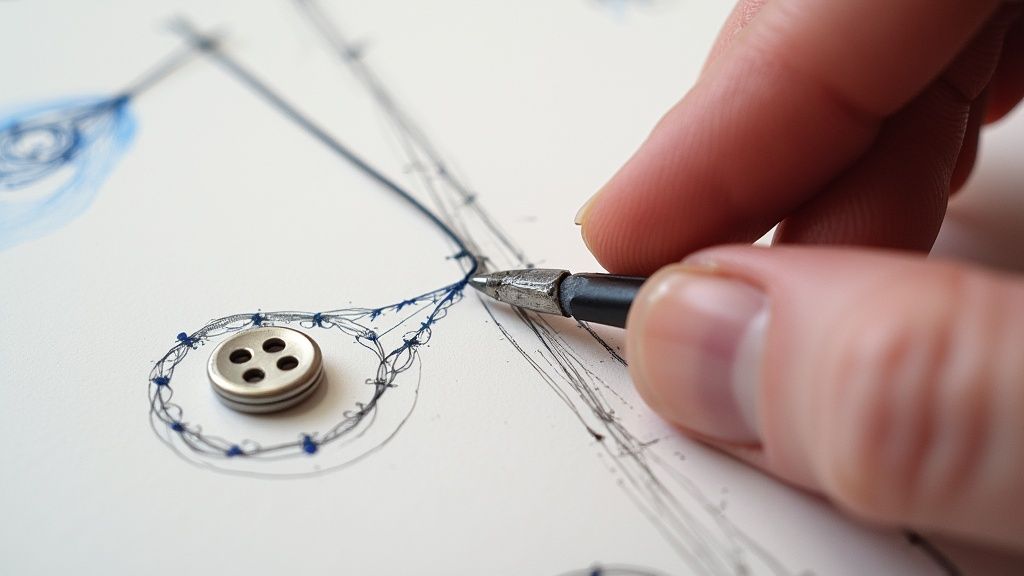
Simply put, sewing notions are all the small bits and bobs you need to actually finish a project—everything except the main fabric and the sewing machine itself. Think of them as the support crew: the threads that hold seams together, the buttons that provide a perfect closure, and the zippers that make a garment functional. Without them, a great pattern is just a piece of fabric.
So, What Counts as a Sewing Notion?
At its core, a sewing notion is any small tool or supply that helps you construct, fasten, or finish your work. They’re the key to giving your projects structure, function, and that polished, professional look we all strive for. Getting a handle on what they are and how to use them is a huge step in your creative journey.
Here at bsewinn.com, we're committed to empowering crafters by showcasing tangible examples you can replicate with your own custom sewing machine designs. Our online classes and extensive resources are all about guiding you through the essentials, so you can confidently bring your ideas to life. And trust me, the right notions are a massive part of that success.
This handy image breaks down the main families of notions—fasteners, tools, and all the little accessories—to help you see how everything fits into your toolkit.
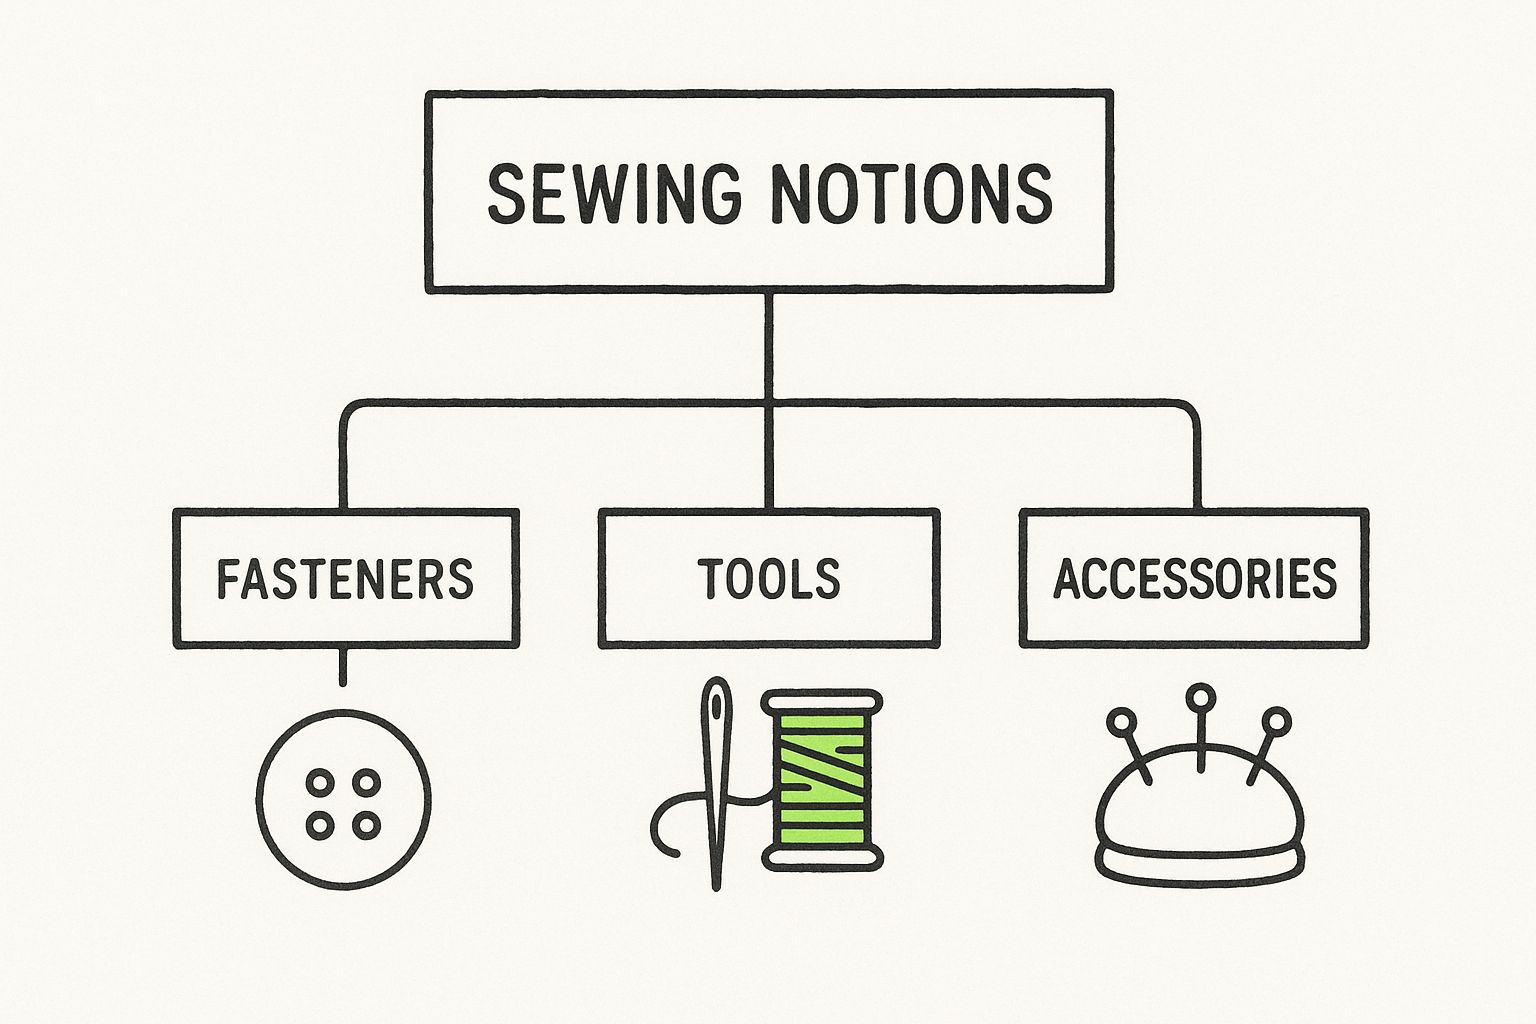
As you can see, each category has a job to do, from literally holding your project together to adding those final, beautiful details.
To give you a clearer picture, let's break down some of the most common notions you'll encounter.
Quick Guide to Common Sewing Notions
This table offers a quick snapshot of the essential notions and what they do. It’s a great reference for beginners just starting to build their toolkit for new sewing machine projects.
| Category | Examples | Primary Function |
|---|---|---|
| Fasteners | Buttons, Zippers, Snaps, Hook-and-Eye Closures | To open, close, and secure garments and projects. |
| Marking Tools | Tailor's Chalk, Fabric Pens, Tracing Wheels | To transfer pattern markings and guidelines onto fabric. |
| Cutting Tools | Seam Rippers, Scissors, Thread Snips, Rotary Cutters | For precise cutting of fabric and thread, and for correcting mistakes. |
| Measuring Tools | Tape Measures, Seam Gauges, Rulers | To ensure accurate measurements for fit and construction. |
| Pins & Needles | Straight Pins, Safety Pins, Hand-Sewing Needles | To temporarily hold fabric pieces together and for hand stitching. |
| Threads | All-Purpose Thread, Embroidery Floss, Heavy-Duty Thread | The material used to create stitches and join fabric seams. |
| Structure & Support | Interfacing, Elastic, Shoulder Pads, Boning | To add shape, stability, stretch, or structure to a project. |
Understanding these categories will make any sewing pattern supply list feel a lot less intimidating!
Getting to know the different varieties within each category is the next step. For instance, just saying "thread" is like just saying "car"—there are so many types! This guide to different types of embroidery floss is a great deep dive.
For a broader look at the absolute must-haves for any new sewer, check out our guide on the top sewing tools for beginners. Once you start mastering these small but mighty items, you'll be well on your way to creating projects you can be truly proud of.
Precision Tools for Cutting and Marking
Long before you hear the hum of your sewing machine, the success of your project has already begun. It starts with a clean, accurate cut. This is where your cutting and marking tools come in, and trust me, they're the unsung heroes of any sewing room. Think of them like a chef's knives—the right one makes all the difference.
A perfect cut is everything, which is why a dedicated pair of fabric scissors is absolutely non-negotiable. I can't stress this enough! Unlike the junk-drawer scissors you use for paper, these have ultra-sharp, precision-ground blades that glide through fabric like butter, preventing snags and ugly frayed edges. A word of warning from someone who's learned the hard way: never use them for anything but fabric. You’ll dull those precious blades in a heartbeat.
For those long, straight cuts—or when you're tackling multiple layers at once—a rotary cutter is a game-changer. Paired with a self-healing mat, it works just like a pizza cutter, giving you speed and perfectly straight lines every single time. If you're curious about making the switch, we cover all the benefits of rotary cutting in our detailed guide.
Transferring Your Vision to Fabric
Once you're set up to cut, you need a way to transfer all those little markings from your pattern—the lines, dots, and darts that tell you where to snip, fold, and stitch. This is where marking notions become your best friend, guiding your scissors and stitches with confidence.
There are a few trusty options to choose from, and most sewers have their favorites:
- Tailor's Chalk: This is the classic for a reason. It comes in pencil or block form, brushes off woven fabrics easily, and just feels right.
- Fabric Pens: A more modern take, these pens have disappearing ink. Some fade with air over time, while others vanish with a spritz of water, leaving your fabric completely clean.
- Tracing Wheel and Paper: When you need to transfer multiple pattern lines precisely, this old-school duo gets the job done by creating a fine, dotted line on your fabric.
Getting comfortable with these fundamental tools is the first real step toward achieving that polished, professional look we all crave. When your cutting and marking are on point, you set the stage for your project to come together perfectly.
Alright, with your fabric perfectly cut and marked, it's time for the fun part: making it all come together. This is where the notions that handle joining and fastening step into the spotlight. Think of them as the unsung heroes that take your flat pieces of fabric and turn them into something you can actually wear.
Let’s start with the most fundamental notion of all: thread. Thread is literally the glue holding your project together. Picking the right kind is a huge deal—it’s the difference between seams that are strong and durable versus seams that give up after a few wears. A good rule of thumb I always follow is to match the thread fiber to your fabric fiber. Sewing cotton with cotton thread just makes sense, right? Same goes for polyester thread with synthetic fabrics.
It might seem like a simple spool, but thread is a massive global business. The sewing thread market was valued at around USD 3.66 billion and is still growing! This is all thanks to sewers like us demanding better products and companies innovating to create stronger, more versatile threads. If you're curious, you can learn more about these sewing thread market trends to see how it all trickles down to the projects on our sewing tables.
Choosing the Right Fasteners
Once you’ve stitched your seams, you need a way to get in and out of your creation. This is where fasteners come in—they’re the hardware of the sewing world. The fastener you choose can totally change the look and feel of your finished piece, so it’s worth taking a minute to think through the options.
These little bits and bobs do more than just close an opening; they're a key design detail.
- Buttons: You can't go wrong with a classic. Buttons offer endless variety, from simple plastic discs on a shirt to chunky wooden toggles on a coat. They can be a quiet detail or a loud statement.
- Zippers: For a clean, secure closure, zippers are your best friend. There's a zipper for everything: invisible zippers for sleek dresses, tough metal ones for jeans, and separating zippers for jackets.
- Snaps: Need a quick, firm closure without the fuss of a button? Snaps are perfect. You see them all the time on kids' clothes, sportswear, and casual jackets for a reason—they just work.
- Hooks and Eyes: These guys offer a super secure, nearly invisible closure. They’re the go-to for finishing the top of a zipper on a skirt or for fastening a waistband neatly.
Picking the right fastener is where you really get to personalize your work. It’s a chance to inject some personality and make sure your garment is as practical as it is beautiful.
At bsewinn.com, we know that getting these details right is what takes a project from looking homemade to looking professionally handmade. Our online classes, training, and extensive resources are all about guiding you through these choices, so the custom sewing machine designs you dream up are built to last and look amazing. From choosing the perfect thread to installing a flawless zipper, we're here to help bring your vision to life.
Adding Structure and a Professional Finish
So, you've got the basics down for joining fabric. Now, let's talk about the unsung heroes of the sewing room—the notions that work behind the scenes to give your projects that extra oomph. These are the secret ingredients that add structure, provide stability, and create those clean, professional finishes that take a project from "homemade" to "handmade." This is how you get that boutique-quality look.
If your main fabric is the frame of a house, think of interfacing as the drywall. It’s a hidden layer of material you add to your fabric to give it stability, body, and shape without ever being seen. It's the magic behind a crisp collar that stands up just right, a button placket that doesn't sag, or a structured cuff that holds its shape wash after wash.
Getting a Handle on Interfacing and Stabilizers
You'll generally run into two types of interfacing. Fusible interfacing is a crowd favorite; you simply iron it onto your fabric for a permanent bond. Sew-in types, on the other hand, are stitched into place, which is great when you want a softer, less rigid structure.
Then you have stabilizers. Think of these as a temporary friend for your fabric, especially for things like machine embroidery or when you're wrangling delicate, stretchy knits. They stop the fabric from puckering or stretching out of shape while you're stitching. Once you're done, they are either cut or washed away, leaving just your beautiful stitches behind.
The real mark of quality craftsmanship often lies in the details you can't see. Using the right interfacing and stabilizers is a small step, but it makes a massive difference in a garment's drape, structure, and how long it'll last. It's what lets you replicate those high-end designs you love.
Understanding which of these support materials to use can feel a bit tricky at first, but it mostly comes down to your fabric weight and what you're trying to achieve.
Choosing the Right Interfacing and Stabilizer
| Notion Type | Best For | Application Tip |
|---|---|---|
| Lightweight Fusible | Sheer and lightweight fabrics like chiffon, voile, and silk. | Use a press cloth to protect your delicate fabric from the iron's direct heat. |
| Mediumweight Fusible | Cotton, linen, and other medium-bodied wovens. Perfect for collars, cuffs, and facings. | Always pre-shrink both your fabric and the interfacing before fusing to avoid puckering later. |
| Heavyweight Fusible | Denim, canvas, and twill. Great for adding structure to bags, hats, and outerwear. | Test on a scrap piece first! This ensures your iron temperature is right for a good bond. |
| Sew-in Interfacing | Textured or heat-sensitive fabrics like velvet, sequins, or certain synthetics. | Baste it within the seam allowance before you construct your garment to keep it from shifting. |
| Cut-away Stabilizer | Machine embroidery on knit or unstable fabrics. | Choose a stabilizer weight that matches the density of your embroidery design. |
| Wash-away Stabilizer | Lace-making, freestanding embroidery, or when you need zero traces of stabilizer left. | Make sure your project is fully washable before choosing this type. |
Choosing correctly is a skill that grows with experience, so don't be afraid to experiment on scraps to see what gives you the look you want.
Finally, let's not forget the notions that make the inside of your garment look as good as the outside. Bias tape and hem tape are your go-to's for encasing raw edges. They create beautifully clean seams, necklines, and hems that won't fray. This kind of attention to detail is what makes a piece truly durable and expertly crafted from every angle.
At bsewinn.com, we know that mastering these finishing touches is what really builds a crafter's confidence. Our extensive resources, online classes, and training are all designed to walk you through these techniques, making sure every project you create is something you're incredibly proud of.
Getting to Know Your Needles, Pins, and Machine Accessories
Some of the smallest items in your sewing kit can make or break a project. I'm talking about the sharp and pointy bits—the needles, pins, and specialized machine accessories that are the unsung heroes of every garment you create. Choosing the right ones isn't just a suggestion; it's the foundation for clean, professional-looking stitches.
Honestly, you can think of your sewing machine needle as the single most important part of your machine. Seriously. Using the wrong one is a fast track to skipped stitches, snagged fabric, and a whole lot of frustration. The golden rule is to always match the needle type to your fabric.
For example, a ballpoint needle has a rounded tip designed to gently slide between the fibers of knit fabrics, preventing runs. On the other hand, a sharp denim needle is built tough to punch through heavy, dense weaves without breaking. We have a whole guide dedicated to choosing the right needle that dives deeper into making the perfect match.
Pins and Other Pointy Friends
Pins are your best friend for holding fabric pieces together before and during sewing, making sure nothing shifts out of place. While your standard dressmaker pins will get you through most projects, having a few different types on hand can be a real game-changer.
- Glass-Head Pins: These are my go-to for just about everything. The glass heads won't melt if you accidentally hit them with your iron, which is a lifesaver.
- Ballpoint Pins: Just like ballpoint needles, these have rounded tips that won't snag or damage delicate knit fabrics.
- T-Pins: With their easy-to-grip T-shaped heads, these are perfect for wrangling thick, heavy materials like canvas or upholstery fabric.
Beyond the basics, many machine accessories are truly essential notions in their own right. Specialized presser feet, like a zipper foot or buttonhole foot, are engineered to make tricky tasks feel almost effortless. They guide the fabric perfectly, so you get flawless results every time.
These aren't just "extras." They're critical tools that make sewing more efficient and the final product so much better. Investing in the right accessories for your machine unlocks its full potential and lets you bring your creative visions to life.
It’s no surprise, then, that the entire sewing machine components market was valued at USD 2.7 billion and is expected to grow to USD 5.0 billion. This boom is driven by sewers like us demanding high-quality results, which comes from having great machines and the right notions working together in perfect harmony.
Your Questions About Sewing Notions Answered
Diving into the world of sewing notions can feel a bit like learning a new language. You've got questions, and that's a good thing! Let's clear up some of the most common ones so you can build your toolkit with confidence and get right to the fun part—creating.
What Are the Must-Have Sewing Notions for a Beginner?
When you're just starting, it's easy to get overwhelmed by all the shiny gadgets. My advice? Keep it simple. Start with a solid core of tools that will see you through almost any beginner project.
Think of it as your starter kit: a great pair of fabric scissors, a flexible tape measure, some glass-head pins, and the unsung hero of every sewist, a good seam ripper. You'll also need an assortment of machine needles (a universal pack is perfect) and a few spools of all-purpose polyester thread in black, white, and grey. That’s it! This small-but-mighty collection is all you need to get going.
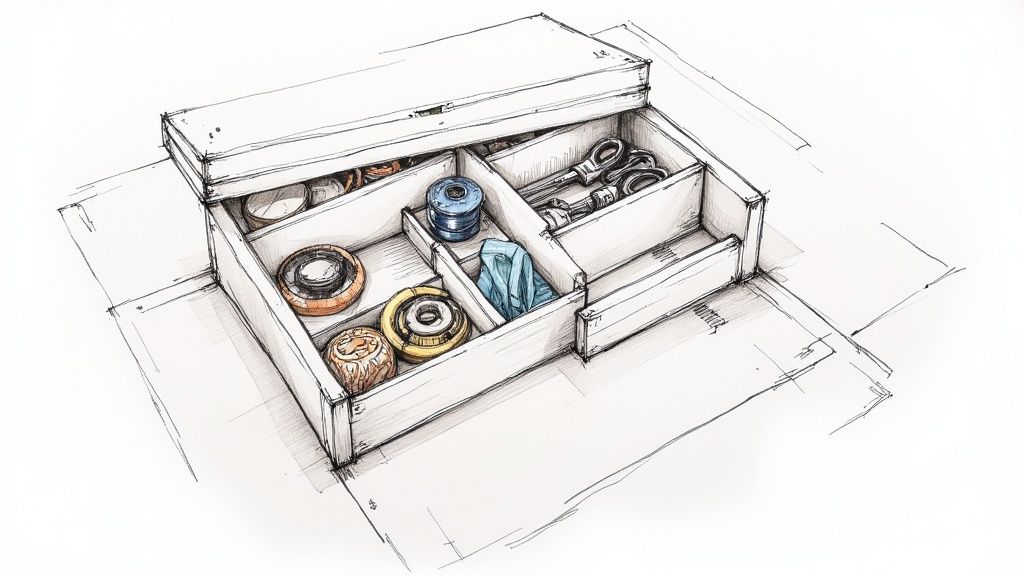
How Should I Store My Sewing Notions?
An organized sewing space is a happy sewing space. Trust me, you'll enjoy your hobby so much more when you're not hunting for a stray button or the right color thread.
Clear, sectioned containers are a lifesaver for small bits like snaps and buttons—you can see everything at a glance. A magnetic pin bowl is a game-changer for keeping pins from disappearing into the carpet. For thread, a wall-mounted rack not only looks great but keeps spools from turning into a tangled mess. The goal is to keep things visible and within reach; it makes the whole process smoother.
Building your notion collection is really an investment in your craft. Don't feel like you need everything at once. Focus on quality basics first, and then let your collection grow as you tackle new projects and learn new skills.
When Does the Quality of a Sewing Notion Really Matter?
While it's tempting to grab the most budget-friendly option, there are a few areas where quality is non-negotiable. Think about the parts of your project that provide structure or have to stand up to wear and tear.
Always, always invest in good thread. Cheap thread is the number one cause of popped seams down the road. The same goes for using the correct needles for your fabric to avoid snags and damage, and quality interfacing to give your projects lasting shape. And if you're adding visible hardware like a beautiful button or a sturdy clasp to a special garment, spending a little extra can make your finished piece look so much more professional.
At B-Sew Inn, we believe having the right tools is just as important as having the right skills. From custom sewing machines to our huge library of online classes and training, we’re here to support you at every single stitch.