Learning how to bind a quilt is all about creating that perfect fabric frame to encase the raw edges. The process itself is pretty straightforward: you'll cut fabric strips, join them together into one long piece, sew that to the front of your quilt, and then wrap it around to the back for the final stitches. It’s the finishing touch that gives your quilt a durable and decorative finish, a tangible example of your crafting skill that you can replicate on any project.
Understanding Quilt Binding Essentials
Think of the binding as the final frame for your quilted masterpiece. It’s a critical step that not only protects all your hard work but also gives it that polished, professional look you’re after. It's more than just a pretty border; it’s the element that locks in all three layers of your quilt—the top, batting, and backing—and keeps them from fraying over time.
Historically, binding served this dual purpose of function and flair. Fun fact: once sewing machines became more common, they cut down binding time by as much as 60%, which helped quilting really take off in popularity!
Before you even think about cutting your strips, make sure you've landed on the final dimensions of your project. Things like choosing the right quilt size are essential because this directly impacts how much fabric you'll need for the binding.
Straight-Grain vs Bias-Cut Binding
Your choice between straight-grain and bias-cut binding really just comes down to the shape of your quilt. One isn't better than the other; they just have different jobs.
-
Straight-Grain Binding: This is your go-to for most quilts. You cut the strips along the fabric's lengthwise or crosswise grain, which gives you very little stretch. It’s perfect for quilts with straight edges and sharp 90-degree corners, like a classic patchwork throw.
-
Bias-Cut Binding: Cut at a 45-degree angle to the fabric's grain, bias binding is wonderfully stretchy and flexible. This makes it the only real option for any project with curved edges. Think of a baby quilt with soft, rounded corners or a table runner with a scalloped edge.
To make it even clearer, here's a quick breakdown to help you decide.
Straight-Grain vs Bias Binding At a Glance
Use this quick reference to decide which binding type is the perfect match for your quilting project.
| Binding Type | Ideal For | Primary Benefit |
|---|---|---|
| Straight-Grain | Projects with straight edges and 90-degree corners | Stable, less fabric waste, easy to handle |
| Bias-Cut | Quilts with curved or scalloped edges | Stretchy and flexible, creates smooth curves |
Ultimately, picking the right cut is the first step toward a beautiful finish that will last for years.
Here at bsewinn.com, we are committed to empowering crafters by transforming complex techniques into achievable skills. Our custom sewing machine designs are supported by a full suite of online classes, training, and extensive resources designed to guide you from the first stitch to the final binding. We believe that with the right tools and support, any crafter can achieve a flawless, replicable finish on their projects.
Choosing and Prepping Your Binding Fabric
Alright, let's talk about the first big decision you'll make when binding your quilt: the fabric. This choice is literally the frame for your masterpiece, so it's worth a little thought.
For most projects, my go-to is always 100% quilting cotton. You just can't beat it. The tight weave makes it a dream to work with, it doesn't have a lot of pesky stretch, and it holds up beautifully in the wash. You'll get that crisp, clean edge every quilter loves.
This is where you can really have some fun and influence the final look. Want a modern, graphic pop? Frame that quilt with a bold, contrasting solid. Going for a more classic, heirloom vibe? A fabric that subtly blends with your quilt top will feel timeless and cohesive. Just be mindful of the fabric's weight and feel—it all plays a part in that finished border.
Don't Skip the Pre-Wash!
I know, I know. It’s tempting to just jump right into cutting. But trust me on this one: pre-washing your binding fabric is a step you can't afford to skip. It’s a simple little thing that prevents a world of heartache later on, like discovering your beautiful red binding has bled all over your white quilt after the first wash. Nightmare fuel!
Pre-washing is your insurance policy. It gets all the shrinking and potential color bleeding out of the way before you attach the binding, protecting all the hard work you’ve poured into your quilt.
A quick spin in the wash with a color catcher sheet is a great way to see if your fabric is a bleeder. After a tumble in the dryer, give it a good press with a hot iron to get it perfectly flat and ready for accurate cutting. Having the right setup makes this whole process much smoother; if you're building your toolkit, we've got a great guide on the top sewing tools for beginners that can help.
Taking these prep steps is what builds a quilt that lasts. Did you know quilts bound with a double-fold bias tape are often 35% more durable than those with a single-fold, straight-grain binding? That extra bit of give in the fabric makes a huge difference. It’s no surprise that cotton is still king, making up about 70% of what quilters choose for their binding. It’s just reliable. Here at bsewinn.com, we’re committed to giving you the know-how to make projects you’ll be proud of for years to come.
Cutting and Joining Binding Strips Like a Pro
With your fabric prepped and ready, it's time to turn it into that one long, continuous strip of binding. Getting this part right is what sets you up for that smooth, pucker-free finish we're all after. Don't worry, this is a tangible skill that's much simpler than it looks.
First things first, let's figure out how much binding you actually need. Just measure the perimeter of your quilt (that’s length + length + width + width) and then add at least 15 extra inches to that number. This little bit of extra gives you plenty of wiggle room for mitering the corners and joining the ends together seamlessly. Trust me, you can never have too much, but running short is a massive headache.
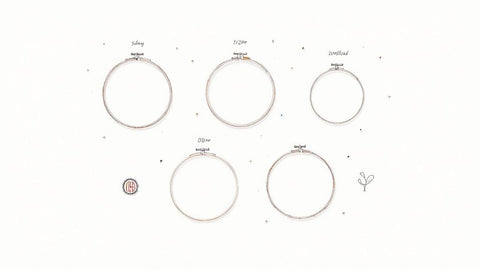
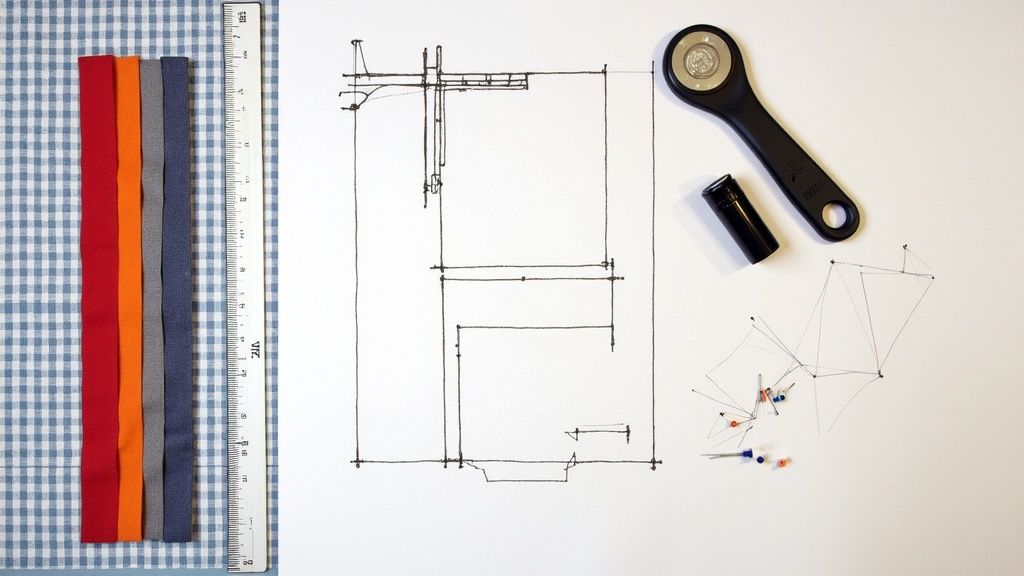
Creating Perfectly Straight Strips
This is where your rotary cutter, ruler, and mat really shine. For a standard double-fold binding, a width of 2.5 inches is pretty much the gold standard in the quilting world. It’s the perfect size—wide enough to comfortably wrap around all three layers of your quilt sandwich without adding a ton of bulk.
A rotary cutter is an absolute game-changer for getting perfectly straight, consistent cuts every single time. If you're new to using one, you’ll be amazed at the precision you can achieve. You can dive deeper into the benefits of rotary cutting and see how it levels up your quilting projects. Once you're done cutting, you'll have a neat little stack of strips ready for the next step.
Joining your binding strips with a diagonal seam is a trick the pros use to distribute the fabric bulk. This little detail prevents a thick, lumpy spot from forming where the seams would otherwise stack up, making sure your binding lies perfectly flat all the way around your quilt.
Joining with a Diagonal Seam
This technique is my go-to because it creates a strong, flat join that practically disappears once it's attached to the quilt. Here's a tangible example you can follow:
- Lay two of your binding strips right sides together, forming a 90-degree angle.
- With a fabric marker, draw a diagonal line from the top-left corner to the bottom-right corner, right where the strips overlap.
- Stitch directly on that line you just drew.
- Trim away the excess fabric, leaving about a ¼-inch seam allowance.
- Press the seam open with your iron. This is a crucial step for getting the seam to lie as flat as possible.
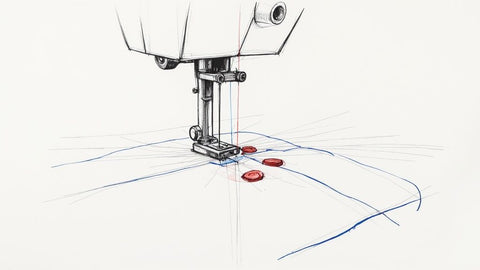
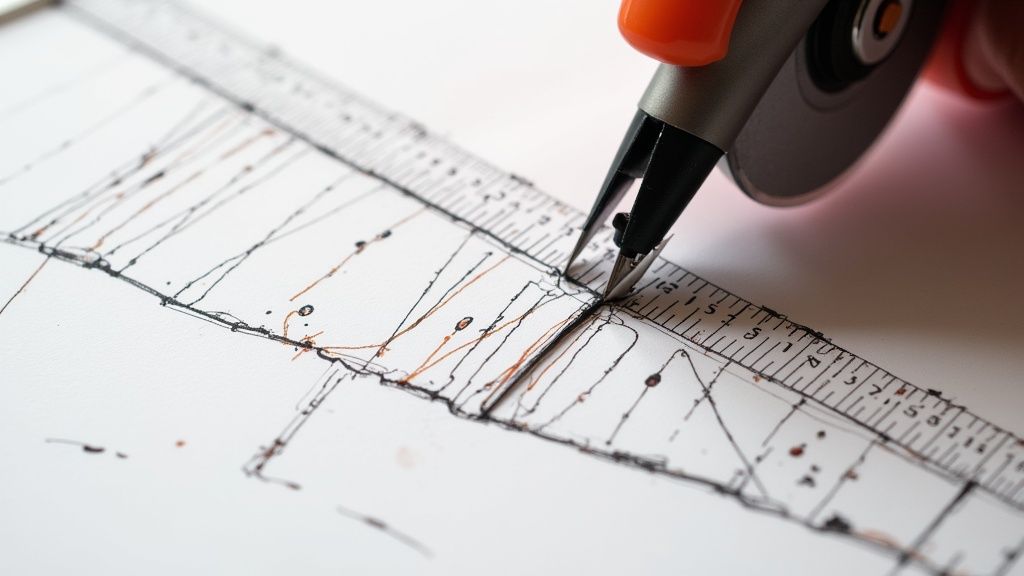
Just keep repeating this process until all your strips are connected into one super-long piece. This visual here shows the ideal way to align your prepared binding strip along the quilt edge.
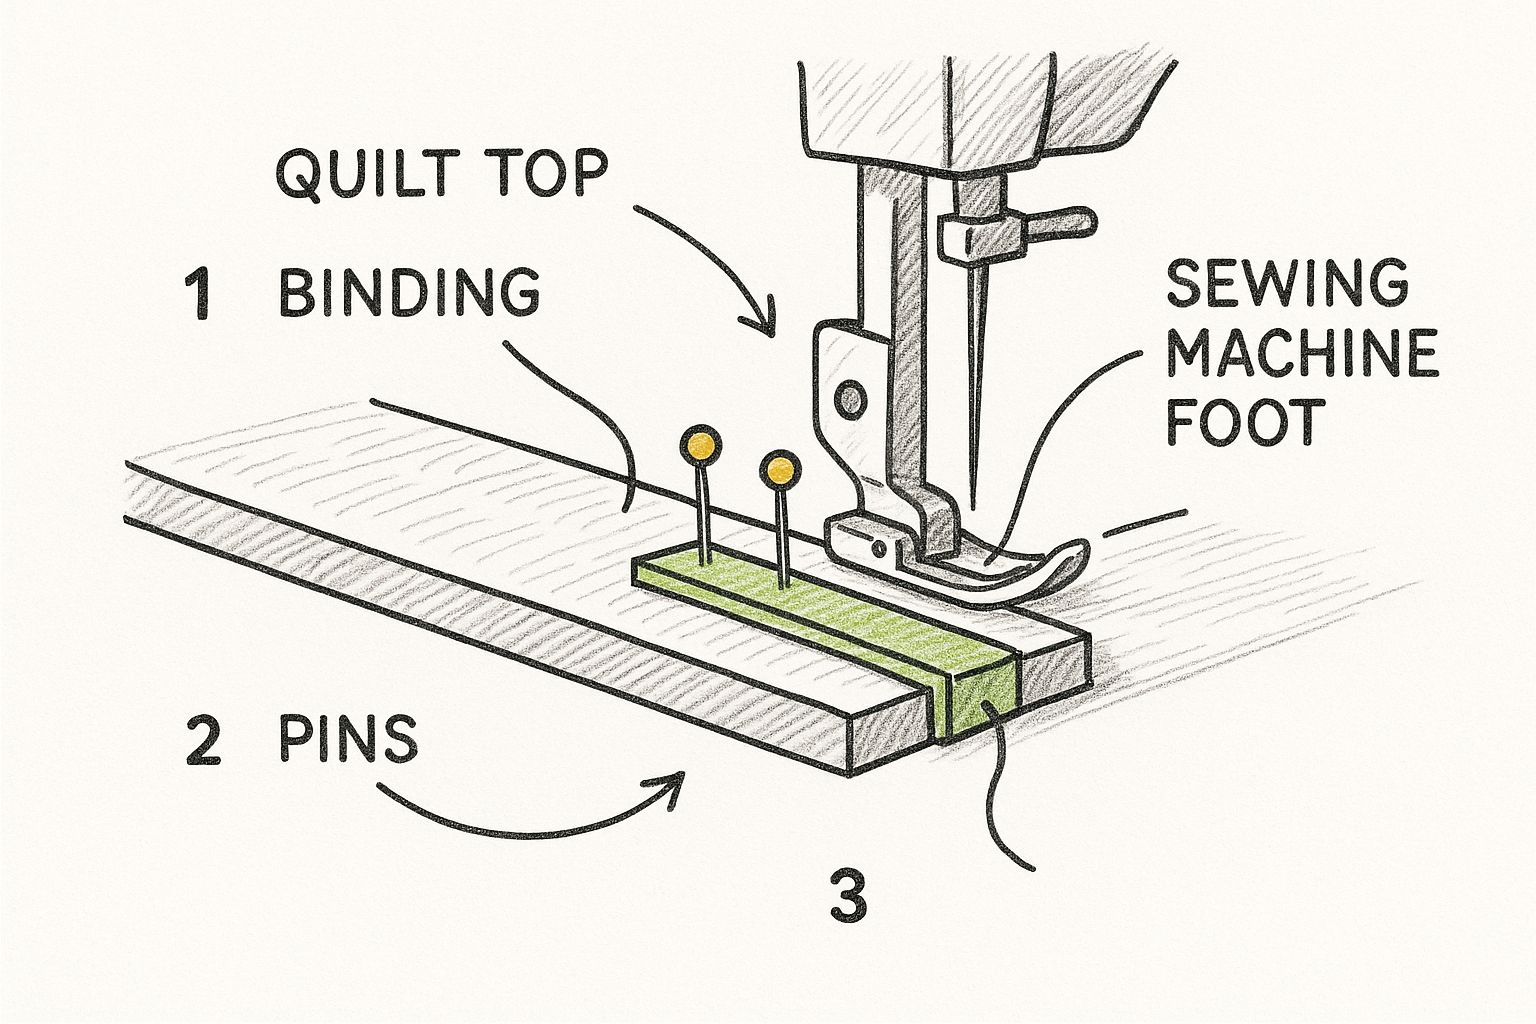
As the sketch shows, pinning the binding evenly is key to making sure it feeds smoothly under your sewing machine foot. The final prep step is simple: fold your long strip in half lengthwise with the wrong sides together and give it a good press. Now you've got a beautiful, finished binding, all ready to be attached to your quilt
Machine-Stitching Your Binding with Confidence
Alright, this is it—the moment your binding strip finally meets the quilt to create that strong, beautiful frame. I always find attaching the binding with my sewing machine so satisfying. It comes together really quickly once you get into a nice rhythm. With just a few key tricks up your sleeve, you can get a professional finish that truly makes your quilt shine.
First things first, line up the raw edge of your folded binding strip with the raw edge of your quilt top. You'll want to start sewing somewhere in the middle of one side, definitely not near a corner. It's super important to leave a long tail of at least 8-10 inches of unsewn binding at the beginning. Trust me on this one—it gives you the wiggle room you'll need to join the ends neatly later on.
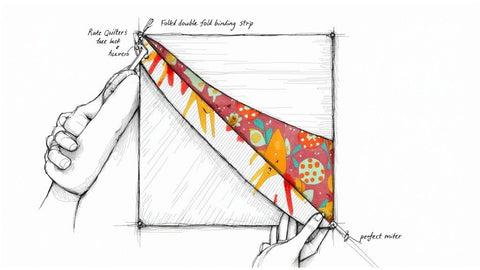
Nailing the Perfect Mitered Corner
The hallmark of a well-bound quilt is a sharp, clean mitered corner. They look so impressive, but they're really just about stopping, folding, and pivoting at exactly the right moment.
As you get close to a corner, slow down your machine and stop stitching precisely ¼ inch from the quilt's edge. Do a little backstitch to lock your stitches in place, and then take the quilt out from under the needle.
Now for the magic. Fold the binding strip straight up and away from the quilt, which creates a neat 45-degree angle at the corner. Keep your finger on that fold, then bring the binding strip back down so it lines up perfectly with the next raw edge of the quilt. The folded edge should now be totally flush with the edge you just finished sewing.
Mastering the mitered corner is a total game-changer for any quilter. That precise ¼-inch stop and the sharp 45-degree fold are the whole secret. This simple two-step fold creates the perfect little pocket of fabric needed to form a crisp, flat corner when you wrap the binding to the back.
Start stitching again from the very top edge of this new side. Just repeat this process for all four corners. A walking foot is your best friend here; it grips both the top and bottom layers of fabric at the same time, feeding them through the machine evenly and stopping any puckering in its tracks. For even more control, a lot of quilters I know swear by a specialized quilt binding foot, which can make this step practically foolproof.
At bsewinn.com, we are committed to empowering you through our online classes and resources. We break down techniques like these step-by-step, showing you how our custom sewing machine designs and accessories provide the support needed to achieve incredible, lasting results on every single project.
Getting That Perfect, Long-Lasting Finish
Alright, this is the home stretch. The final step in binding your quilt is all about securing that folded edge to create a crisp, clean border that will stand the test of time. This is where your quilt really gets its polished, finished look. There are a couple of ways to go about this, and honestly, both are great—it just depends on the style you want and how much time you have.
For a classic, heirloom-quality look, nothing beats finishing your binding by hand. I know, I know, hand-sewing can feel tedious, but the results are truly special. You'll just fold the binding over to the back of the quilt, hold it in place with some clips, and use a nice, sharp needle to create an invisible ladder stitch (some folks call it a blind stitch). This tangible technique hides your thread completely, leaving you with that flawless, professional finish that makes a quilt feel extra treasured.
For a Quicker (But Still Sturdy!) Machine Finish
If you're short on time or just prefer working with your machine, you can absolutely get a beautiful and durable finish this way. It’s my go-to for quilts that are going to get a lot of love and washing. Once your binding is attached to the front, just wrap it around to the back and clip it down, making sure the edge just covers your first stitch line.
Now, from the front of the quilt, you'll "stitch in the ditch." This means you sew directly in that little seam—the "ditch"—where the binding meets the quilt top. As you sew, this stitch catches the edge of the binding on the back, securing it perfectly. You get a gorgeous, sturdy finish in a fraction of the time. Don't underestimate how much this final look matters; market trends actually show that 60% of buyers will pay more for quilts that have a durable and really attractive finish. The quilting market is no joke—it was valued at around USD 5.32 billion in 2024. You can read the full research on quilting market trends to see just how much people appreciate quality craftsmanship.
No matter which method you choose, the final puzzle piece is joining the two tails of your binding strip. A "sleeping bag" join, where one end is tucked neatly inside the other, creates a seamless look without the bulk of a diagonal seam at the very end.
Here at bsewinn.com, our commitment is to empower you with the custom sewing machine designs and comprehensive online training needed to master techniques just like these. With our extensive resources, you can confidently create beautiful, durable quilts that you'll be proud to show off.
A Few Common Quilt Binding Questions
Even when you've done this a hundred times, questions can still pop up when you're in the middle of binding a quilt. Don’t sweat it—troubleshooting is just part of quilting! Here are a couple of the most common issues I see and how to fix them.
What’s the Best Width for Binding Strips?
For almost all of my quilts, I stick with the tried-and-true standard: 2.5 inches. This width is pretty much perfect for a double-fold binding. It gives you just enough fabric to comfortably wrap around the quilt's edge, creating a finish that’s both beautiful and durable. This is a great tangible example to start with.
You can definitely play with this, of course. For a daintier look, you might try 2.25 inches, but if you're just starting out or want a can't-go-wrong measurement, 2.5 inches is your safest bet.
How Do I Avoid Those Bulky Corners?
Ah, the dreaded bulky corner. We've all been there. This is usually one of the biggest frustrations for quilters, but the fix is often surprisingly simple.
Nine times out of ten, the problem starts before you even attach the binding. Make sure your batting and backing are trimmed perfectly flush with the quilt top. Any little bit of extra fluff hanging over the edge will get trapped in the corner and create puffiness.
Another tip is to be really intentional when you make that 45-degree fold for your miter. I like to press it firmly with my fingers or a bone folder to set a super crisp crease. That sharp fold helps the fabric nestle in neatly and lay flat.
At B-Sew Inn, we know that mastering these final touches is what turns a good quilt into a great one. We are committed to empowering every crafter by providing custom sewing machine designs and unparalleled support through our online classes, training, and extensive resources. Swing by https://www.bsewinn.com to find the perfect tools for whatever you're creating next.