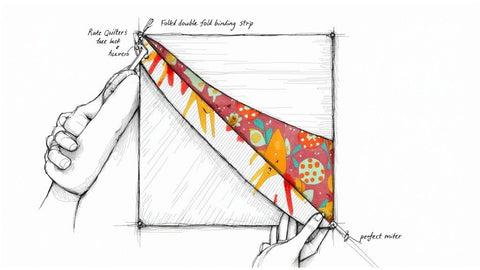
If there’s one skill that can truly make your homemade garments look like they came straight from a high-end boutique, it’s sewing a perfect buttonhole. It’s often one of those steps that new sewists dread, but with the right machine and a little guidance, you’ll be adding button-fronts to everything! A tangible example would be creating a perfectly spaced set of buttonholes on a crisp, handmade shirt—a project you can definitely replicate.
The secret is simply getting to know your sewing machine and how it handles this task. Every machine is a little different, but they almost all fall into two camps: the modern, automated one-step process or the more hands-on, manual four-step function.
Your Guide to Flawless Machine-Sewn Buttonholes
Let's demystify the process of sewing buttonholes. Honestly, moving past the fear of this seemingly complex task is a huge milestone for any sewist. A beautifully stitched buttonhole doesn’t just look professional; it creates a sturdy, functional closure that adds real value to shirts, dresses, jackets, and more.
Here at bsewinn.com, we are committed to empowering crafters by designing machines and resources that turn intimidating techniques into skills you can be proud of. Our custom sewing machine designs are built to make tasks like this achievable and even enjoyable.
So, let's break down the two main ways your machine might tackle buttonholes:
- One-Step Buttonhole: This is the magic of modern, computerized machines. It's a mostly automated feature that stitches the entire buttonhole in one go. You typically pop your button into a special foot, snap it on, and the machine does all the heavy lifting.
- Four-Step Buttonhole: You’ll find this method on many mechanical or older models. It's a manual process where you stitch each of the four sides of the buttonhole separately, usually by turning a dial between steps. It gives you a lot of control but definitely requires you to pay closer attention.
Figuring out which type your machine has is your first step. It really just comes down to the technology in your machine. The industrial sewing machine world has made huge leaps in automation for precision and speed, with leaders like Brother Industries and JUKI Corporation paving the way. Thankfully, a lot of that amazing tech has trickled down to us home sewists! You can read more about industrial sewing machine advancements to see how far things have come.
One-Step vs Four-Step Buttonhole Functions
Not sure which camp your machine falls into? This little table breaks down the key differences to help you identify your machine's process and see the pros and cons of each.
| Feature | One-Step Buttonhole | Four-Step Buttonhole |
|---|---|---|
| Process | Fully automated; the machine stitches all four sides in one continuous sequence. | Manual; you guide the machine through each of the four steps by turning a dial. |
| Machine Type | Common on computerized and modern electronic machines. | Typically found on mechanical, entry-level, or older sewing machines. |
| Ease of Use | Very beginner-friendly. Just set it up and press the pedal. | Requires more practice and attention to get the sides even and the length just right. |
| Best For | Creating multiple, identical buttonholes quickly. Perfect for shirt plackets or dresses. | Garments needing just one or two buttonholes, or when you need precise manual control. |
| Special Foot | Requires a specific sliding buttonhole foot that holds the button to set the size. | Uses a standard buttonhole foot, but you manually control the start and stop points. |
| Consistency | Excellent. Every buttonhole will be the exact same size. | Can vary slightly from one buttonhole to the next unless you are very precise with marking. |
Ultimately, both methods get you to the same place: a beautiful, functional buttonhole. The one-step is all about speed and consistency, while the four-step gives you that hands-on control.
We truly believe that with the right guidance and a well-designed machine from bsewinn.com, any task that seems tricky at first can become a rewarding part of your creative journey. Our online classes and extensive training resources are here to support you every stitch of the way.
Setting Up Your Machine And Fabric For Success
Buttonhole perfection starts long before you hit the pedal. A bit of planning—choosing the right needle, matching your thread, and giving your fabric some extra support—turns fussy buttonhole stitching into a breeze.
When it comes to tools, always reach for a sharp, new needle. Nothing sabotages satin stitches faster than a dull point. Match your needle size to the fabric weight—lightweight fabrics like chiffon call for a finer needle, while denim demands something tougher. And don’t overlook your thread: all-purpose polyester works wonders on most fabrics, but for sheers and silks, a finer thread lets your buttonhole lie flatter and look more elegant. A perfect example is using a fine 60wt thread on a silk blouse for a delicate, barely-there buttonhole.
To dive deeper into this crucial choice, explore our complete guide on choosing the right needle for your project.
Stabilizing Your Fabric
Unstable fabric is the number-one culprit behind wavy, distorted buttonholes. Dense satin stitches will stretch or tear through delicate weaves if you skip this step.
- Apply a small patch of fusible interfacing behind the stitching line.
- Press firmly so the interfacing bonds smoothly—wrinkles here mean trouble later.
For fabrics with a loose weave, like knits or tweeds, interfacing is absolutely critical. It gives the stitches a solid base, preventing them from sinking into the fabric and creating a messy outcome.
Dialing In Your Machine Settings
Once your fabric feels sturdy, swap in the correct buttonhole foot—whether it’s a one-step or four-step model, the right foot guides your fabric evenly.
Always test on a prepared scrap before tackling your garment. That little practice swatch is your safety net.
- Stitch Length: A dense satin stitch needs a short length. Aim for 0.5 mm to 1.0 mm to start.
- Tension: Consult your manual, but slightly reducing top tension usually stops the bobbin thread from peeking through.
Putting in this prep work pays off immediately. It’s the exact approach we champion in our bsewinn.com online classes—our extensive resources are designed to help you master these techniques with our custom sewing machines, so you can sew buttonholes with confidence and precision every time.
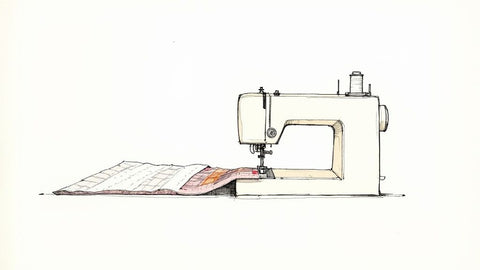
How to Sew a Perfect Buttonhole
Okay, you’ve got your machine ready and your fabric is stabilized. Now for the fun part: actually sewing the buttonhole! This is where you really see how a little bit of precision can turn a simple closure into a professional-looking design element. We’ll go through the two main ways to do this: the super-quick one-step method and the more hands-on four-step approach.
Think about making a crisp shirt cuff. Those buttonholes need to be perfectly aligned and consistent to look right, a tangible goal you can achieve. No matter which method you use, the process really comes down to a few key actions.
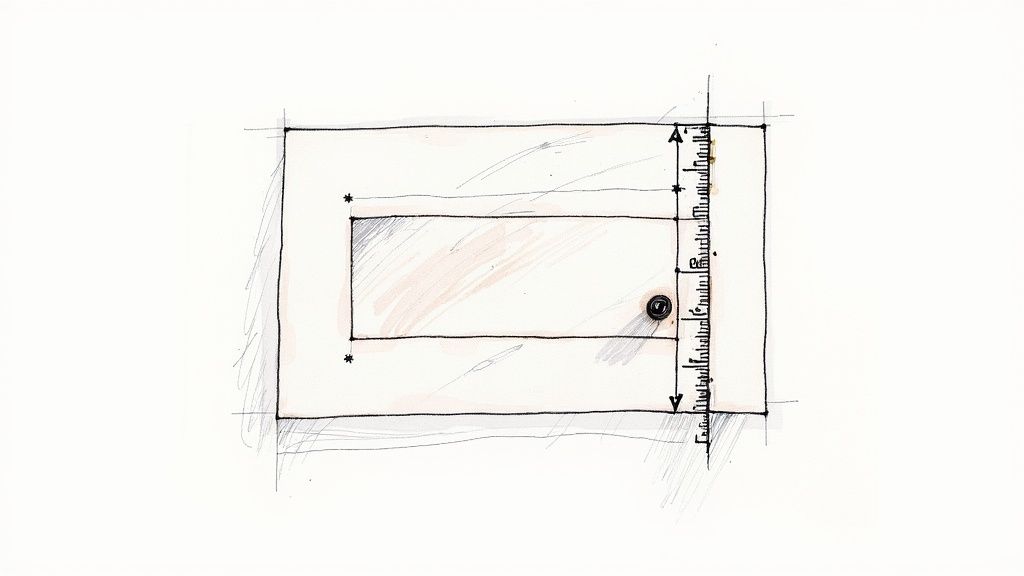
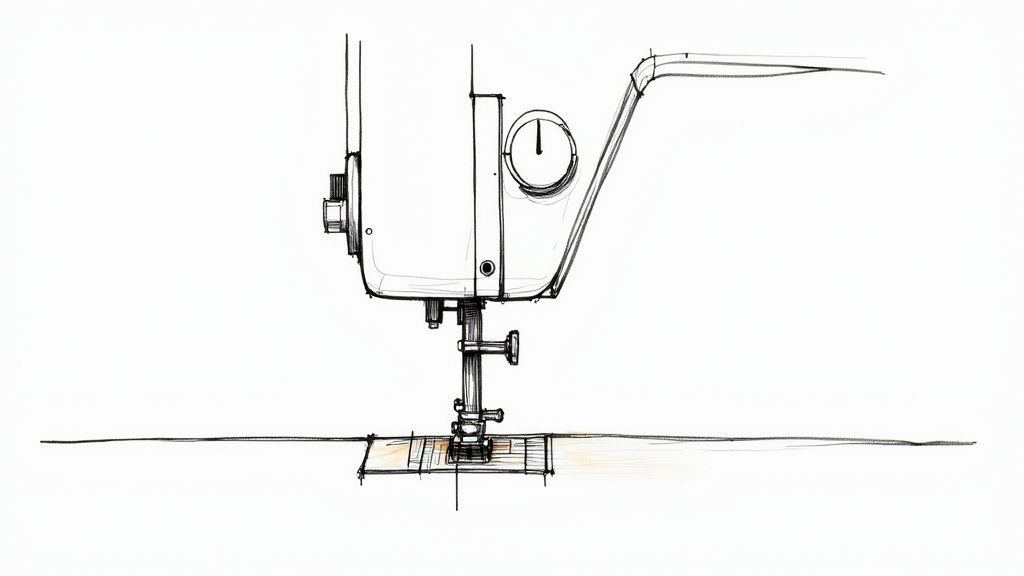
This visual guide is a great little cheat sheet for the basic workflow.

As you can see, success is all in the prep work. We can't stress this enough: precise marking and a quick test stitch are non-negotiable if you want a flawless finish every time.
Mastering the One-Step Buttonhole
The one-step buttonhole is a total game-changer for speed and consistency, and it’s one of our favorite advancements in modern sewing machines. For this, you’ll need a special sliding buttonhole foot, which thankfully comes standard with many newer machines. If yours didn't, you can browse our specialty buttonhole feet to find one that fits your model.
The process is incredibly easy. You just pop your button into the back of the foot, and it uses the button's size to automatically figure out the perfect stitch length. Snap the foot onto your machine, pull down the buttonhole lever, and pick your buttonhole stitch. The machine takes it from there—stitching the bottom tack, left side, top tack, and right side all in one go before stopping on its own. It's incredibly efficient for projects like shirt plackets where you need several identical buttonholes.
Navigating the Four-Step Buttonhole
If you're working with a mechanical machine, you’re probably going to be using the four-step method. This approach gives you more manual control but it does mean you need to pay closer attention. Your stitch selector dial will have four different buttonhole settings you'll cycle through.
First, you'll stitch the bottom bar tack. Then, you turn the dial to sew up the left side. Next, another turn of the dial creates the top bar tack. Finally, you’ll stitch down the right side to meet back where you started. With this method, your markings are everything because you’re the one telling the machine where to start and stop.
It’s easy to take this for granted now, but the mechanization of buttonholes was a huge turning point in garment production. Before these specialized machines, every single buttonhole was a painstaking, hand-sewn task. Automating the process cut production time from minutes down to just seconds. By the 1960s, adoption rates for mechanized sewing tasks like buttonholes were over 80% in factories across many developed nations.
Whether your machine does a one-step or four-step, our online classes and extensive resources at B-Sew Inn are here to help you get the hang of it. We are committed to empowering you to feel totally confident creating polished, durable garments with your machine.
Adding Professional Finishing Touches
You’ve stitched a gorgeous buttonhole, and it looks fantastic. But we're not quite done yet! The final, crucial step is cutting it open cleanly. This is where your garment really starts to look polished and professional, and we can't stress enough how a little care here makes all the difference. Rushing this last part can ruin all your hard work in a heartbeat.
The entire goal is to slice neatly through the fabric without snipping a single thread of your bartacks. We've all been there—a slip of the hand can be heartbreaking. So, let’s talk about choosing the right tool and using a steady technique to get it right every time.
Safely Opening Your Buttonhole
For this job, you have two best friends: a dedicated buttonhole chisel or a sharp seam ripper. A chisel is amazing, giving you a clean, one-press cut, but a good seam ripper is something most of us already have in our sewing kits.
If you're using a seam ripper, here's a simple trick to prevent disaster:
- First, place a pin horizontally across the top bartack, making sure it’s just inside the stitching.
- Do the same for the bottom bartack.
- Now, carefully insert the point of your seam ripper at one end and cut toward the middle, stopping before you hit the center.
- Flip it around and repeat from the other end.
Those pins act as a physical wall, stopping the seam ripper from slicing right through your beautiful stitching if you slip. It’s a tiny step that provides a huge amount of security.
At bsewinn.com, our online classes and extensive resources are filled with practical, real-world tips just like this. We really focus on giving you the techniques and confidence to get impeccable results, especially when you're using our custom sewing machine designs built for crafters like you.
Adding Durability and Style
Want to take it up another notch? A couple of finishing touches can add both strength and a high-end feel to your buttonholes. For fabrics that love to fray, like linen or tweed, a small dab of fray-check applied to the cut edges with a toothpick works wonders.
If you're working on something like a wool coat, consider trying a corded or gimp buttonhole—a tangible example of a high-end finish. This involves stitching over a piece of filler cord, which creates a raised, defined edge for extra structure and a beautifully tailored look. It’s a technique you often see in tailoring, and it's surprisingly easy to master when sewing buttonholes with a machine.
Tackling Common Buttonhole Hiccups
Even with the best preparation, buttonholes can sometimes go sideways. But don't despair—most of the issues that pop up are surprisingly easy to fix. If you're staring at uneven stitches, puckered fabric, or the dreaded thread nest on the back of your project, a little detective work is all it takes to get things looking perfect again.
Skipped stitches are almost always your machine's way of telling you it needs a new needle. Swapping it out for a fresh, sharp one that’s right for your fabric is the quickest fix. If your fabric is bunching up or puckering, the culprit is usually a lack of stabilization. Make sure your interfacing is fused securely and extends just beyond where the buttonhole will be stitched. As for those frustrating tangles of thread underneath? That’s a classic sign of a tension issue or an incorrect threading path.
Diagnosing the Problem
Before you start fiddling with tension dials, your first move should always be to completely re-thread your machine. We're talking both the top thread and the bobbin. You'd be amazed how often this simple reset solves the problem! If that doesn't do it, then it's time to look at your tension. If you can see the bobbin thread peeking through on the top side of your fabric, your top tension is probably a bit too tight.
Here are a couple of other common "oops" moments worth double-checking:
- Is the presser foot actually down? It’s an easy mistake to make, but sewing with the foot up means the tension discs aren’t engaged, which leads to chaos.
- Did you pull the buttonhole lever down? If you have a one-step buttonhole function, forgetting this crucial step will stop the machine from completing its cycle correctly.
Our best piece of advice? Always, always do a test run on a scrap piece of your project fabric—interfacing and all. It’s the single most effective way to spot and solve a problem before it happens on your actual garment. B-Sew Inn's commitment to crafter empowerment includes providing extensive resources to help you troubleshoot with ease.
Still stuck? Our sewing machine troubleshooting guide has a ton of other solutions that might just save the day.
If you find yourself running into the same issues over and over, this quick reference table can help you diagnose the problem at a glance. We've put together the most common frustrations and their go-to solutions.
Common Buttonhole Problems and Solutions
| Problem | Potential Cause | How to Fix It |
|---|---|---|
| Skipped Stitches | A dull, bent, or incorrect needle is being used. | Change to a new, sharp needle appropriate for your fabric type. |
| Fabric Puckering | The fabric is not properly stabilized. | Apply a firm, fusible interfacing to the back of the buttonhole area. |
| Uneven Stitching | The fabric is shifting or being pulled during sewing. | Let the machine feed the fabric automatically; avoid pushing or pulling it. |
| Thread Nests Underneath | Incorrect upper threading or tension is too loose. | Re-thread the machine completely, ensuring the presser foot is up. |
| Incomplete Buttonhole | The one-step buttonhole lever is not properly engaged. | Ensure the lever is pulled down and positioned correctly behind the foot. |
| Wrong Size Buttonhole | The button in the automatic foot is loose or fell out. | Securely place the correct button in the back of the buttonhole foot. |
Think of this as your first line of defense. Most of the time, one of these simple adjustments will get you back to sewing beautiful, professional-looking buttonholes in no time.
Got Questions About Machine Buttonholes? We've Got Answers.
Even when a project goes smoothly, buttonholes can feel like that one final hurdle. It's totally normal to have a few questions pop up. Let's tackle some of the most common ones we hear from fellow crafters.
Common Buttonhole Conundrums, Solved
What's the best interfacing to use for buttonholes?
This really comes down to your fabric. If you're working with something light- to medium-weight, a simple lightweight fusible interfacing is perfect. It gives just enough stability without adding a bunch of bulk.
But for heavier fabrics like wool or denim, you'll want to step it up to a medium-weight woven interfacing. This will give the buttonhole the structure it needs and keep it from stretching out over time.
Can I really not sew a buttonhole without a special foot?
Technically, you could try to fake it with a satin stitch and a lot of careful pivoting. But trust us, getting a clean, professional-looking result that way is next to impossible.
A dedicated one-step or four-step buttonhole foot is a game-changer. It's designed to guide the fabric perfectly, ensuring your stitch sides are parallel and the length is spot-on every single time. It's one of those tools that's absolutely worth it.
As a solid rule of thumb, your buttonhole should be the diameter of the button plus an extra 1/8 inch (3mm). For those chunkier or domed buttons, you might need to add a little more room to get a smooth fit.
How do I figure out the right buttonhole size?
The only way to be 100% sure is to do a test run. Always, always stitch a sample on a scrap of your project fabric—and don't forget to use the same interfacing you'll have in the final garment!
This little test takes a minute but saves so much potential frustration. It's the best way to confirm your button can slide through easily without being too loose.
At B-Sew Inn, we believe mastering skills like making the perfect buttonhole should be an empowering and fun experience. Our custom sewing machine designs, deep resources, and online training are all here to support you on your creative journey. Explore our full range of machines and accessories at the B-Sew Inn website.