If you’ve ever found yourself in a losing battle with shifting quilt layers or wrestled with fabrics that seem to have a mind of their own, the walking foot is the tool that will completely change your sewing game. It’s a special attachment that adds a second set of feed dogs on top, moving all your fabric layers together in perfect harmony.
This dual-feed action is the secret to finally getting rid of those frustrating puckers and achieving flawlessly even seams on your trickiest projects. At bsewinn.com, we believe that mastering tools like this empowers you to create beautiful, custom sewing machine designs with confidence.
Why a Walking Foot Will Transform Your Sewing
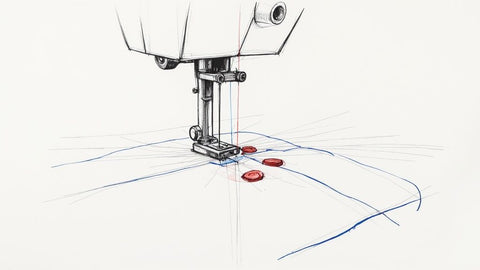
Let’s think about how a standard sewing machine works for a second. There’s a set of metal teeth—the feed dogs—that pop up from below the needle plate. Their only job is to grab the bottom layer of fabric and pull it through.
This works great for simple cottons. But what happens when you throw in some thick batting for a quilt, or a slippery top layer like minky or silk? The top layer gets pushed around by the presser foot and gets left behind, causing all sorts of headaches: shifting, puckering, and patterns that just won't line up.
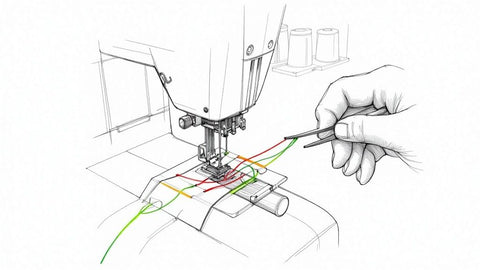
A walking foot is like giving your sewing machine all-wheel drive. It has its own set of grippy teeth right on the foot that work in sync with the machine's feed dogs. As the bottom feed dogs pull the backing fabric, the walking foot’s teeth grab the top fabric and move it at the exact same speed. This simple but brilliant mechanism is a game-changer. For a deeper dive into how this all works, check out the great insights over on sewingmachineman.substack.com.
This foot will become your go-to for all kinds of custom designs:
- Quilting: It’s an absolute must-have. It puts a stop to that dreaded "quilt creep," where your quilt top shifts and ends up longer than your backing.
- Slippery Fabrics: Materials like satin, silk, and minky glide through the machine without sliding apart. No more pins every half-inch on that custom-designed silk blouse!
- Stretchy Knits: It prevents jersey, fleece, and other knits from stretching out of shape as you sew, giving you flat, professional-looking seams on T-shirts and leggings every time.
- Pattern Matching: It gives you the precise control you need to get plaids, stripes, and other prints to line up perfectly across your seam lines on a tailored shirt.
When a Walking Foot is Your Best Choice
Sometimes it's tough to know when to switch from your standard presser foot. This quick guide should help clear things up.
| Sewing Task | Standard Foot | Walking Foot |
|---|---|---|
| Piecing cotton quilt blocks | ✅ Best choice | ❌ Not necessary |
| Sewing with slippery fabrics (silk, satin) | ❌ Can cause shifting | ✅ Your best friend |
| Topstitching a single layer | ✅ Perfect for this | ❌ Overkill |
| Quilting through all three layers | ❌ Will cause puckers | ✅ Essential for this |
| Matching plaids or stripes | 😬 Risky business | ✅ Highly recommended |
| Sewing stretchy knit fabrics | ❌ Can stretch seams | ✅ Ensures flat seams |
| Sewing vinyl or leather | ❌ Fabric will stick | ✅ Helps feed evenly |
As you can see, while your standard foot is great for general-purpose sewing, the walking foot is the hero for those projects that involve multiple layers or tricky fabrics.
At bsewinn.com, we believe that mastering tools like the walking foot unlocks a new level of creativity. Our online classes and extensive resources are designed to help you sew with confidence and precision from your very first project, turning frustrating tasks into beautiful, finished designs.
Choosing and Installing Your Walking Foot
First things first: you need the right walking foot for your specific sewing machine. I can’t stress this enough! They aren't one-size-fits-all. Most machines will need a high-shank, low-shank, or snap-on version.
Not sure which one you have? It's easy to check. Just lower your presser foot and grab a ruler. Measure from the bottom of the foot up to the center of the little screw that holds it on. If you get about 1.25 inches, you've got a high shank machine. If it's closer to 0.5 inches, you'll need a low shank foot.
Once you have the right foot in hand, getting it on the machine is pretty simple, but it does take a little attention to detail.
Prepping Your Machine
Safety first! Turn off your machine. You don't want any accidental stitches while your fingers are in there.
Go ahead and remove whatever presser foot is currently on the machine. You'll also need to completely remove the screw that holds the presser foot holder (the shank) onto the presser bar. Set that screw somewhere safe—it's tiny and loves to disappear.
Now, take a look at your new walking foot. You'll see a small, fork-like arm sticking out from the side, shaped like a 'C'. This little piece is the key to the whole operation.
Attaching the Foot Correctly
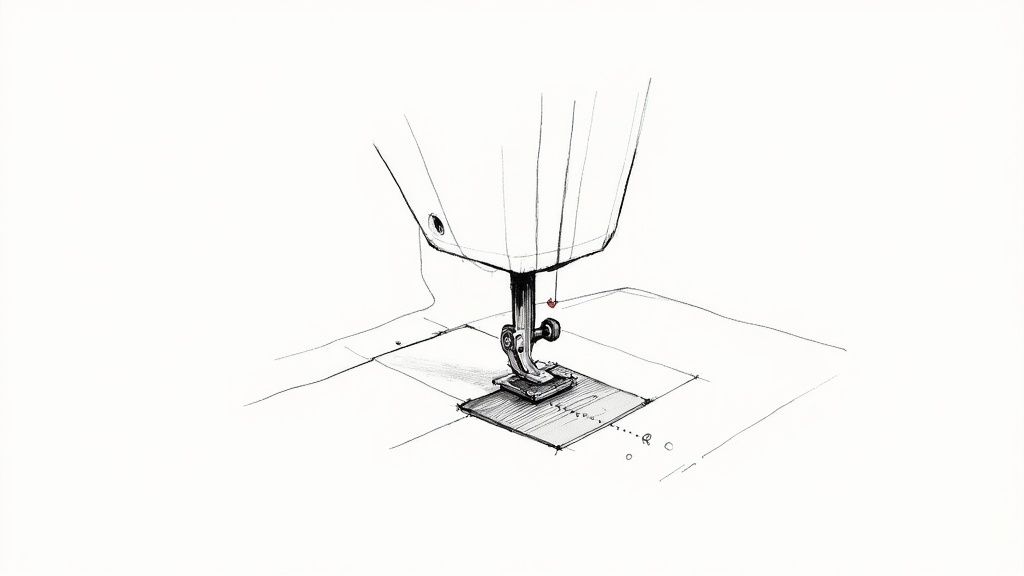
The magic of a walking foot happens when that C-shaped arm connects to your machine's needle bar. That arm needs to sit right on top of the needle clamp screw—yep, the same screw you loosen to change your needle. This is non-negotiable! It’s this connection that lets the walking foot's own little feed dogs move in perfect sync with the needle, pulling the top layer of your fabric through at the same rate as the bottom.
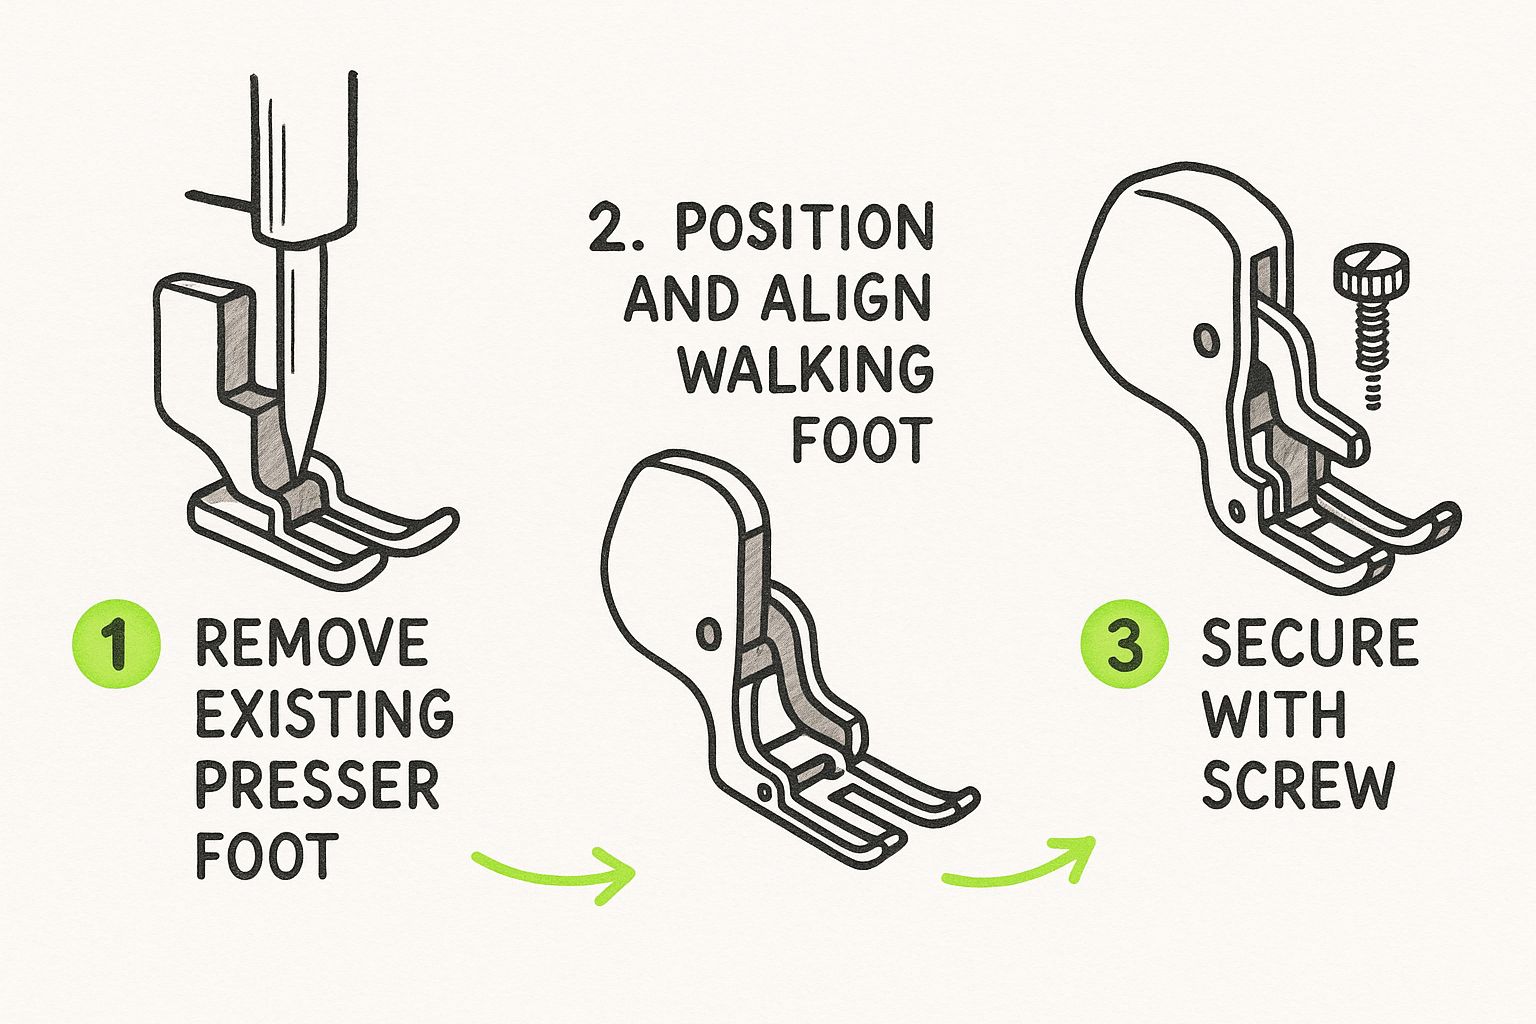
This is the spot where most people get tripped up. Make sure that C-shaped arm is securely straddling the needle clamp screw before you do anything else.
With the arm in place, line up the main part of the walking foot with your presser bar. Now, put that little screw you set aside back in and tighten it up. Snug is good, but don't crank on it like you're changing a tire.
Before you start sewing, turn the handwheel toward you a few times. Watch the needle go up and down to make sure it moves freely and doesn't hit any part of the foot. If everything looks good, you're all set!
If you're still looking for the perfect attachment for your machine, you can explore the different walking foot options available at bsewinn.com.
Mastering Straight-Line Quilting
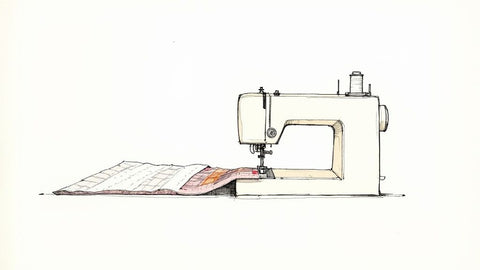
If there's one area where a walking foot truly shines and earns its keep, it's straight-line quilting. It's the absolute best way to combat that dreaded "quilt creep"—you know, that frustrating moment when your quilt top, batting, and backing start to shift and slide out of alignment.
It’s this subtle movement that causes all those annoying puckers and tucks on the back of your quilt. The walking foot’s even-feed action puts a stop to it, making sure all three layers of your quilt sandwich glide through the machine as a single, cohesive unit. This is the key to creating professional-looking quilted tote bags, baby quilts, and custom placemats.
Getting Your Settings Right
Before you even think about sewing, let’s get your machine’s settings dialed in. For quilting, you’ll want to bump up your stitch length. Trust me, a longer stitch just looks better on a quilt and helps the layers meld together without getting stiff.
I usually aim for a stitch length somewhere between 2.5mm and 3.5mm. Your standard piecing length (which is probably around 2.0mm) is way too short for this. It can perforate the fabric and make your quilt feel rigid instead of soft and drapey.
Creating Perfectly Spaced Lines
Once your settings are good to go, you need a game plan for keeping your quilting lines straight and evenly spaced. This is the secret to that clean, modern quilting aesthetic. Luckily, there are a couple of really simple, effective ways to do this.
- Painter's Tape: This is a great trick for your very first line of quilting on a project like a pillow cover. Just lay down a strip of low-tack painter’s tape across your quilt and stitch right along its edge. It’s a foolproof guide.
- The Seam Guide: This is my go-to method. Most walking feet come with a little L-shaped metal rod called a guide bar. You just slot it into the back of the foot and adjust it to your desired distance—say, one inch. As you sew your next line, you just keep the guide running perfectly along the line you just stitched. Flawless spacing every single time.
If you're planning on more intricate patterns built from straight lines, upgrading to a walking foot with multiple guides can be a game-changer for precision.
Here's a tip I swear by: always start quilting in the middle of your quilt and work your way out towards the edges. This little trick pushes any excess fabric or fullness outwards, preventing any puckers from getting trapped in the center of your project.
Stitching in the Ditch
Another classic technique where the walking foot is indispensable is "stitching in the ditch." This is where you quilt directly inside the seam lines of your pieced quilt top. The idea is to have the stitches sink down into the "ditch" of the seam, making them practically invisible from the front.
To pull this off, you just guide your needle so it falls exactly where the two pieces of fabric meet. The walking foot is key here because it stops the layers from shifting, letting you maintain incredible accuracy. It’s a beautiful way to add texture and secure your quilt layers without distracting from all your hard work on the piecing.
At bsewinn.com, we want to empower you to turn your skills into beautiful, finished projects. Once you’ve mastered these straight-line techniques on something small, like a baby quilt, you’ll have the foundational skills to tackle any quilting project with confidence, backed by our online classes and resources.
Sewing Tricky Fabrics with Confidence
A walking foot is truly a secret weapon, especially for those fabrics that just love to misbehave. If you've ever battled puckered silks or stretched-out knits, you know the frustration. The even-feed action of this foot gives you the control to tame those problem materials, turning what could be a sewing disaster into a project you're proud of.
Think of it as your best friend when dealing with anything slippery, stretchy, or even a bit sticky. By gripping the top layer of fabric and moving it in sync with the feed dogs, it prevents all that annoying shifting and bunching you get with a standard presser foot.
Taming Slippery and Stretchy Fabrics
We've all been there. Slippery fabrics like satin, silk, and charmeuse are notorious for sliding around, which leads to wavy, uneven seams no matter how many pins you use. A walking foot puts an end to that struggle by holding the layers together and feeding them through the machine at the exact same rate. The result? A beautifully straight, pucker-free seam for a custom-designed evening gown or silky pillowcase.
It’s the same story for knits and minky, which have a ton of stretch. A regular presser foot can easily push and distort that top layer, creating wavy seams that just won't lay flat. Once you learn how to use a walking foot on these fabrics, you'll see how it gently guides the material through without stretching it out, preserving its natural drape for a perfectly finished t-shirt or cozy blanket.
My Go-To Tip: When sewing knits, always pair your walking foot with a ballpoint or stretch needle. This combination is the absolute key to preventing skipped stitches and protecting the fabric’s delicate fibers from getting snagged.
Conquering Vinyl, Leather, and Bulky Layers
Vinyl, leather, and their faux counterparts present a totally different headache—they love to stick to a standard metal presser foot. This causes your stitch length to go all over the place and often leads to skipped stitches. The walking foot’s design helps the material glide along smoothly, preventing it from dragging or sticking, perfect for creating a custom handbag or jacket.
And for those big, ambitious projects with multiple bulky layers? A walking foot is non-negotiable. Whether you're sewing through thick minky for a blanket or quilting multiple layers of fleece, it provides the power and traction needed to move the entire stack without distorting it. Here at bsewinn.com, our goal is to give you the tools and knowledge to tackle these projects without fear. Our online classes are packed with demonstrations showing you exactly how to handle these materials for gorgeous, custom results.
Every machine and fabric combination is a little different, so it's always smart to test your settings on a scrap piece first. But if you need a good place to start, these are my go-to recommendations.
Recommended Settings for Tricky Fabrics
| Fabric Type | Recommended Stitch Length (mm) | Recommended Needle Type |
|---|---|---|
| Knit Fabric | 2.5 - 3.5 | Ballpoint or Stretch |
| Satin or Silk | 2.0 - 2.5 | Microtex (Sharp) |
| Minky Fabric | 3.0 - 4.0 | Stretch or Universal |
| Vinyl or Leather | 3.5 - 4.5 | Leather or Denim |
Think of this table as your cheat sheet. Tweak the stitch length up or down based on your test swatch until you get a result you're happy with
Matching Patterns and Plaids Perfectly
We’ve all been there. You spend ages carefully cutting your plaid pieces for a shirt, only to have them shift just a little at the seam. That tiny misalignment can be so frustrating! There's a special kind of pride that comes from a perfectly matched plaid seam or a stripe that continues flawlessly across a garment, and a walking foot is the secret weapon to get you there.
This is where the even-feed action of a walking foot truly shines, turning what can be a tricky task into something genuinely satisfying. Without it, the top layer of fabric almost always creeps forward, throwing your careful alignment off just enough to be noticeable.
The walking foot gives you that precise control you need for garments and quilts that look professionally finished. It grips both layers of your patterned fabric at the same time, making sure they feed under the needle at the exact same speed. It’s this simple mechanical magic that prevents that subtle fabric creep from ruining your project.
A Pro Technique for Flawless Alignment
To get that pattern-matching perfection, your prep work is just as important as the tool itself.
Start by carefully aligning your pattern pieces, paying close attention to where the lines will meet at the seam. Once you have them lined up just so, it’s time to pin like you mean it.
Pinning perpendicular to the seam is the key here. I place my pins about every inch or so, making sure each one goes through both layers right on the matching pattern line. Trust me, this method secures the fabric much more effectively than pinning parallel to the edge.
With your fabric securely pinned, you can sew with confidence. Just guide the fabric gently and let the walking foot do the heavy lifting of keeping everything in sync. This is one of those skills that really elevates your sewing, and it’s a favorite of mine to teach in our workshops.
At bsewinn.com, our entire mission is to empower you to create projects you’re deeply proud of. Through our online classes and extensive training resources, we provide the support you need to master techniques like pattern matching, turning your creative vision into a beautifully executed reality.
Tackling Common Walking Foot Hiccups
Even the best sewing tools have their off days. When your walking foot starts acting up, don't let it throw off your entire project. The fix is usually a lot simpler than you might think. Let's walk through some of the most common issues I see and get you back to sewing smoothly.
That sudden clunking noise is easily the most frequent complaint I hear. Before you start imagining the worst, take a peek at the little C-shaped arm on the foot. I’d say 90% of the time, that clunk just means the arm has slipped off the needle clamp screw. All you have to do is nudge it back into place so it's hugging the screw, and the noise should vanish.
Sorting Out Stitches and Feeding Issues
Are you getting those infuriating skipped stitches? It's almost never the walking foot's fault. The first place you should always look is your needle. A dull, bent, or simply wrong-sized needle for your fabric is the number one cause of skipped stitches. Pop in a fresh, sharp needle that’s right for your material and see if that clears it up.
If your fabric layers still aren't gliding through as evenly as you’d like, it’s time to double-check your setup.
- Is it screwed on tight? Make sure the main screw holding the walking foot to the presser bar is snug. A wobbly foot can't get a good grip on your fabric.
- Check the arm again. Seriously, it's a common culprit! Verify that the C-arm is still sitting correctly on the needle clamp screw. It can slip off as you sew.
- Play with the pressure. On machines that allow it, you can adjust the presser foot pressure. If you’re quilting through some really thick, lofty layers, sometimes easing up on the pressure just a bit helps everything feed through more happily.
Here at bsewinn.com, we know that great tools are only half the battle. You also need practical, real-world support. Our goal is to help you spend less time getting frustrated with your machine and more time bringing your beautiful, custom projects to life.
For a deeper dive into other machine quirks that might pop up, check out our comprehensive sewing machine troubleshooting guide for more tips.
Ready to master your sewing projects with confidence? At bsewinn.com, we provide the machines, accessories, and expert training you need to bring your creative vision to life. Explore our extensive collection and join our community of empowered crafters today. Visit us at https://www.bsewinn.com.