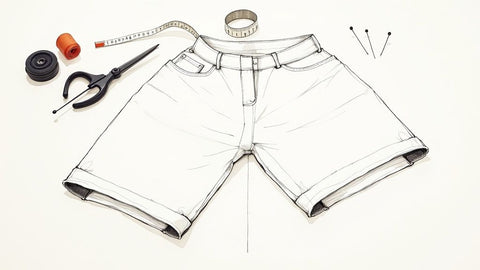
Learning how to hem a pair of pants is a foundational skill that empowers every crafter. At its core, it's a straightforward design process: measure and mark the new length, press the fold, and sew the hem in place. Getting the length of your pants right can completely transform your outfit, taking something from "just okay" to "perfectly tailored."
Your Guide to Perfectly Hemmed Pants
Many crafters shy away from hemming, thinking it’s a tricky job better left to a professional tailor. But you can achieve a flawless, sturdy hem right at home with just a handful of basic tools. This guide showcases a tangible, replicable process, walking you through everything you need to know, from gathering your supplies to mastering that final stitch.
We’ll cover the most common hemming designs, so you can feel confident tackling any pair of pants in your closet. We're talking everything from a quick machine stitch for durable jeans to the more refined hand-sewing techniques for delicate dress slacks—each a project you can replicate with confidence.
What You Will Learn in This Guide
This guide is your go-to resource for creating perfectly hemmed pants. We’ll break down each step so you can build your skills and feel proud of the results you can replicate.
- Essential Tools: A look at the non-negotiable supplies that make the process smoother.
- Preparation Steps: A clear process for getting a perfectly even hem every time starts with how you measure, mark, and press.
- Hemming Techniques: Detailed instructions for different hemming designs, including machine sewing and hand stitching.
- Style-Specific Examples: Words of advice for handling various fabrics like denim, dress slacks, and tricky stretchy materials.
At bsewinn.com, we are committed to empowering crafters through our custom sewing machine designs. We believe skills like hemming should be accessible to everyone, and our extensive resources are here to help you tackle any project with creativity and confidence.
This isn't just about making your pants shorter; it's about gaining a valuable skill that gives you total control over how your clothes fit. Whether you're a complete beginner or just want to brush up on your technique, our supportive ecosystem of online classes and training materials is here for you. By the time you finish this guide, you’ll be ready to give any pair of pants a professional, polished finish.
Gathering Your Essential Hemming Toolkit

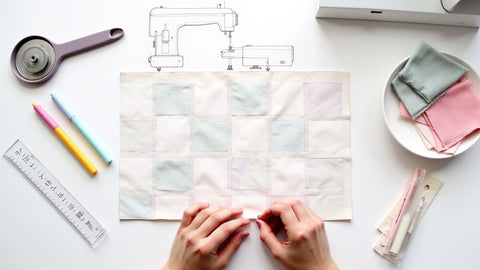
Before you begin this project, let's talk tools. Getting all your supplies together before you start transforms the whole process from a potential chore into a smooth, creative session. Having everything you need within arm's reach makes all the difference.
While a quality sewing machine is the cornerstone of any sewing space, it's the smaller tools—the scissors, pins, and marking tools—that truly guarantee a professional-looking hem. The right equipment sets you up for success and cuts down on frustration, empowering you to replicate beautiful results.
If you're building your kit from scratch, our detailed guide on the top sewing tools for beginners is a fantastic starting point.
Your Core Hemming Supplies
Ready to build your kit? Think of these as your non-negotiables for getting a great result every single time you sit down to create.
To make it even easier, here's a quick checklist you can use to pull everything together for your hemming project. Keep these basics in a small caddy so you can just grab it and get to work.
Essential Hemming Supplies Checklist
| Tool or Material | Why You Need It | Pro Tip |
|---|---|---|
| Fabric Scissors | A sharp pair ensures clean, fray-free cuts on your fabric. | Keep your fabric scissors sacred! Never use them on paper, as it will dull the blades instantly. |
| Steam Iron & Ironing Board | For pressing crisp, sharp creases into your hem before you sew. | Use the steam function to help set the fold permanently. A shot of steam makes the fabric behave. |
| Pins or Sewing Clips | To hold the folded hem securely in place while you mark and sew. | Fine, sharp pins are best for delicate fabrics to avoid leaving holes. Clips are great for thicker materials like denim. |
| Measuring Tape & Seam Gauge | A flexible tape for measuring the inseam and a seam gauge for marking an even hem allowance. | A sliding seam gauge is a game-changer for accuracy. You can set your desired depth and mark all the way around. |
| Fabric Marker or Chalk | To draw a clear, temporary line for cutting and folding. | Always test your marking tool on a scrap of the same fabric first to make sure it washes out completely. |
| Matching Thread | The thread that will form the stitches of your new hem. | If you can't find a perfect color match, always opt for a thread that's a shade darker. It will blend in better than one that's too light. |
| Seam Ripper | For those inevitable moments when you need to undo a stitch. | Think of it as your quality control tool. It lets you get things perfect. |
With these items on hand, you’re well-equipped for virtually any hemming design that comes your way.
A quick note on thread: If you can't find an exact match for your fabric, choose a shade that's slightly darker. Lighter thread tends to stand out more, while a darker shade just melts into the fabric. It’s a small trick that makes a big difference in your finished design.
Hemming is a fundamental skill in sewing, a massive part of the global apparel industry. The attention to a quality finish is critical, whether it's on a factory line or on your sewing table at home.
How to Prepare Your Pants for Hemming
The secret to a flawless hem isn't just in the final stitch—it's all in the prep work. Rushing this stage is the quickest way to end up with an uneven or sloppy finish. If you take your time here, you’re setting yourself up for a professional result that looks like it came straight from a tailor. This is a replicable process that guarantees success.
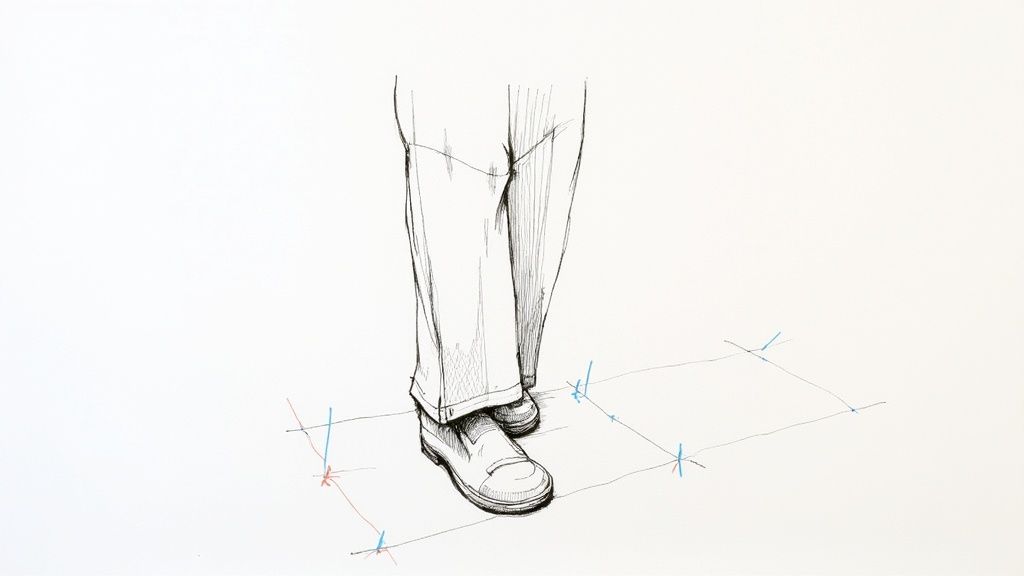
The most critical first step is getting an accurate measurement. You have to put on the pants and, just as importantly, the shoes you plan to wear with them most often. The difference between heels and flats can completely change where the hem should fall. Stand naturally in front of a mirror and ask a friend to help you pin the hem to that perfect length.
Marking and Trimming with Confidence
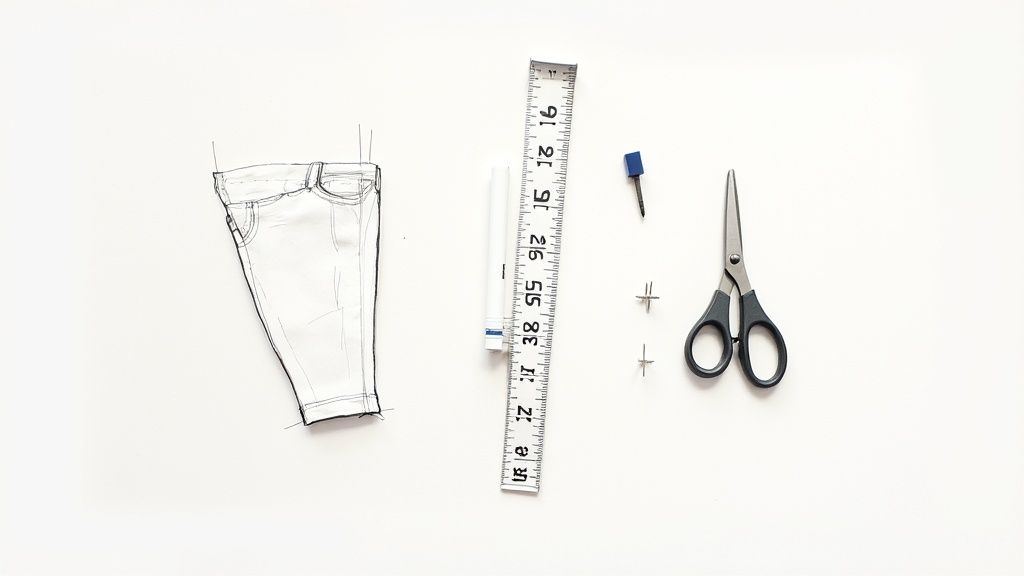
Once you've pinned one leg exactly where you want it, take the pants off. Lay them perfectly flat and measure the inseam—that's the line from the crotch seam all the way down to your new pinned hemline. Use this precise measurement to mark and pin the second leg. This is the best way to ensure both are identical. A simple measuring tape and some fabric chalk are your best friends for this part.
A common mistake is measuring from the waistband, but the inseam gives you a much more reliable reference point for getting two perfectly even pant legs.
After you've marked your new hemline, it's time to trim away the excess fabric. But wait! Don't cut right on your mark. You need to leave a hem allowance, which is the extra fabric you'll fold up to create the finished hem.
Here’s a quick guide based on successful project examples:
- For jeans and casual pants: Leave about 1 to 1.5 inches. This is plenty for a sturdy double-fold hem that can take some wear and tear.
- For dress slacks: A slightly wider allowance of 1.5 to 2 inches is ideal. It adds a bit of weight, which helps the pants hang beautifully.
Finally, there's one step that is never skipped in professional designs: pressing. Fold the hem allowance up along your marked line and press it with a hot, steamy iron. This creates a crisp, sharp crease that makes the final sewing stage infinitely easier and more accurate.
Choosing the Right Hemming Technique
Not all hems are created equal. The best method for your project really depends on your pants' fabric, their style, and the look you're going for. Knowing how to hem pants is one thing, but picking the right stitch for the job? That's the difference between a quick fix and a truly professional finish.
It's a skill worth having. Garment alteration is a huge business, and more people are choosing to mend and tailor their clothes to make them last longer. You can read more about the garment alteration market to see just how much this is growing. The good news is you don’t need to be a pro tailor to get pro results. Our community and extensive resources are here to support you in mastering these designs. Let’s walk through three tangible examples of hemming techniques you can replicate.
The Durable Machine Straight Stitch
For your everyday pants—think jeans, chinos, and other casual trousers—the machine straight stitch is your workhorse. It’s strong, it’s fast, and it creates that clean, visible line of stitching that's part of the classic look for these styles. This method is a perfect first project for any crafter.
This design is perfect for medium to heavyweight fabrics that need a sturdy finish. Since the stitches will be visible, the key is to use a thread that either perfectly matches your fabric or contrasts with it intentionally for a bit of stylistic flair.
The Invisible Blind Hem Stitch
Now, when you’re dealing with dress pants, suit trousers, or skirts made from finer materials, you want that hem to disappear. This is where the blind hem stitch absolutely shines. It’s a clever technique that creates a nearly undetectable finish by just catching a single thread on the outside of the fabric.
This is what gives garments that high-end, professionally tailored look. While you can certainly do it by hand, a sewing machine with a special blind stitch foot makes the whole process incredibly quick and precise. Mastering this design is a major level-up for your sewing skills, and our online classes can show you exactly how.
A well-executed blind hem is the secret handshake of quality craftsmanship. It shows you paid attention to the details, and it results in a clean, sophisticated drape that lets the fabric be the star.
The Delicate Hand-Sewn Slip Stitch
Finally, for those really delicate or slippery fabrics like silk, chiffon, or fine wool, hand-sewing is often your best bet. The slip stitch is a go-to hand-sewing technique; it gives you maximum control and leaves a beautiful, invisible finish.
It's also a fantastic option if you don't own a sewing machine. Sure, it takes more time, but the result is a soft, flexible hem that won't pucker or pull on lightweight fabrics—something a machine might struggle with. This is a replicable design that showcases true artisan skill.
Comparing Hemming Methods
Feeling a little overwhelmed by the options? Don't be. Choosing the right technique just comes down to the fabric you're working with and the final look you want to create. This quick table breaks down the key differences to help you decide.
| Technique | Best Suited For | Difficulty Level | Key Tools |
|---|---|---|---|
| Machine Straight Stitch | Jeans, chinos, casual pants | Beginner | Sewing machine, matching thread |
| Blind Hem Stitch | Dress pants, skirts, trousers | Intermediate | Sewing machine, blind hem foot |
| Hand-Sewn Slip Stitch | Silk, chiffon, delicate fabrics | Intermediate | Hand-sewing needle, thimble |
Each method has its place in your sewing toolkit. A machine gives you speed and strength, while hand-sewing offers that gentle touch for more delicate projects.
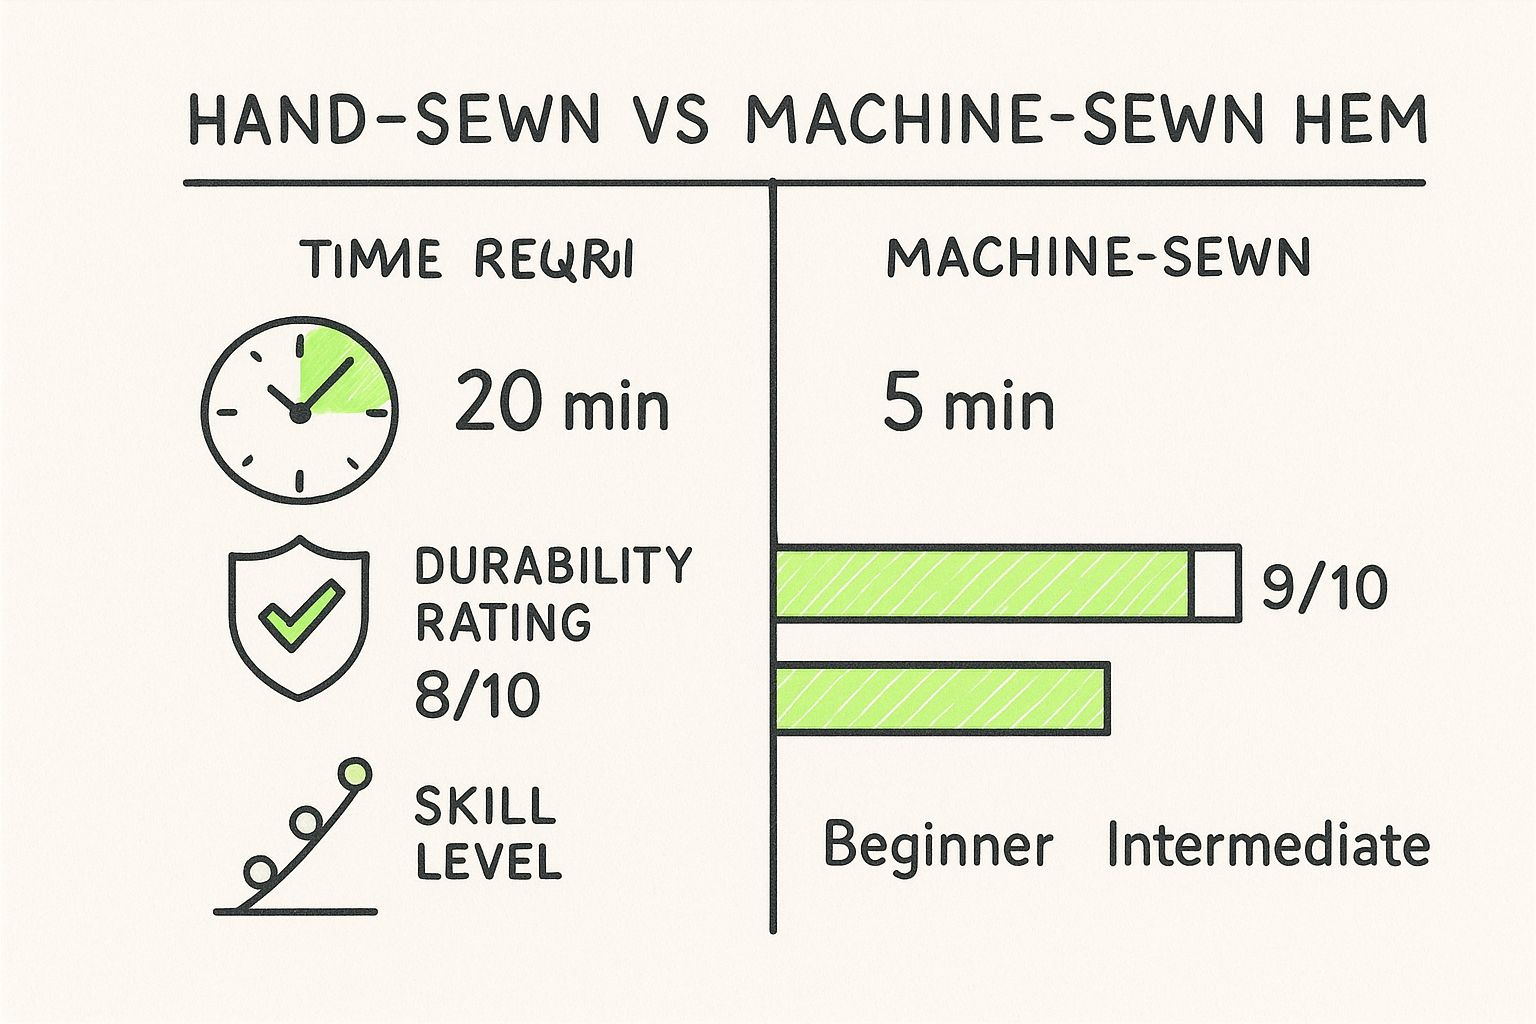
As you can see, it's all about matching the tool to the task. Machine hemming is unbeatable for speed and durability on most projects, but nothing beats the delicate touch of hand-sewing for those special fabrics.
Tailoring Your Hem to the Pant Style
Hemming isn't a one-size-fits-all job. You wouldn't treat a delicate pair of silk trousers the same way you'd tackle some rugged old denim, and stretchy fabrics like leggings have their own rulebook entirely. Knowing how to adapt your technique is what separates a decent hem from a great one. Let's look at some tangible examples for the pants in your closet.
Handling Denim Jeans
For most jeans, the goal is to create a design that keeps that cool, factory-distressed hem. You can replicate this professional look! The best way to do this is to carefully cut off the original hem, sew it back onto your newly shortened jeans, and then trim away the excess fabric from the inside. It's a clever trick that results in a totally professional finish, preserving the original character of the denim.
With the right custom sewing machine from bsewinn.com and a bit of guidance from our training materials, this seemingly complex project becomes easily achievable.
Achieving an Invisible Finish on Dress Slacks
When you're hemming dress slacks, you want the stitches to be completely invisible. These pants are often made from fabrics that are a bit slippery or delicate, so you need to be precise. The blind hem stitch is your absolute best friend here. It’s designed to catch just a single thread on the outside of the fabric, which makes the seam practically disappear.
For fabrics that are extra slippery, always hand-baste the hem in place before taking it to the machine. It feels like an extra step, but it's a lifesaver for preventing the material from shifting and giving you a perfectly straight, pucker-free hem.
Hemming Stretch Pants and Leggings
Working with stretch fabrics—think leggings, yoga pants, or anything with a lot of lycra—requires a stitch that can move and stretch right along with the material. If you use a standard straight stitch, you'll hear those threads snap the second you bend your knees.
Instead, switch your machine to a narrow zig-zag stitch or, if you have one, a dedicated stretch stitch. These stitches have "give" built right in, so they won't break under tension. For these kinds of tricky fabrics, a walking foot can be a total game-changer. If you haven't used one before, our guide on how to use a walking foot will show you why it’s so helpful.
Common Hemming Questions Answered
Even with the best instructions, you're bound to run into a few questions when you're learning how to hem pants. It happens to all of us! Our community and expert trainers are always here to offer support, but here are answers to some of the most common questions crafters ask.
What Is the Best Way to Hem Pants Without a Sewing Machine?
If you don't have a sewing machine, don't worry—you've got a couple of great options. The absolute quickest method is to use a fusible bonding web, often called hem tape. It’s an adhesive strip that you tuck inside the folded hem and press with a hot iron. It creates a surprisingly strong bond that holds up well on most fabrics.
For a more traditional and durable finish, you can’t beat hand-sewing with a classic slip stitch. This technique gives you a nearly invisible finish from the outside, which makes it a great choice for dress pants or delicate fabrics. Just remember, both methods still need that careful measuring and pressing to get a crisp, professional-looking result.
How Can I Make Sure Both Pant Legs Are the Same Length?
Getting two perfectly even pant legs is all about locking in a consistent measuring point. First, put on the pants with the shoes you plan to wear most often with them. Then, have a friend help you pin one leg to the perfect length.
Once you take the pants off, lay them flat and measure the inseam—that's the seam running from the crotch down to your new pinned hem. Jot that number down. Now, use that exact measurement to mark and pin the second leg. Before you make a single cut, fold the pants in half lengthwise, matching up the side seams, to do a final visual check that both pinned hems align perfectly.
Measuring the inseam is far more reliable than measuring from the waistband, which can stretch or sit unevenly. The inseam doesn't lie, and it will give you an even result every single time.
How Much Extra Fabric Should I Leave for the Hem?
That bit of leftover fabric is called the hem allowance, and how much you need really depends on the style of the pants and the fabric.
- Jeans & Casual Pants: A classic 1- to 1.5-inch double-fold hem is your best bet. This means you'll need about 2 to 3 inches of extra fabric below your final hemline to work with.
- Dress Pants: For a blind hem, a slightly wider allowance of 1.5 to 2 inches is ideal. It adds a bit of weight that helps the pants hang and drape beautifully.
- Lightweight Fabrics: On very fine or drapey materials, a narrow rolled hem of just 1/4 to 1/2 an inch is all you need to keep things from looking bulky.
If you’re ever in doubt, just take a peek at the original hem. It's usually your best guide.
Why Are My Stitches Puckering the Fabric?
Puckering is almost always a sign that your thread tension is off. If the top thread on your sewing machine is too tight, it yanks on the bobbin thread from below, causing that annoying bunching. The first thing you should do is try lowering your machine's top tension setting a notch or two.
It can also happen if your needle is dull or the wrong type for your fabric. Always start a project with a fresh, sharp needle that’s right for the material. Most importantly, always test your stitches on a scrap piece of the same fabric before you sew the real thing. It’s a crucial step that our training resources always emphasize to save you frustration!
At B-Sew Inn, we're here to help you nail skills like hemming. We are committed to empowering crafters through our custom sewing machine designs, offering the support you need via online classes, training, and extensive resources. With the right tools and a little guidance, you can get that professional finish on any project you can imagine. Check out our custom sewing machine designs and other great resources to take your craft to the next level. Visit us at https://www.bsewinn.com to continue your creative journey.