

The Singer One Plus is one of those modern, computerized machines that does a fantastic job of blending the classic, reliable Singer name with features that just make sense for today's sewist. It’s got enough power under the hood for someone who’s been sewing for years, but it’s straightforward enough that you won’t feel overwhelmed if you’re just starting out.
Your Creative Partner: The Singer One Plus
Consider this your complete guide to the Singer One Plus sewing machine. We’re going to walk through everything this machine has to offer, from the moment you get it out of the box to the fancy stitches you'll use on your most ambitious projects. I like to think of a good machine as more than just a tool; it's a partner that helps bring your creative ideas to life.
Here at bsewinn.com, we are committed to empowering crafters like you. Getting the right machine is just the first step, which is why we’ve built a whole support system to help you grow.
- Online Classes: Pick up new skills right from your craft room.
- Expert Training: Get that hands-on guidance to really build your confidence.
- Vast Resources: Dive into our library of tutorials whenever you get stuck or need inspiration.
A Legacy of Craftsmanship
Let’s be honest, the Singer name carries some weight. They’ve been making sewing accessible since way back in 1851, and they’ve always been at the front of the pack. By the early 1900s, they had sold over a million machines in the U.S. alone! A big reason for that was their innovative installment payment plans, which finally let middle-class families bring a machine home. It's that long history of quality and reliability that stands behind the machine you're looking at today.
Built for Every Crafter
The Singer One Plus really hits that sweet spot. It's designed for beginners who are just learning to thread a needle, but it also has the features that a seasoned sewist will appreciate. Everything is geared toward making the sewing process feel less like a chore and more like fun.
If you are brand new to this world, getting a handle on the fundamentals is key. Our guide on sewing machine basics for beginners is the perfect place to start before you dive in.
Think of this machine as the bridge between old-school sewing and modern convenience. It can handle a simple hem on a pair of pants just as easily as it can tackle a complex quilt, making it a truly versatile workhorse for any sewing space. We want you to feel totally confident as you start exploring everything your new machine is capable of.
Unboxing and Setting Up Your Machine
There's nothing quite like the feeling of bringing a new sewing machine home. It’s a box full of pure creative potential! Let's make sure your first moments with the Singer One Plus sewing machine are exciting, not overwhelming. Think of this as your personal guide to getting started right away.
The first thing you'll want to do is carefully unbox everything. Inside, you’ll find the machine itself and a whole treasure trove of accessories for all sorts of projects. Take a minute to lay everything out and get acquainted with your new toolkit, from the different presser feet to the bobbins and spool caps.
Effortless Threading and Bobbin Setup
Ask any sewist what their biggest pet peeves are, and threading the needle and winding bobbins will almost always make the list. Singer clearly had this in mind, because they built two brilliant features into the One Plus to take those headaches away for good.
First up is the SWIFTSMART™ Threading System. Honestly, it's like having a helpful assistant built right into your machine. Forget squinting and trying to poke a flimsy thread through a microscopic needle eye. This system guides the thread along a simple path, and then with one press of a lever, it pushes the thread right through the needle for you. It's that easy.
Then there's the DROP & SEW™ Bobbin System, which is just as much of a game-changer. You just drop the bobbin in from the top and the machine automatically picks up the thread. No more fishing around trying to pull the bobbin thread up yourself. This little feature saves a surprising amount of time and prevents those annoying thread nests before you even start sewing.
This infographic really captures the spirit of the Singer One Plus—it’s a beautiful blend of a classic legacy with modern creative freedom.
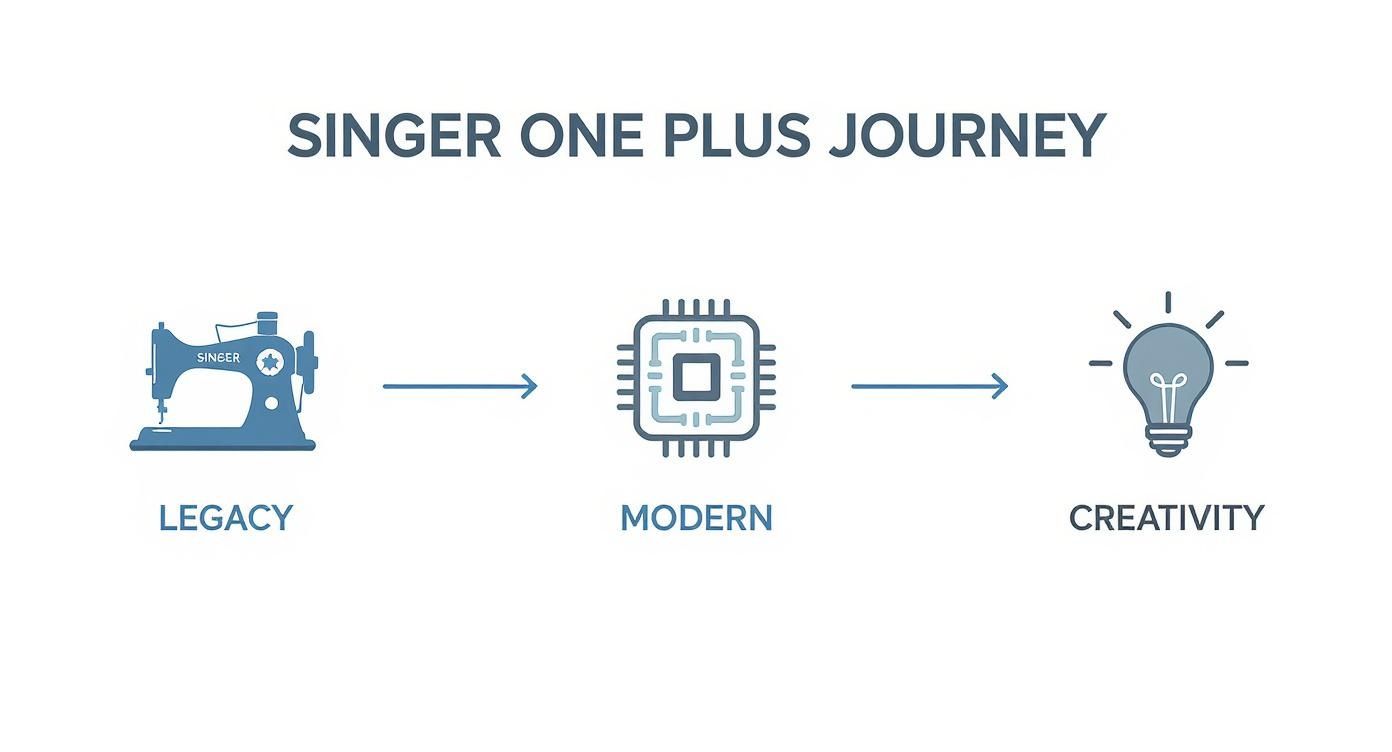
You can see how the machine honors its strong roots in traditional sewing while adding modern tech that opens up a world of possibilities for today’s crafters.
Your First Confident Stitch
Alright, now that the tricky parts are out of the way, let's get you sewing your first line and build some confidence. Grab a piece of scrap fabric—some simple cotton or felt is perfect—and let's make a stitch. This is all about getting a feel for the machine's speed and how it responds to you.
- Place the Fabric: Lift the presser foot lever and slide your fabric right underneath the needle.
- Lower the Foot: Gently lower the presser foot so it holds the fabric snugly.
- Select a Straight Stitch: Use the simple push-button controls to pick the basic straight stitch.
- Start Sewing: Give the foot pedal a light press. Your job is just to guide the fabric as the machine lays down a perfectly straight line of stitches.
Getting these first steps down is the foundation for every single project you'll ever make. When the setup is smooth and easy, you can keep your focus where it belongs: on your design, not on fighting with your machine.
Once you’ve got everything unboxed, properly threading your machine is the next crucial step. This fantastic guide on how to thread a sewing machine correctly is a great resource to use alongside the manual, offering helpful visuals that really complement the SWIFTSMART™ system.
And for anyone who learns best by watching, seeing the process in action can make all the difference. Here at bsewinn.com, our introductory online classes walk you through this exact setup, step-by-step. Our instructors will guide you through unboxing, threading, and making those first stitches, so you can start your journey with the Singer One Plus sewing machine feeling capable and totally inspired. We’re here to give you the skills and support to bring your unique creative visions to life.
Exploring the Core Features and Stitches
Okay, your machine is threaded and ready to go. This is where the real fun begins.
Diving into the features of the Singer One Plus is like cracking open a brand-new box of art supplies. Every single stitch and setting is a new tool to bring your ideas to life. Let's get past the setup and explore the huge library of stitches built right into this machine, showcasing how you can create tangible designs with these tools.
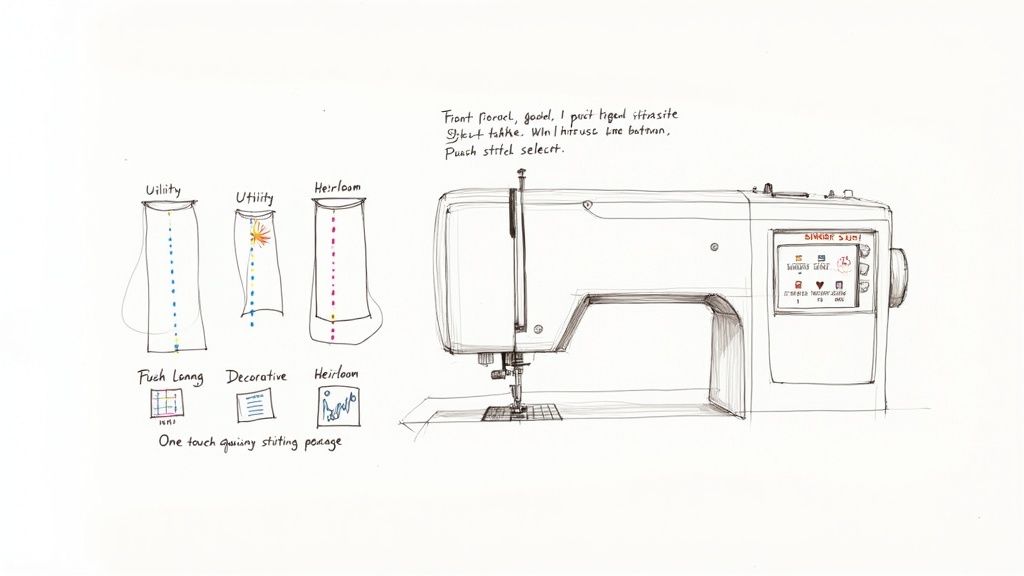
The stitch library is smartly organized into three main groups, and each one has a specific job to do in your projects. We’ll look at them one by one with some real-world examples, so you can see exactly how they come in handy.
The Foundation: Utility Stitches
Think of utility stitches as the structural beams of your sewing projects. They're the workhorses that create strong, solid seams for everything from putting a shirt together to making a simple pillowcase. The Singer One Plus makes choosing them ridiculously easy with its push-button selection and clear LCD screen—it feels as intuitive as using your phone.
Here are a few of the must-know utility stitches and how you can use them in a real project:
- Straight Stitch: For a simple but sturdy tote bag, this is the stitch you'll use to join the main fabric panels. It’s perfect for piecing quilt blocks, attaching pockets, and sewing basic seams on woven fabrics like cotton or linen.
- Zigzag Stitch: To create a professional finish inside that tote bag, use a zigzag stitch along the raw edges of your fabric to prevent fraying. It's also your go-to for sewing on elastic.
- Stretch Stitches: If you're making a comfortable t-shirt from jersey fabric, these stitches are non-negotiable. They are designed to stretch with the fabric, preventing your seams from popping when the garment is worn.
Adding Flair with Decorative Stitches
Now we're talking! This is where your inner designer gets to come out and play. Decorative stitches can take a simple project and turn it into something that’s truly unique and personal. The Singer One Plus is loaded with options, from sweet little scallops and vines to more modern geometric patterns.
Just imagine adding a delicate vine stitch along the hem of a child's dress. Or a bold, graphic pattern on a custom pillow. These are the little details that make handmade items feel so special.
To get the most out of these gorgeous stitches, good technique is everything. You can check out our top tips for beautiful decorative stitches to make sure your embellishments always look crisp and professional.
Creating Timeless Heirloom Stitches
Heirloom stitches are a beautiful nod to classic, delicate sewing from a bygone era. Stitches like entredeux or hemstitching are designed to look like the fine details you'd find on vintage lacework and hand-sewn treasures. They're perfect for creating christening gowns, delicate blouses, or elegant table linens that will be cherished for generations.
The amazing precision of a computerized machine like the Singer One Plus makes these intricate stitches so much more achievable for everyone. You can get a level of detail that used to require hours of painstaking handwork, adding a touch of timeless elegance to your projects without the headache.
Your machine's features are designed to work together, giving you complete control. Adjusting stitch length and width allows you to customize any stitch, while the one-touch reverse button secures your seams with professional-looking backstitches.
When you're planning your projects, understanding how to pair your machine's features with different materials is a game-changer. For instance, comparing different fabric types like bamboo and Tencel can really help you pick the right material and then choose the best stitch settings for the job.
I've put together this little table to break down the key features of the Singer One Plus and show you exactly how each one helps you in your craft room.
Singer One Plus Feature Breakdown and Crafter Benefits
| Feature | Function | Benefit for Crafters |
|---|---|---|
| Push-Button Selection | Instantly select stitches from the built-in library with a simple press. | Speeds up your workflow and makes it much harder to pick the wrong stitch by mistake. |
| Adjustable Width | Controls the side-to-side distance of stitches like the zigzag. | Lets you customize everything from narrow seam finishes to wide decorative patterns. |
| Adjustable Length | Determines the distance between individual stitches in a seam. | You can create tight, secure seams or long basting stitches for temporary holds. |
| One-Touch Reverse | Sews in reverse to lock stitches at the beginning and end of seams. | Stops your seams from unraveling and adds a ton of durability to your projects. |
| LCD Screen | Displays the selected stitch, along with recommended length and width. | Gives you clear, at-a-glance information, completely eliminating guesswork. |
Seeing it laid out like this really helps connect the dots between a button on the machine and how it makes your sewing life easier.
Getting Creative with the Advanced Stuff
Once you've got the hang of the basics, the Singer One Plus is ready to really stretch its legs. This is the fun part, where we move beyond just stitching seams and start tapping into the machine's real creative potential. This how-to guide will show you how to take a simple project and turn it into something that looks custom and professionally made.
These advanced features are all about giving you that extra bit of precision and control. Think of them as the tools that add those incredible finishing touches that make people ask, "Wow, where did you buy that?"
Say Goodbye to Bad Buttonholes
Is there anything more frustrating than a mangled buttonhole on a nearly finished project? I think not. The Singer One Plus pretty much solves this universal sewing headache with its six different styles of automatic 1-step buttonholes.
Honestly, it feels like magic. You pop your button into a little slot on the presser foot, and the machine uses it as a perfect guide. In one smooth motion, it sews a flawless, correctly-sized buttonhole. No measuring, no guessing, no do-overs. Every single buttonhole on your shirt or jacket will be a perfect twin to the last. For me, this feature alone is a total game-changer.
The Right Tool for the Job
A big part of leveling up your sewing skills is learning which tool to grab for which task. The Singer One Plus comes with a great little collection of specialized presser feet, and they’re designed to make tricky jobs feel surprisingly easy. These aren't just extra bits in a box; they're keys that unlock entirely new techniques.
- Quilting Foot: If you're a quilter, you know the importance of a perfect quarter-inch seam. This foot is your best friend for getting that precise seam allowance every single time.
- Invisible Zipper Foot: Putting in an invisible zipper can be intimidating, right? This foot has little grooves that hold the zipper teeth perfectly in place, letting you stitch super close for a finish that’s genuinely seamless.
- Free-Motion Embroidery Foot: This is where you can really get artistic. This foot lets you drop the feed dogs (the little teeth that pull the fabric) so you can move your project freely in any direction. It’s like drawing with thread.
And don't overlook the extra-high presser foot lifter. It’s like having a tiny car jack for your machine. It gives you a ton of extra clearance, making it a breeze to slide bulky layers—like thick denim seams or a lumpy quilt sandwich—right under the needle without a fight.
How-To Guide: A Custom Tote Bag Design
Alright, let's put some of these features to work with a quick, satisfying project. A custom tote bag is a fantastic way to use the machine's capabilities to create something that’s both useful and stylish. This project is a great example of the kind of hands-on learning we champion at bsewinn.com, where we believe in building skills through real, tangible projects that you can replicate.
Step 1: Prep Your Fabric and Straps
Cut two main body pieces and two lining pieces from a sturdy fabric like canvas. For the straps, create two long fabric tubes and topstitch along both edges. This gives them a crisp, store-bought finish.
Step 2: Add an Interior Pocket
Using a simple straight stitch, sew a patch pocket onto one of your lining pieces. This is a great chance to practice using the one-touch reverse button to lock your stitches neatly at the start and end.
Step 3: Add a Button Closure
Along the top edge of your lining, use the automatic 1-step buttonhole function to create a perfect buttonhole on one side. Sew a matching button on the other lining piece. It’s a simple detail that makes the bag feel so much more complete.
Step 4: Assemble the Bag
Sew your main fabric pieces together, then do the same for the lining, but leave a small gap in the bottom of the lining for turning. Place the main bag inside the lining (with the right sides of the fabric facing each other), stitch all the way around the top edge, and then pull the bag right-side out through the gap.
Step 5: Finish It Up
Topstitch around the entire top opening of the bag. This gives it a sharp, professional edge and neatly closes the turning gap in your lining at the same time. Finally, attach your straps securely. You've just made a custom tote that shows off your growing skills!
The thoughtful features packed into the Singer One Plus sewing machine really reflect what's happening in the wider world of sewing. The global market, currently valued around USD 4.65 billion, is on the rise as more people look for capable, creative tools. Fully automated machines are leading that growth, which tells you there’s a real demand for the kind of efficiency and precision the One Plus delivers. Singer has managed to stay relevant by creating machines for everyone from absolute beginners to industrial pros, securing its spot in this growing craft. You can check out more insights about the sewing machine market to see how cool innovations are constantly shaping what we can create.
Keeping Your Machine in Top Condition
Your Singer One Plus isn't just a machine; it's your creative partner. And like any good partnership, it needs a little TLC to keep things running smoothly. Consistent maintenance isn't some dreaded chore—it's the secret sauce to perfect stitches, project after project, for years down the road. This guide will walk you through the simple routines that keep it in peak creative form.
Knowing your way around your machine is empowering. It turns maintenance from a task into a confident part of your sewing process. Here at bsewinn.com, we're all about your long-term success, and we've got plenty of resources to back you up every step of the way.
The Foundation of Good Maintenance
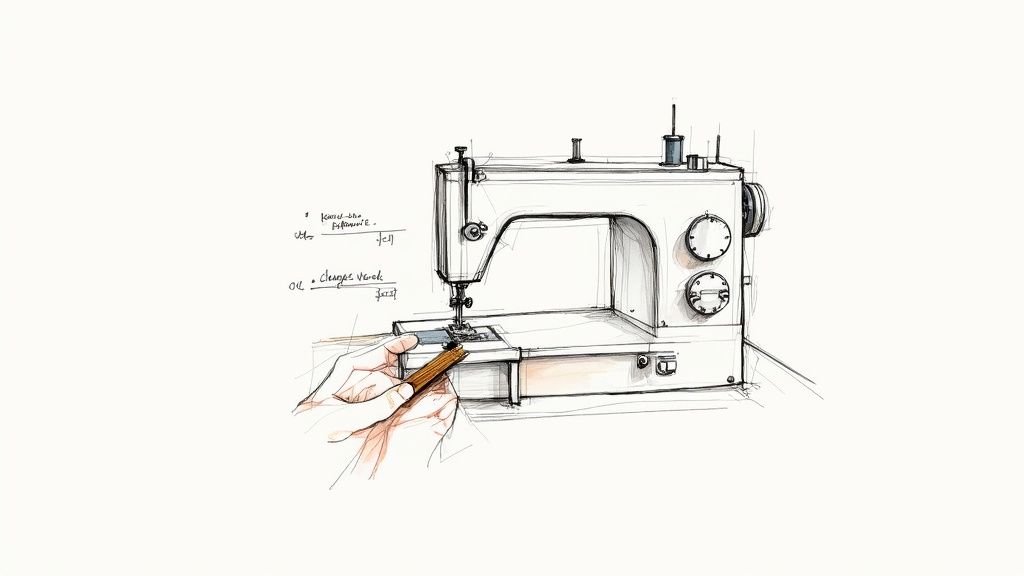
Believe it or not, the things that cause the biggest sewing headaches are usually the easiest to fix. A little buildup of lint and dust in the bobbin area is notorious for causing thread jams and wonky stitches. One of the best things you can do for your machine's health is to regularly use a small brush to gently clear out this area.
Another habit that will save you a world of frustration? Change your needle often. A dull or bent needle is a recipe for skipped stitches, fabric snags, and can even throw off your machine's timing. I always tell people to start each new project with a fresh needle. It's a tiny step that makes a massive difference in your stitch quality.
Getting to Know Your Machine's Insides
Understanding a few key parts of your Singer One Plus sewing machine makes troubleshooting a whole lot less intimidating. These components work together in a delicate dance to create that perfect stitch, and when you know their roles, you can spot issues before they turn into real problems.
Let's look at two of the biggest players:
- Feed Dogs: See those little metal teeth under the presser foot? Those are the feed dogs. They grip your fabric and pull it through the machine. If your fabric isn't feeding evenly, a quick check to make sure the feed dogs are clean and not clogged with lint often solves the problem right away.
- Tension Discs: These discs squeeze the upper thread as it travels from the spool to the needle. The right amount of tension is what creates a balanced, locked stitch. If your stitches are loopy on the top or bottom, these discs are the first place to look. We have a complete guide that walks you through mastering tension adjustment on your sewing machine, turning what feels like a confusing task into a simple fix.
Keeping these parts in good shape is fundamental to your machine's longevity. It's no surprise that the sewing machine components market is a huge industry, valued at around USD 2.7 billion in 2025 and expected to nearly double by 2035. This growth just shows how important quality parts—like needles, motors, and electronic controls—are. Brands invest heavily in them to build reliable machines that last.
A Simple Maintenance Checklist
Consistency is everything. I recommend running through this simple checklist after every few projects. It'll keep your Singer One Plus happy and ready for your next burst of creativity.
A few minutes of regular care can prevent small issues from snowballing into major headaches. Trust me, it saves hours of frustration and keeps your sewing time joyful and productive.
Here’s a quick routine to get into:
- Clean the Bobbin Area: First, turn off and unplug your machine. Pop off the needle plate and use a lint brush to clear out all the dust and thread bits from the bobbin case and the area around it.
- Wipe Down the Exterior: Grab a soft, dry cloth and give the outside of your machine a good wipe-down. This keeps dust from working its way inside.
- Change the Needle: I'll say it again—start every big project with a new needle! And make sure you're using the right type and size for your fabric.
- Check Your Thread Path: Take a quick look to ensure there are no stray threads caught in the tension discs or thread guides. When in doubt, rethread the machine completely.
- Listen to Your Machine: Pay attention to how your machine sounds. Any unusual clunking or grinding noises can be an early warning sign that something needs attention.
Got Questions About the Singer One Plus?
Even with the most intuitive machine, you're bound to have questions. This is where we'll tackle some of the most common things people ask about the Singer One Plus sewing machine. Think of this as your go-to spot for quick answers so you can get back to creating.
We’ll cover everything from what kinds of fabrics it can handle to those pesky error codes that sometimes pop up. Having these answers handy will keep your projects moving along without a hitch.
Is The Singer One Plus Good for Quilting?
You bet it is. For a machine in its class, the Singer One Plus is surprisingly capable when it comes to quilting. It has a nice, generous sewing space to the right of the needle, which is a huge help when you're trying to wrangle the bulk of a quilt.
It also features an extra-high presser foot lifter, making it a breeze to slide thick quilt sandwiches underneath. And for free-motion work? The machine has a drop feed function that lets you lower the feed dogs for stippling or any other creative quilting you have in mind. Between its powerful motor and stitch variety, it’s a really solid choice for piecing, appliqué, and finishing your quilts.
If you’re ready to really dive into quilting with a computerized machine, bsewinn.com has online classes designed specifically for that. The instructors show you exactly how to put these features to work to create some truly amazing quilt patterns.
What Types of Fabric Can This Machine Handle?
This machine is a real workhorse. I've seen it handle just about everything you can throw at it—from delicate chiffon and silk to the tough stuff like denim, canvas, and even multiple layers of upholstery fabric.
The secret is its powerful motor and that heavy-duty metal frame, which gives it the stability to punch through thick materials without skipping stitches. The real key, though, is matching your needle to your fabric. Use a fine 70/10 for silks and a beefy 100/16 jeans needle for denim. It also does a beautiful job on knits, thanks to a handful of built-in stretch stitches that keep your seams from popping.
What Does the 'C F 02' Error Code Mean?
Seeing an error code flash on the screen can be a little jarring, but don't worry—this one is usually an easy fix. The "C F 02" error on a Singer One Plus sewing machine almost always points to a thread sensor issue. Basically, the machine isn't detecting the upper thread properly.
Before you get frustrated, try these quick steps:
- Rethread Everything: Start from scratch. Make sure the presser foot is up and re-thread the entire machine, ensuring the thread clicks into every guide and tension disc along the way.
- Clean the Sensor Area: Grab a little brush or a soft, lint-free cloth and gently clean around the needle and thread path. A tiny bit of dust can be enough to block the sensor.
- Give It a Reset: The classic "turn it off and on again." Unplug the machine for about 30 seconds, then plug it back in. This often clears any minor electronic hiccups.
Nine times out of ten, it’s just a simple communication breakdown between the thread and the sensor, and one of these steps will get you sewing again.
This guide is a great start, but when you're ready to really take your skills to the next level, bsewinn.com is here for you. We're all about empowering crafters with a huge library of online tutorials, fun project-based classes, and unique design guides.
Our whole goal is to give you the education and community support you need to bring your creative ideas to life. We want to help you get the most out of your Singer One Plus sewing machine and grow as a maker.
At B-Sew Inn, we provide the tools, training, and community to support every stitch of your creative journey. Explore our full range of machines, accessories, and educational resources to bring your next project to life.
Find your perfect creative partner at https://www.bsewinn.com.

