Have you ever looked at a handmade garment and wondered what gives it that polished, store-bought look? More often than not, the secret is perfectly balanced thread tension. Getting the tension adjustment on your sewing machine just right is what makes your top and bottom threads lock together beautifully, right in the middle of the fabric, creating a stitch that's strong and looks identical on both sides.
The Secret to Professional Stitches
Once you get the hang of thread tension, it completely changes the game. It’s the difference between fighting with your machine and making it your trusted partner. Instead of puckered seams and loose, loopy stitches that fall apart, you'll be creating durable, gorgeous projects every single time.
This guide is here to take the mystery out of it, showing you how to "read" your stitches and make those tiny tweaks that lead to flawless results.
Here at bsewinn.com, we’re firm believers that any crafter can achieve this level of quality. It’s not about owning the fanciest machine on the market; it’s about knowing how to make your machine work for you. We do more than just offer custom sewing machine designs—we’re here to empower you with the support you need for your creative journey. Our online classes, training, and extensive resources are designed to help you replicate beautiful projects and grow your skills.
A correctly balanced stitch is the foundation of all durable sewing. When the top and bobbin threads interlock perfectly in the middle of the fabric layers, the seam gains maximum strength and a clean, professional appearance on both sides.
Think of mastering tension as learning the secret language between your thread, needle, and fabric. Once you're fluent, you unlock a whole new level of craftsmanship, whether you're making a professionally finished tote bag or adding delicate embroidery to a blouse.
Why Tension Matters So Much
Let's be clear: bad tension isn't just a cosmetic problem. It actively weakens your seams, making your hard work vulnerable to falling apart. In fact, issues with tension adjustment on sewing machines are behind a staggering 85% of stitch quality problems for both hobbyists and pros. It’s truly central to getting a good result. If you're curious, you can find more great insights on common sewing frustrations over at ohyoucraftygal.blogspot.com.
Our goal is to help you build the skills and confidence to tackle any project. We empower crafters through:
- Online classes for hands-on, guided learning on specific projects.
- In-depth training materials to build on what you know.
- A friendly community where you can connect with other makers.
When you learn to control your tension, you take control of your sewing. You can finally ensure every project, from custom quilts to tailored garments, looks exactly as you imagined it.
Diagnosing Common Tension Problems
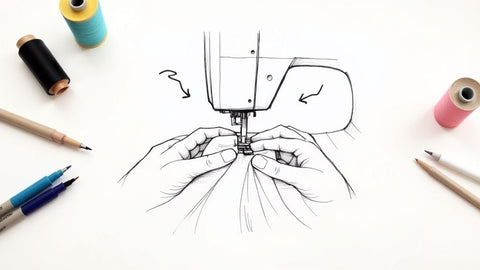
Before you even think about touching a single dial, you need to play detective. The quickest way I’ve found to get to the bottom of a tension issue is to run a super simple test.
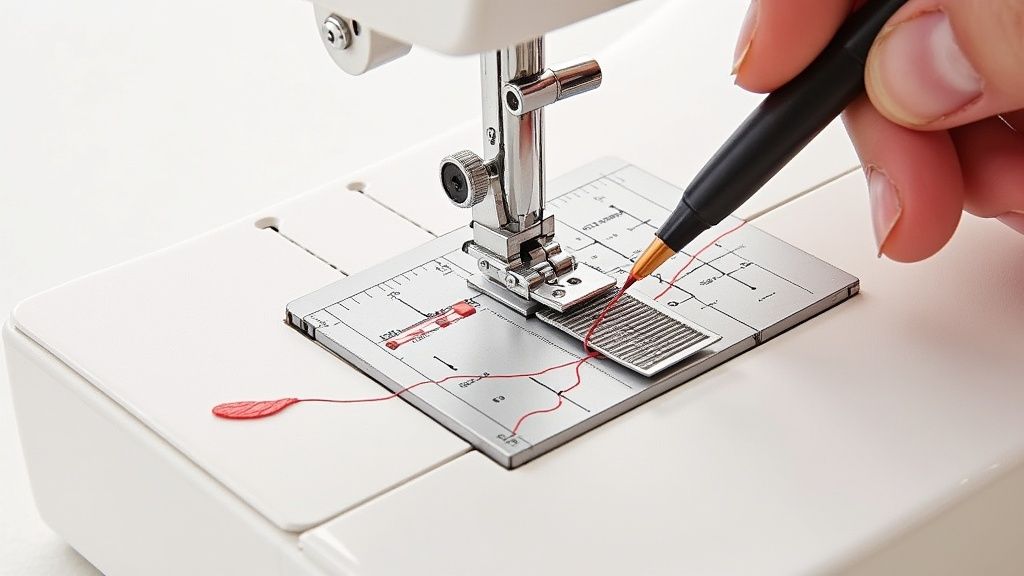
Grab two different colors of thread—one for your needle and a contrasting color for your bobbin. Now, sew a straight line on a scrap of the fabric you're using for your project and take a good, close look.
Those stitches are telling you a story. See little dots of the bobbin thread peeking through on the top of your fabric? That’s a classic sign your upper tension is too tight, pulling that bobbin thread right up. On the flip side, if you see loops of the needle thread on the underside, your upper tension is too loose. These visual cues are your roadmap to making the right adjustment.
Reading Your Stitches
Figuring out exactly what's wrong is half the battle. Looping, puckering, and those frustrating thread nests each point to a specific problem, but luckily, it's often something a simple dial turn can fix once you know what to look for.
If you're running into other snags, our complete sewing machine troubleshooting guide has a ton more solutions.
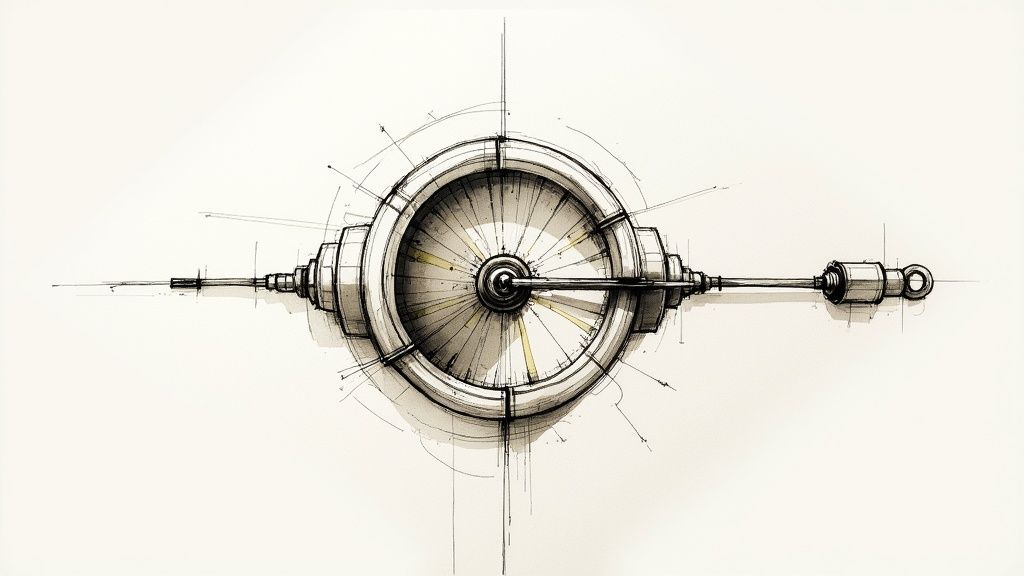
This handy visual shows how the thread runs through the tension discs, which are in charge of the upper thread's flow.
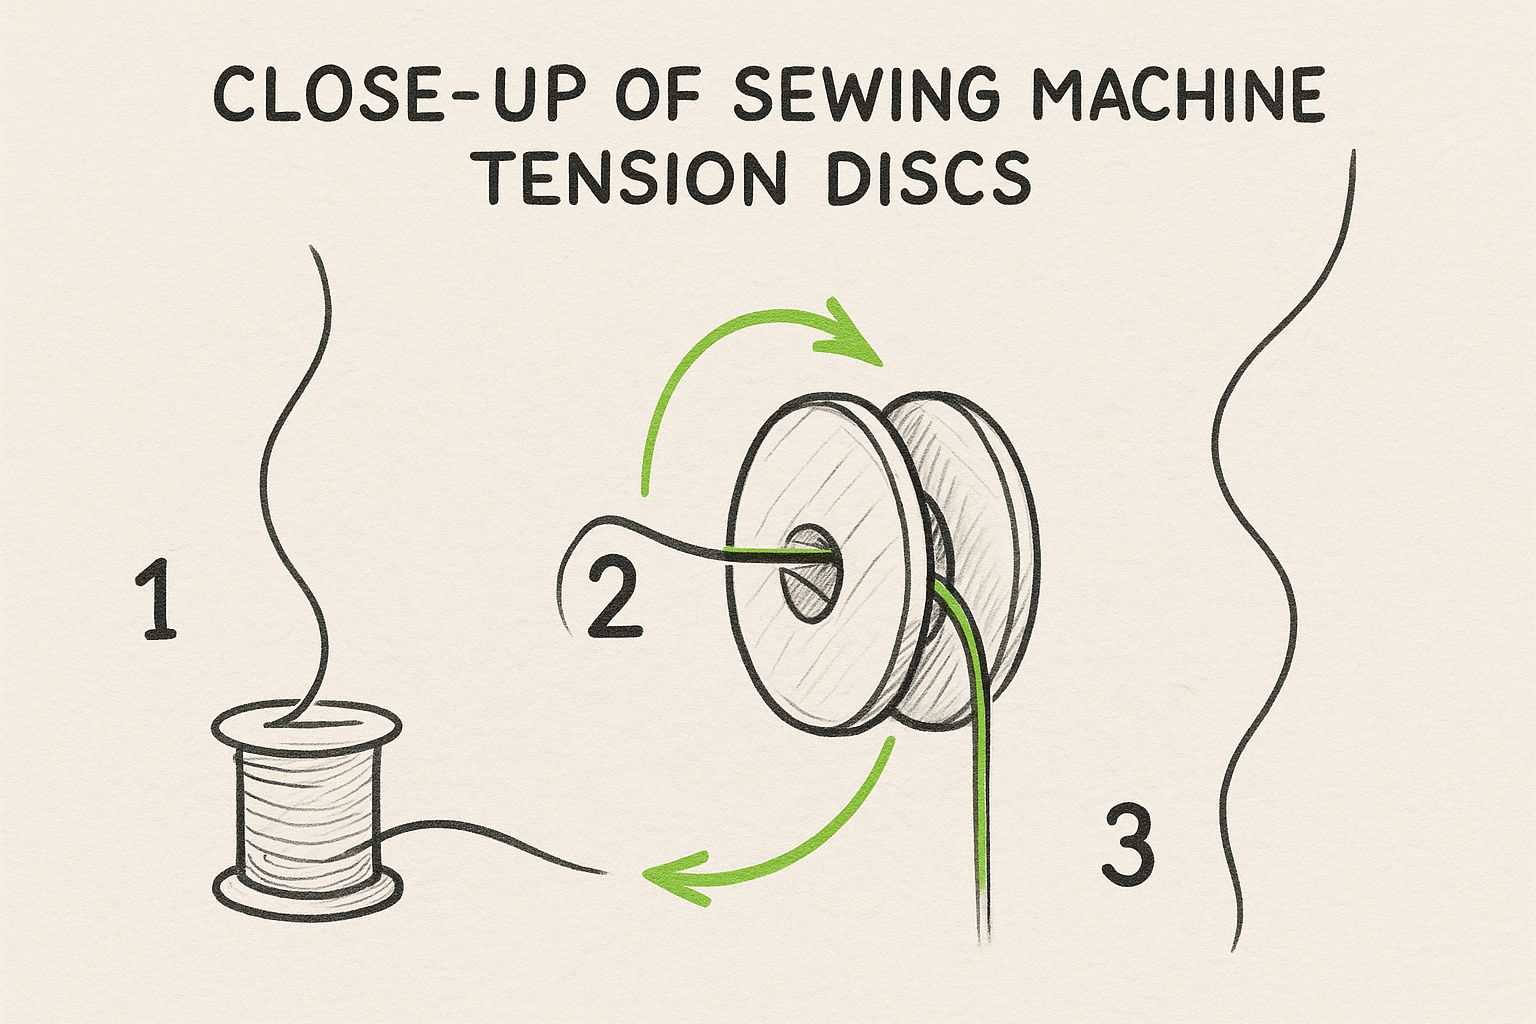
As you can see, those discs apply just the right amount of pressure. It's a delicate balance, and even a tiny piece of lint can throw the whole thing off. It’s a lot like diagnosing other creative issues—understanding the root cause is key, a principle that applies to all sorts of common quality problems.
This little table is a great starting point for figuring out what your machine is trying to tell you.
Quick Guide to Tension Issues
| Stitch Appearance | What It Indicates | Initial Adjustment |
|---|---|---|
| Top thread shows on the bottom | Upper tension is too loose. | Increase the upper tension number (e.g., from 4 to 5). |
| Bobbin thread shows on top | Upper tension is too tight. | Decrease the upper tension number (e.g., from 4 to 3). |
| Fabric is puckering | Upper tension is likely too tight. | Decrease the upper tension number. |
| Stitches look loose and loopy | Upper tension is likely too loose. | Increase the upper tension number. |
Just remember to make small changes and test again after each one!
Your test seam is the most important diagnostic tool you have. It provides clear, undeniable evidence of what's happening between your top and bottom threads, eliminating guesswork and preventing you from adjusting the wrong setting.
Here at bsewinn.com, we're all about empowering crafters with these foundational skills. Our online classes and resources are built to help you confidently read your machine’s signals and get those professional-looking results on every single project you create.
Adjusting Your Upper Tension Dial
Your machine's upper tension dial is the main control center for getting your stitches just right. It’s usually numbered from 0 to 9. I always think of the middle setting—often a 4 or 5—as my "home base." It's the reliable starting point for most everyday, medium-weight fabrics, and it's the number I always come back to after tinkering.
The golden rule I learned early on for tension adjustment on a sewing machine is to make tiny, testable changes. Never just crank the dial from a 2 all the way to a 7. Instead, just nudge it one number at a time, sew another little test seam on a scrap, and see what happened. This slow-and-steady approach keeps you from overcorrecting and helps you zero in on that perfect, balanced stitch.
Matching Tension to Fabric Weight
Heavier fabrics and lighter fabrics just don't play by the same rules. If you're working with something beefy like denim, you'll probably need to lower the tension (a smaller number). This lets the thicker thread move more freely through the discs. On the flip side, for a delicate, slippery silk, you might need to increase the tension (a larger number) to make sure the stitch locks securely and doesn't look sloppy or loose.
Figuring out how to balance that thread pull is a fundamental sewing skill. The whole concept has been around since the early 20th century, and it’s still all about balancing the upper and bobbin threads. It can get tricky, because sometimes a wonky bobbin tension can actually look like an upper thread problem. If you're a history buff or just want to geek out on the mechanics, Joseph Eoff's technical blog has a fantastic deep dive into the subject.
Pro Tip: One of the most common mistakes I see is people re-threading their machine with the presser foot down. Always, always raise the presser foot before you thread! This simple action opens up the tension discs so the thread can seat properly between them. Forgetting this is the secret cause of so many tension headaches.
Putting It Into Practice
Let's imagine you're making a custom tote bag out of sturdy canvas. You've chosen a heavy-duty thread for strong seams, but your test stitch shows tiny dots of the bobbin thread on the top side. This is a tangible example of your upper tension being too tight for the thick thread.
Here’s how you can replicate this fix:
- Start at your machine's standard setting, like a 4.
- Sew a test seam. You'll see those tight stitches on top, just as you expected.
- Lower the tension dial one full number, taking it from a 4 to a 3.
- Sew another test seam. You should see a big improvement, with the stitches looking much more balanced and professional.
And don't forget, your needle is a huge part of this equation. Using the wrong size or type can create problems that look exactly like tension issues. If you’re still stuck after adjusting the dial, take a minute to check out our guide on choosing the right needle for your project. Getting these details right is how we empower crafters to create amazing work with our custom sewing machine designs and support.
When to Adjust Your Bobbin Tension
Let me be clear: messing with your bobbin tension screw should be your absolute last resort. Think of it as the emergency brake of sewing—you only touch it when nothing else works. In my experience, probably 95% of tension troubles can be traced back to the upper tension dial, the needle, or a simple threading mistake.
Before you even think about grabbing that tiny screwdriver, run through this checklist. And I mean really do it, don't just skim.
- Have you completely re-threaded the top of your machine with the presser foot up?
- Have you popped out the bobbin case and cleared out all the lint and dust bunnies?
- Have you put in a fresh, new needle that's the right type and size for your fabric?
If you can honestly say yes to all of the above and your stitches still look wonky after careful upper tension adjustments, then okay. It might be time to venture below deck.
A Safe Approach to Bobbin Tweaks
Adjusting this screw isn't about big movements; it's about tiny, almost imperceptible nudges. This is a game of patience.
First, find a fine-tipped permanent marker. Make a little dot or line on the bobbin case right next to the screw, marking its current position. This is your safety net. It’s a visual marker that lets you find your way back to the factory setting if you get lost.
Now, you'll need that tiny screwdriver that likely came with your machine. Seriously, don't try to use anything else—you'll just strip the screw head and create a much bigger headache.
The secret is to think in tiny, clock-face increments. Imagine turning the screw from 12 o'clock to maybe 1 o'clock. We’re talking no more than an eighth of a turn at a time. To tighten the bobbin tension (pulling the top thread down), turn it clockwise. To loosen it (letting the bobbin thread come up), turn it counter-clockwise.
After each minuscule turn, put the bobbin back in, sew a few inches on your scrap fabric, and check the stitches. It’s a slow, methodical process, but it's the only way to do it right. I know this level of fine-tuning can feel intimidating, which is why we offer so many resources and online classes at bsewinn.com. Our commitment is to give you the confidence to master every part of your machine, even the bits that seem a little scary.
What If It's Not the Tension?
Sometimes you can fiddle with your tension dials all day long and still end up with stitches that make you want to pull your hair out. If that sounds familiar, it’s time to look beyond the tension adjustment on your sewing machine. More often than you'd think, the problem is something else entirely.
One of the most common culprits? The needle. I know it sounds basic, but a dull, bent, or wrong-sized needle is a classic cause of skipped stitches, shredded thread, and puckering that looks exactly like a tension problem.
Another big one is just plain old dust and lint. You'd be amazed at how much gunk can build up in the bobbin case or, even worse, between the upper tension discs. This debris messes with the thread's path, creating tension headaches that no amount of dial-turning can cure.
Good-Quality Supplies Are Non-Negotiable
Don't underestimate the power of good thread. Bargain-bin thread might seem like a deal, but it's often inconsistent in thickness and loves to shred, which will absolutely wreak havoc on your stitch quality. A smooth, high-quality thread gives you that even, predictable pull your machine needs to form perfect stitches. If you're not sure where to start, our sewing thread size guide is a fantastic resource for matching the right thread to your project.
This need for precision isn't new; it's deeply rooted in how sewing machines have evolved. For example, back in 1970 when Singer introduced its first "stretch stitches," the new belt-driven mechanisms demanded much more precise thread tension to keep from jamming up. It was a turning point where tension sensitivity really became a core part of machine design. For a little trip down memory lane, the folks over at the Quilting Board forum have some great discussions on this.
Here at bsewinn.com, we teach a holistic approach. It's about seeing your machine as a complete system. When the needle, thread, and maintenance all work in harmony, that's when you get those flawless stitches you're after.
Common Tension Questions Answered
Even after you think you've got this tension thing figured out, some weird little issue will pop up and make you question everything. I've been there! Let's walk through some of the most common head-scratchers I hear about all the time when it comes to getting that tension adjustment on your sewing machine just right.
Why Did My Tension Suddenly Go Weird in the Middle of a Seam?
This one is maddening, isn't it? You're sewing along, the stitch is perfect, and then bam—ugly loops everywhere. I can almost guarantee your tension dial didn't just decide to move on its own.
Nine times out of ten, a tiny piece of lint or a stray bit of thread has snuck its way into the upper tension discs. This causes the thread to snag and suddenly tightens everything up. The first, and easiest, fix is to lift the presser foot (this is crucial!) and completely re-thread the machine.
If that doesn't do the trick, it's time to "floss" your tension discs. Grab a piece of unwaxed dental floss and gently slide it between the discs. You'd be surprised what kind of hidden gunk you can pull out of there.
Do I Really Need to Adjust Tension for Different Threads?
Yes, you absolutely do. This is a non-negotiable for good stitches. Think about it: a thick topstitching thread is way beefier than a standard all-purpose one. It needs more room to move, so you'll want to lower the tension (use a smaller number) to let it pass through the discs smoothly.
On the flip side, a very fine or slippery thread, like a slinky rayon you'd use for embroidery, needs a bit more control. You'll likely need to increase the tension (a higher number) to make sure it forms a proper, secure lock with the bobbin thread.
My best advice? Always, always sew a test seam on a scrap of your project fabric. Use the exact same thread, needle, and fabric you plan to use for the real deal. This little five-minute check can honestly save you hours of ripping out stitches later.
I Have an Automatic Tension Machine. Should I Ever Touch the Dials?
Automatic tension is a fantastic feature, especially for everyday sewing on standard cottons and linens. The machine is calibrated for that "average" project, and it does a great job.
But the moment you start playing with the fun stuff—like metallic thread, stretchy elastic thread, or fabrics on the extreme ends of the spectrum like super sheer chiffon or heavy canvas—that automatic setting might fall a little short. It's not magic, after all!
Most computerized machines will let you manually override or just nudge the automatic setting a little. Your machine's manual is your best friend here. It'll show you exactly how to make those small tweaks needed to get a perfect stitch, no matter what creative materials you're throwing at it.
Mastering your machine's tension is a skill that just gets better with every project you tackle. At bsewinn.com, we're here to support you on that journey with custom sewing machine designs, expert advice, and resources. We are committed to empowering you to create beautiful projects with confidence. You can explore everything we have to offer over at https://www.bsewinn.com.