

Learning how to use a rotary cutter is a foundational skill for creating beautiful sewing machine designs. You simply lay your fabric on a self-healing mat, place a clear acrylic ruler over it, and press down firmly while you roll the blade along the ruler's edge.
This basic move is the secret to getting fast, precise, and perfectly straight cuts every single time. It's a game-changer for projects like a perfectly pieced quilt top or precisely cut garment panels, tangible examples that any crafter can replicate.
Your Essential Toolkit for Precision Cutting
Before you can make that first satisfying slice through your fabric, you've got to have the right gear. This isn’t just about buying a tool; it's about setting up a system that guarantees great results from the get-go for all your sewing machine designs.
The Foundation: Your Mat and Ruler
The absolute non-negotiables in any rotary cutting setup are a self-healing cutting mat and a good ruler. Think of the mat as a specialized cutting board for your fabric projects. It does the critical job of protecting your work surface while its unique material "heals" over the cuts, giving you a smooth surface that won't dull your blade prematurely.
Just as important is a clear acrylic ruler. This simple tool is a triple-threat:
- Measuring: The grid lines are essential for measuring your fabric accurately.
- Guiding: It gives you a stable, straight edge for the rotary cutter to follow.
- Protecting: It acts as a safety barrier, keeping your fingers a safe distance from that sharp blade.
Choosing the Right Rotary Cutter Blade
Not all blades are created equal, and the size you pick can make a big difference. While the 45mm blade is the go-to workhorse for most general cutting, other sizes definitely have their moments.
For instance, smaller blades are fantastic for navigating the tight curves of an armhole on a garment pattern. If you're looking for a reliable, all-purpose option to start with, the Quilters Select 45mm Deluxe Rotary Cutter is an excellent choice for any crafter's toolkit.
Here's a quick rundown to help you choose the right blade for your next project.
Rotary Cutter Blade Size Guide
| Blade Size | Best For | Common Projects |
|---|---|---|
| 18mm | Tight curves, small pieces, and appliqué. | Miniature quilts, appliqué shapes, trimming seams. |
| 28mm | Small-scale projects and gentle curves. | Cutting pattern pieces for clothing, small templates. |
| 45mm | The all-rounder. Great for general cutting. | Cutting quilting strips, squares, and garment pieces. |
| 60mm | Straight cuts through multiple layers. | Cutting long strips, trimming large quilts, thick fabrics. |
Having a couple of different sizes on hand is always a good idea so you're ready for whatever a pattern throws at you.
At bsewinn.com, we are committed to empowering crafters by teaching the fundamentals. Mastering your toolkit is the first step toward creating professional-looking custom sewing machine designs, a core principle we champion through our online classes and extensive resources.
Rotary cutters have truly changed the game since they were introduced back in the 1970s. For the best results, always start with a sharp blade. It's been said that dull blades are responsible for up to 65% of cutting inaccuracies in home sewing—and from my experience, that sounds about right!
When you secure your fabric on a self-healing mat and use a ruler, you're using the same precision-focused methods that high-speed garment factories rely on. It's all about setting yourself up for success.
Beyond the cutter itself, a well-stocked toolkit is a must. I always recommend having a comprehensive sewing kit nearby so you've got everything you need for precision work right at your fingertips.
Mastering Your Rotary Cutting Technique
Getting that perfect, razor-straight cut is all about the physical mechanics. Honestly, it’s less about just rolling a blade and more about a full-body motion that, once you get it, becomes pure muscle memory.
First things first: always stand up when you cut. I know it's tempting to sit, but standing gives you so much more leverage. You can use a bit of your body weight to apply pressure, not just your arm or wrist. This is the secret to getting firm, even pressure from the start of your cut all the way to the end, which means no more annoying slips or skipped threads.
How you position your body is also a huge deal for both control and safety. You want the cutting line directly in front of you. This lets you cut away from your body in one smooth, confident motion. Whatever you do, never cut towards yourself or twist into an awkward angle. It’s just not worth the risk.
Aligning Your Fabric and Ruler
Before you even think about slicing, get that fabric perfectly smooth on your mat. Wrinkles are the absolute enemy of an accurate cut. I like to line up the folded edge or the selvage with one of the horizontal lines on the mat—it gives me a solid, reliable starting point.
Now, place your acrylic ruler on top of the fabric. Your ruler is your best friend here; it's your guide. If you're not sure which one to use, it's worth taking a minute to learn about the different types. We have a great guide on how to choose the right ruler for fabric that can really make a difference in your results.
To keep that ruler from budging, use your non-dominant hand. Spread your fingers out wide, like a ‘starfish,’ across the ruler's surface. This gives you maximum stability and stops it from shifting mid-cut. Just be sure to keep your fingertips a safe distance from the edge!
The secret to a perfect cut lies in a stable foundation. If your ruler moves even a fraction of an inch, your cut will be off. Anchoring it securely with your hand is a non-negotiable step for achieving professional results.
Making the Cut
Okay, ruler anchored? It’s time to cut.
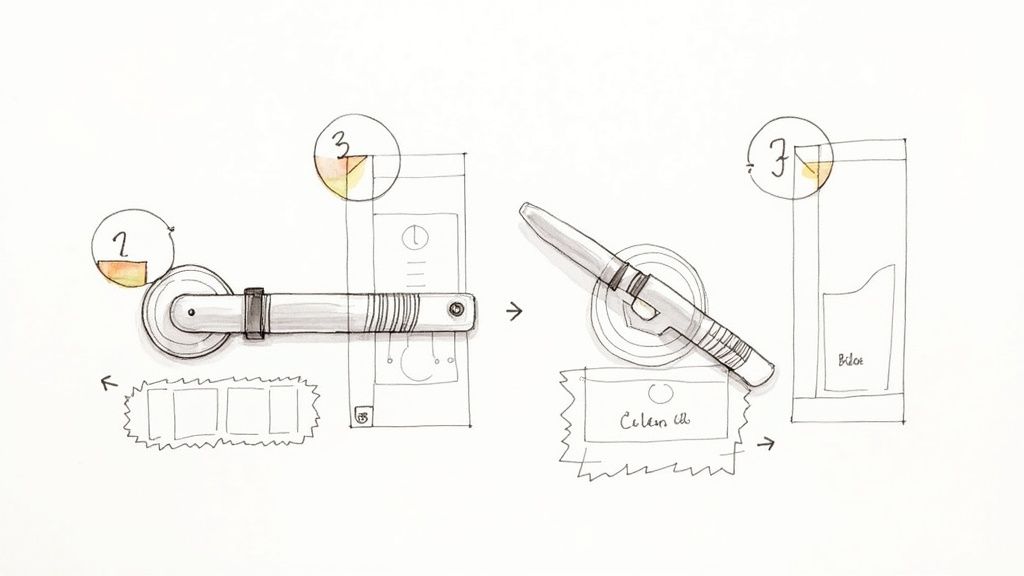
Grab the rotary cutter in your dominant hand, keeping your wrist nice and straight. Place the blade right up against the edge of the ruler, but start it just slightly off the fabric.
Apply firm, downward pressure and push the cutter forward. The key is to do it in one smooth, continuous motion. Try to avoid stopping and starting, because that’s how you get little nicks and notches in your fabric. Let the blade do the work! A sharp blade should glide through several layers without much of a fight.
This simple three-part setup—positioning your mat, cutter, and ruler—is the foundation for mastering your technique.
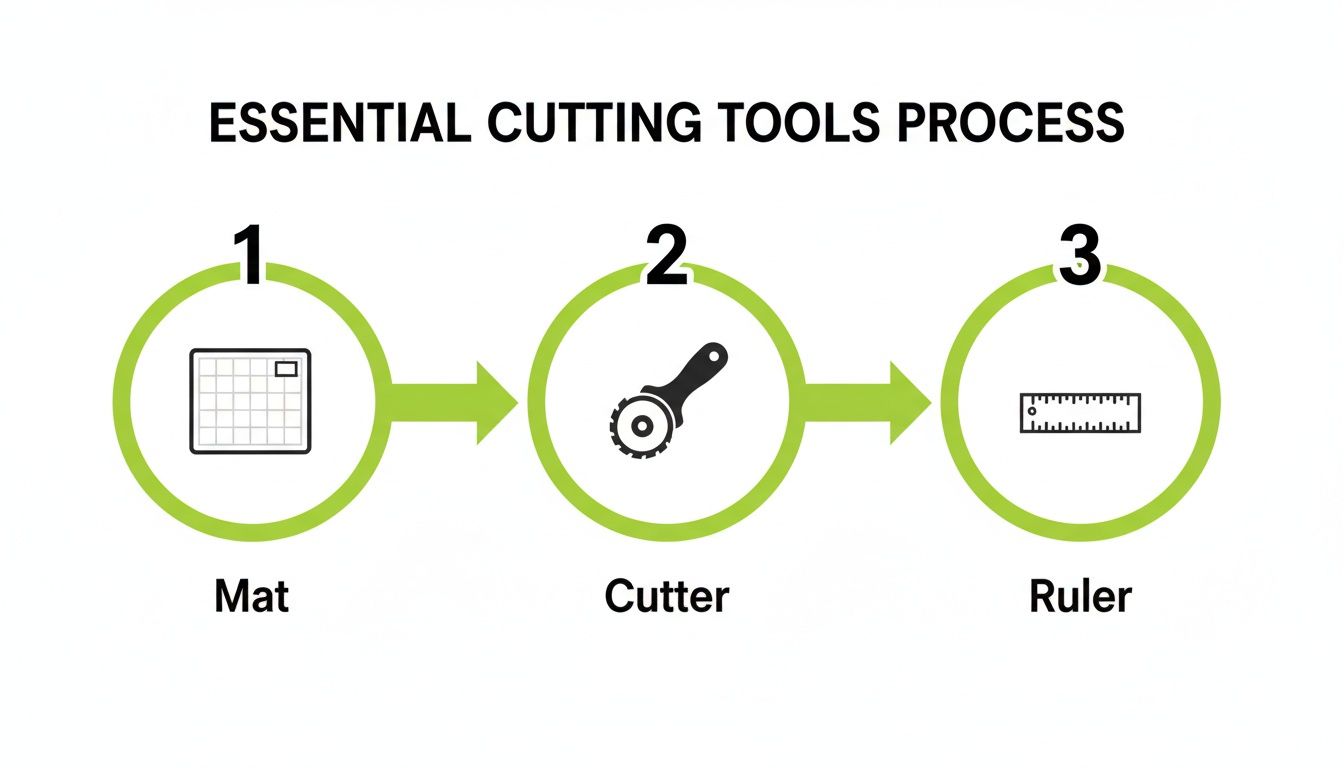
This little trio of tools is pure magic. Each one has a critical job, from protecting your table to guiding your blade with flawless precision.
By really focusing on these small details—your stance, your hand placement, the fluid motion of the cut—you’ll build a technique that isn't just faster than scissors, but worlds more accurate. It’s a foundational skill we love helping crafters perfect through our online training, empowering you to create stunning and precise projects every single time.
Cutting Different Fabric Types and Shapes
Okay, once you've got the hang of a basic straight cut, the real fun can start. A truly great rotary cutting technique is one that you can adapt to different materials and shapes, because let's be honest, not all fabrics play by the same rules. This is where you graduate from simple cuts to creating the intricate pieces needed for those beautiful custom sewing machine designs we feature at bsewinn.com.

Let's talk about those tricky, lightweight fabrics first. Silks, satins, and rayons are notorious for shifting around, which can quickly turn a simple cut into a frustrating mess. I’ve learned the hard way that the secret to taming these slippery materials is to stop them from moving in the first place.
Instead of just relying on your ruler for stability, try using pattern weights. I place them on both the fabric and on the ruler itself for extra security. Also, and this is non-negotiable, always use a brand-new, ultra-sharp blade. A dull blade will just pull and snag those delicate fibers, but a fresh one will slice through them like butter.
Tackling Thick and Layered Fabrics
Now for the other end of the spectrum: heavy materials like denim, canvas, or multiple layers of quilting cotton. Slicing through these requires a totally different approach that’s all about leverage and blade size.
For these bigger jobs, a 60mm rotary cutter is your best friend. Its larger blade doesn't have to rotate as much, which means it stays sharp longer and has the power to cut through up to 8-10 layers of cotton without even flinching. This technique is perfect for tangible projects like batch-cutting squares for a patchwork tote bag or strips for a log cabin quilt block—designs that you can easily replicate. The key here is firm, consistent pressure. I always stand up, lean over my work, and use my body weight to drive the blade through the whole stack in one smooth pass. If you find yourself "sawing" back and forth, it’s a clear sign your blade is too dull for the job.
The ability to cut multiple layers at once is a huge time-saver, but accuracy is everything. Before you even think about cutting, make sure your fabric stack is perfectly aligned and wrinkle-free. A single shift at the bottom can throw off every single piece in the stack.
Mastering these different techniques is a game-changer for your sewing projects. If you're curious about all the ways this tool can streamline your workflow, you should explore the many benefits of rotary cutting in our detailed guide.
Moving Beyond Straight Lines
Rotary cutters aren't just for straight lines! They are absolutely fantastic for cutting curves for things like armholes, necklines, and quilt templates. For this kind of detailed work, a smaller blade is essential.
- 28mm Blade: This size is my go-to for gentle curves. Its smaller radius gives you so much more control and precision, making it way easier to follow a pattern line without veering off course.
- 18mm Blade: For really tight curves or intricate appliqué shapes, this "baby blade" is ideal. It allows you to navigate sharp turns with incredible detail that you just can't get with a larger cutter.
When you're cutting curves, the trick is to slow down your motion and just let the blade do the work. Don't try to force it around the bend. I also find it helpful to use a smaller ruler or even a specialized curved ruler to guide the blade. This gives you a much smoother, more professional finish and really opens up your creative potential.
Rotary Cutter Safety Rules You Should Never Break
A rotary cutter is one of the best tools you can have in your sewing room, but that scalpel-sharp blade demands some serious respect. Learning how to handle it is just as much about safety as it is about getting a perfect cut. Once you build a few simple habits, you’ll be able to work confidently, and your creative time will be joyful instead of stressful.
The biggest rule is the one that’s easiest to forget when you’re in the zone: always retract the blade guard. The second you put that cutter down—even just for a moment to shift your fabric—that blade needs to be covered. An exposed blade is, without a doubt, the number one reason people get accidentally cut. Make it a reflex, like putting on a seatbelt when you get in the car.
Equally important is which way you’re cutting. You should always cut away from your body. Pushing the blade forward in one smooth, controlled motion gives you the most power and control, and it keeps that razor edge moving safely away from you. Never, ever pull the cutter toward yourself or try to cut at a weird, twisted angle. It’s always better to just rotate your mat or your fabric to get the right position.
Maintaining a Safe Cutting Zone
Think of your workspace as a key piece of safety equipment. A cluttered cutting mat is just an accident waiting to happen. Before you start, clear the area of pins, scissors, extra rulers, or little fabric scraps. Anything that could get in the blade's path can cause it to snag or jump unexpectedly.
Pay special attention to your non-dominant hand—the one holding the ruler steady. Keep your fingers spread wide to anchor the ruler, but always make sure they are a safe distance from the edge. Even with a great grip, a slip can always happen.
I’ve learned this the hard way: never try to make ‘just one more cut’ when you are tired, distracted, or frustrated. Fatigue leads to sloppy mistakes, and with a tool this sharp, the consequences can be pretty serious. It’s always better to step away and come back with a clear head.
If you want an extra layer of protection, especially when you're just getting started, cutting gloves are a fantastic idea. They're made from cut-resistant materials and can give you some real peace of mind for your ruler-guiding hand.
- Mind Your Fingers: Keep them at least an inch away from the ruler's edge. No exceptions.
- Clear Your Space: A clean mat means the blade won't snag, jump, or go off course.
- Know Your Limits: Stop cutting the moment you feel tired or can't focus. The project will be there tomorrow.
Here at bsewinn.com, we firmly believe that safe crafting is the key to a happy and lifelong sewing journey. The resources and training we offer are all built on this idea—that good habits, learned early on, let your creativity flow without any worries. When you take these simple precautions seriously, you’ll have the confidence to tackle any custom sewing machine design that comes your way.
Keeping Your Tools in Top Condition
Think of your rotary cutter and self-healing mat as the trusty workhorses of your sewing room. A little bit of love and maintenance goes a surprisingly long way. Keeping them in top shape isn't just about making them last longer—it’s about making sure every single cut is clean, precise, and effortless. Let them go, and you're just setting yourself up for frustration and, worse, ruined fabric.
The heart of your cutter is, of course, the blade. A dull blade is the number one enemy of a good cut, and it has some pretty obvious tell-tale signs.
You'll know it's time for a change when you start having to put some real muscle into your cuts. If you notice ragged edges, or the blade starts skipping threads and leaving little uncut bits, it's done. A sharp blade should glide through fabric like a hot knife through butter. If you find yourself sawing back and forth, stop immediately. It's time for a change.
How to Safely Change Your Blade
Changing a blade is simple, but it demands your full attention. That blade is incredibly sharp, even when it’s too dull to cut fabric properly. Always check the manufacturer’s instructions for your specific cutter, since the mechanisms can vary a little.
For most standard cutters, the process is pretty straightforward:
- Unscrew the Nut: Carefully loosen and take off the nut on the back of the cutter head. I like to lay all the pieces out in the order I remove them so I don’t forget how they go back together.
- Remove the Old Blade: With the blade guard locked, gently slide the old blade off the screw. Try to handle it only by the very edges.
- Dispose of It Properly: Please don't just toss an old blade in the trash can! Pop it into a dedicated blade disposal case or the little plastic container the new blades came in and tape it shut.
- Install the New Blade: A little pro tip: add a single drop of sewing machine oil to the assembly to keep everything turning smoothly. Place the new blade onto the screw, reassemble the parts, and tighten the nut until it's secure but not cranked down super tight. The blade should still spin freely.
Your cutting mat also needs some TLC to keep it going for years. Over time, tiny fibers and dust get wedged into the cuts on the surface, which stops it from "healing" the way it should. A quick clean makes a world of difference.
Caring for Your Cutting Mat
To get your mat clean, just use a soft brush (like a mushroom brush or a dedicated mat scraper) and cool water to gently scrub the surface. This will lift out all that embedded lint. Stay away from hot water, though, as it can cause the mat to warp.
And speaking of warping, proper storage is everything. Always store your mat flat, either on a tabletop or tucked away under a bed. Never, ever roll it or lean it on its side. That's a surefire way to get a permanent warp that makes accurate cutting impossible. A well-maintained toolkit is a reliable partner in all your creative projects—a core belief we stand by at bsewinn.com through our online classes and extensive resources.
A Few Common Rotary Cutter Questions
Even after you get the hang of it, some questions always seem to pop up. Let's tackle some of the most common issues I see people run into so you can cut with more confidence.
Why Is My Cutter Skipping Threads?
This is, without a doubt, the number one problem people face. I'd say 99% of the time, the culprit is a dull or nicked blade. You’d be surprised how quickly fabric fibers, especially cotton, can wear down that sharp edge. The very first thing you should always do is swap it out for a fresh blade.
If a new blade doesn’t fix it, your cutting mat could be the issue. A well-loved mat with lots of deep grooves and scratches can create an uneven surface, preventing the blade from making solid contact. Also, give your technique a quick check—are you pressing straight down with firm, even pressure as you cut? Any wobble can cause a skip.
Can I Cut Through More Than One Layer of Fabric?
Absolutely! This is one of the best reasons to use a rotary cutter in the first place. It’s a huge timesaver. For your standard quilting cottons, you can easily slice through 4 to 6 layers accurately.
Heavier fabrics are a different story. If you're working with denim, fleece, or canvas, you'll probably want to stick to just 2 or 3 layers at a time. The real key, no matter the fabric, is making sure your stack is perfectly smooth and lined up. Zero wrinkles allowed! A good press beforehand makes all the difference. Always use a sharp blade and enough pressure to get through the whole stack in one clean pass.
A little word of caution: if you try to cut more than 6-8 layers of cotton, the bottom layers almost always shift. It might seem faster, but it often throws off your measurements. It’s much better to make two smaller, accurate cuts than one big, sloppy one.
How Often Should I Change My Blade?
There's really no magic number here. How long a blade lasts depends entirely on how much you use it and what you’re cutting. A professional quilter cranking out projects every day might need a new blade every week. A hobbyist who sews on the weekends might get months out of a single blade.
The best way to know is to just pay attention to how it feels. It’s time for a change as soon as you notice any of these signs:
- You have to start pushing down significantly harder to get a clean cut.
- The edges of your fabric are starting to look ragged or frayed.
- The blade begins skipping threads, leaving those annoying little uncut spots.
And remember, cutting things like glittery fabrics, fusible interfacing, or paper-backed products will dull a blade way faster than plain old cotton will.
At bsewinn.com, we are committed to empowering crafters by providing not just tools, but also the support needed to use them effectively. Through our online classes, in-depth resources, and an amazing community, we're here to help you master every tool in your sewing room—from your custom sewing machine to that trusty rotary cutter.
Ready to take your craft to the next level with the right tools and a little support? Explore the world of custom sewing machine designs, online training, and premium supplies at bsewinn.com and see what you can create. Visit us at https://www.bsewinn.com today.

