

A bulky quilt sandwich is under the presser foot, the needle is moving quickly, and the sewist is trying to guide a curved seam late in the evening. Fatigue, fabric drag, or a brief distraction can move a fingertip closer to the needle path than intended. A finger guard for a sewing machine adds a physical barrier at that point of operation, creating a margin of protection that muscle memory alone can't provide.
The guard isn't a replacement for good hand positioning, correct machine setup, or focused operation. It is a practical safety component for quilters, garment sewists, educators, and anyone who spends long periods doing repetitive, close-tolerance work. The right guard must fit the machine, align with the needle area, and suit the operator's hand and the task.
Table of Contents
- Why Every Sewist Needs a Physical Needle Barrier
- The Safety Standards Behind Needle Protection
- Installing and Aligning Your Guard Correctly
- Adjusting the Guard for Your Hand and Task
- Maintenance and Troubleshooting Common Issues
- Test Your Setup and Upgrade Your Studio
Why Every Sewist Needs a Physical Needle Barrier
A skilled sewist can still make an unsafe movement. Guiding a heavy quilt, pivoting around a tight corner, or correcting fabric drift demands attention from both hands. When the project shifts unexpectedly, the instinct may be to move a finger toward the needle before the machine has fully stopped.
A physical barrier changes that risk. Instead of relying entirely on precise hand placement, the operator has a deflector that helps prevent direct access to the needle during ordinary sewing. That extra layer matters most during fast, repetitive work, when small movements happen over and over again.
Practical rule: A finger guard reduces exposure to the needle, but it doesn't make it safe to reach under a moving presser foot.
Industrial sewing-machine manuals treat the guard as a point-of-operation safeguard, not a beginner-only accessory. JUKI safety instructions describe it as a cover that prevents fingers from contacting the needle and instruct operators not to run the machine with the guard removed (JUKI industrial safety instructions). That distinction is useful for home sewists. Experience improves control, but it doesn't eliminate distraction, fatigue, or unexpected fabric movement.
The guard also supports better instruction. A student learning to maintain a consistent seam allowance can concentrate on fabric handling without placing fingers directly beside the needle. Educators can still teach hand positioning, speed control, and stopping before adjustments, while the barrier provides a physical limit at the hazard zone.
For foundational machine operation, a clear review of sewing machine basics helps establish safe threading, feeding, and control habits. A guard works best when those habits remain in place, rather than becoming an excuse to sew with hands under the needle.
The Safety Standards Behind Needle Protection
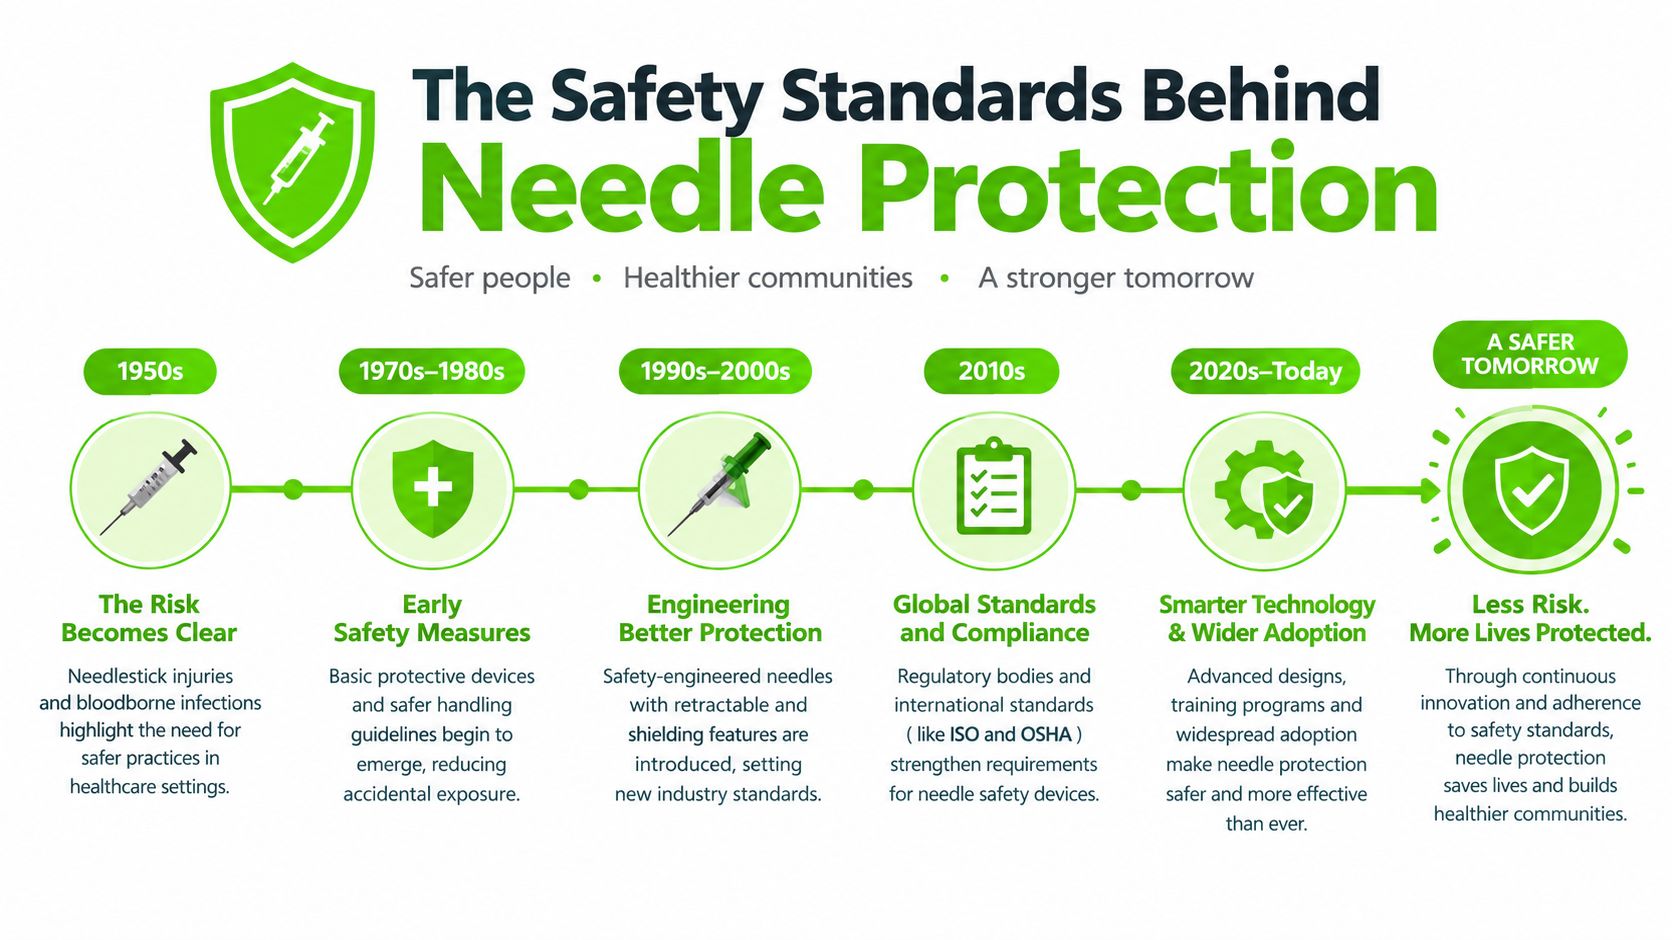
Finger protection has a longer engineering history than many home sewists realize. US Patent 3,019,751, titled Finger shield and eye guard for sewing machines, was filed in 1959 and patented on 1962-02-06. It describes the needle as a constant danger and identifies the risk created when an operator working on a close or fast task moves a finger into the needle path (US Patent 3,019,751).
Later patent literature described finger guards as “well known in the prior art,” while refining attachment and presser-foot usability. That development shows that the accessory category addressed a persistent machine-design problem, rather than a short-lived novelty.
What formal safeguarding requires
EN ISO 10821:2005, published on 2005-07-01, states that hazards caused by needle movement must be eliminated by a safeguard device. It also requires the belt intake point to be guarded so fingers can't reach the danger area and defines a finger-deflecting device as a means of preventing finger access to the sewing area (EN ISO 10821:2005 safety standard).
The standard can protect the operator from the top of the needle bar unless another clause already addresses that hazard. Its practical message is straightforward: guarding belongs at the hazard, and it must prevent contact without obstructing normal operation.
OSHA guidance follows the same principle. A properly designed and securely attached guard should become an integral part of the machine, protect the operator at the point of operation, and avoid creating new cuts or scratches (OSHA sewing-machine guarding interpretation). Another OSHA interpretation describes a barrier around the needle that reaches from the fabric surface to the highest point the needle reaches when fully raised (OSHA needle-guard coverage guidance).
Readers comparing machines and safety features can use a detailed sewing machine buying guide to assess the whole setup, not just the accessory list.
Installing and Aligning Your Guard Correctly
A finger guard only protects the intended area when it stays secure and sits in the correct relationship to the needle, presser foot, and needle plate. Installation should follow the machine and accessory manual, because mounting points differ between machine families.
A careful fitment sequence
- Power down first. Turn off the machine before changing the guard, presser foot, needle, or thread. Remove pressure from the foot control during setup so an accidental start can't move the needle.
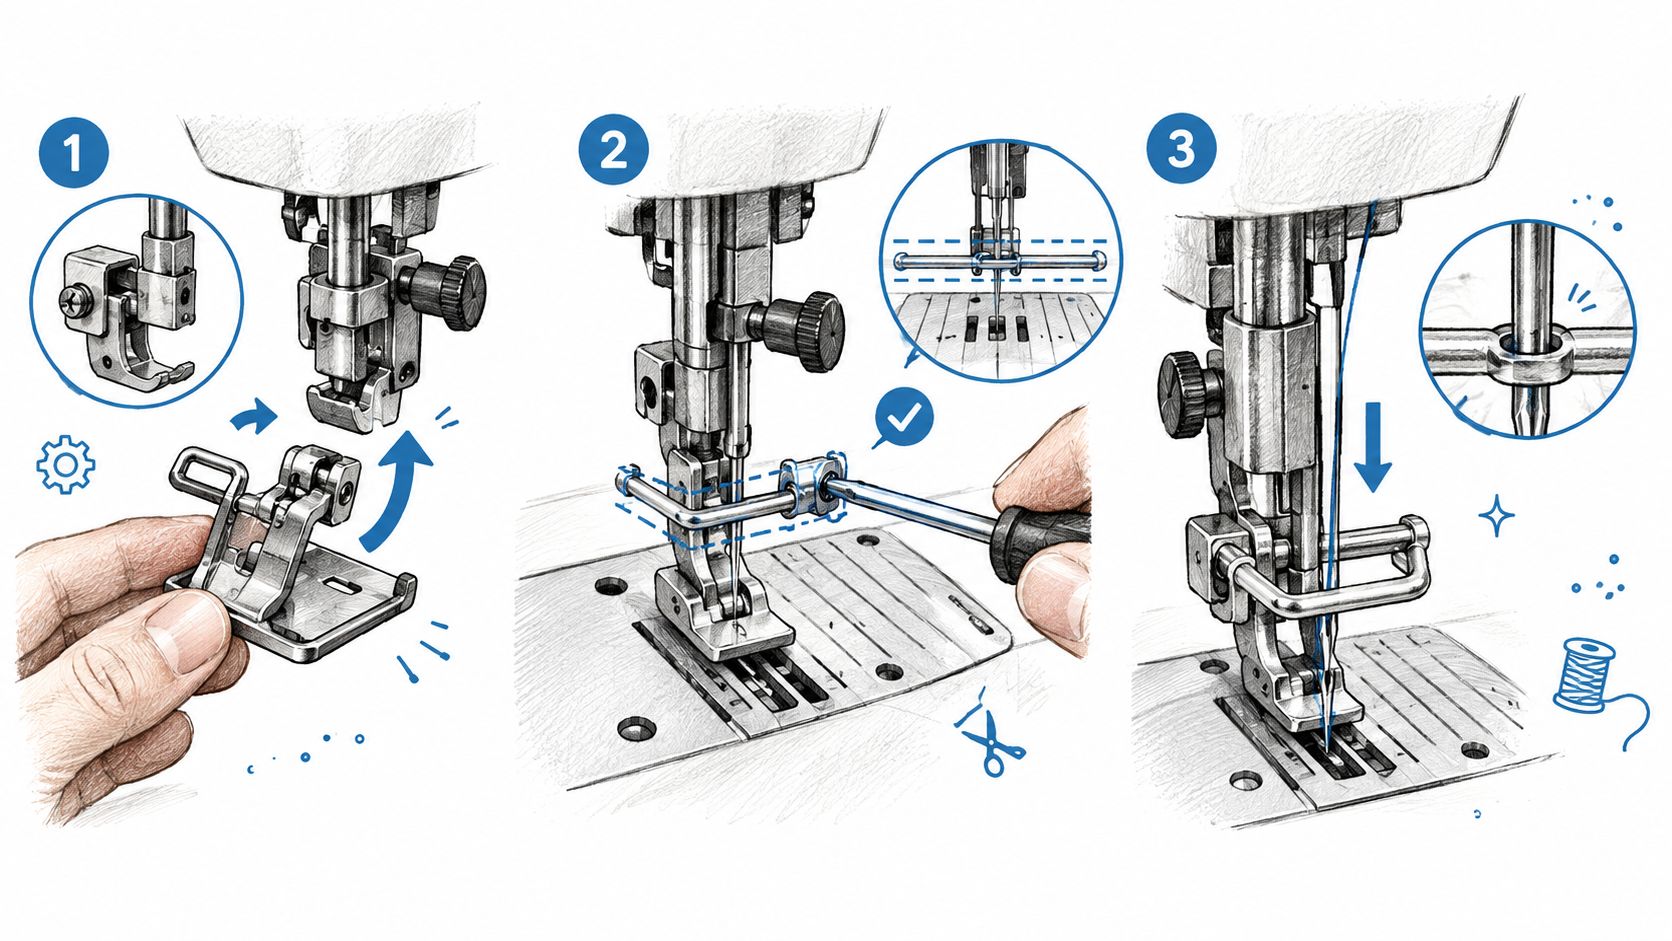
- Confirm the mounting point. Many industrial-style guards attach to the presser-foot holder or presser bar. Brother's industrial instructions specify attachment to the presser-foot holder to help prevent needle injuries (Brother finger-guard installation instructions).
- Check the side profile. Viewed from the side, the guard should sit parallel to the needle plate. This is a practical visual check for alignment, not a decorative preference. A tilted guard may leave an opening near the needle or interfere with fabric movement.
Verify coverage before sewing
With the needle fully raised, inspect whether the barrier covers the needle entry zone from the fabric surface upward through the needle's normal travel area. The guard should remain clear of the needle, presser foot, feed path, and fabric edge.
Secure the intended fastener, then turn the handwheel slowly by hand. Follow with a short test using scrap fabric at the machine's operating speed. Watch for vibration, contact, fabric drag, or a guard that shifts during repeated starts and stops.
A compatible guard shouldn't force the sewist to change a natural feeding motion or obstruct necessary visibility. If the guard rubs against a moving part, blocks the fabric, or loosens during the test, operation should stop until the fit is corrected. A reference for compatible feet and attachments is available in this sewing machine attachments guide.
Adjusting the Guard for Your Hand and Task
A universal setting sounds convenient, but hand size and sewing conditions vary. UK HSE guidance says guards should be adjusted for each individual operator's finger size, and its safe system of work includes removing feet from treadles when threading and changing needles (UK HSE sewing-machine safety guidance).
The adjustment should preserve two things at once: a meaningful barrier between fingers and the needle, and enough working clearance for the fabric to feed smoothly. A smaller hand may need the guard positioned closer to the needle area, while a larger hand may need a different guard shape or machine-specific attachment rather than just forcing the same part into place.
Match the barrier to the work
Thin quilting cotton, a thick quilt sandwich, and layered upholstery material don't behave identically under the foot. A bulky project can change the height and angle at which the operator approaches the needle, so a guard that feels comfortable on flat fabric may need inspection before a thicker project begins.
A useful task check includes:
- Hand position: Fingers should guide fabric from a safe area, not press against the guard or reach around it.
- Material height: Confirm that the guard still protects the needle entry zone when the project is under the presser foot.
- Visibility: The barrier shouldn't hide the seam line so completely that the operator compensates by moving a finger too close.
- Task changes: Recheck the setup after changing feet, needles, fabric layers, or techniques.
The guard also can't replace powering down. Threading, changing a needle, clearing a jam, and adjusting the presser foot require the machine to be stopped and the operator's foot removed from the treadle or pedal. For sewists managing long sessions, guidance on repetitive strain injury prevention strategies can complement needle-safety habits by addressing posture, repetition, and working breaks.
Presser-foot pressure affects fabric control and can influence how hands approach the needle. A careful review of how to adjust presser-foot pressure helps the operator solve feeding problems through machine settings instead of reaching into the sewing area.
Maintenance and Troubleshooting Common Issues
A loose guard is often a symptom of a larger setup problem. Vibration, an incorrectly fitted presser foot, a damaged needle, or an incompatible attachment can change the relationship between the barrier and the needle. The safest approach treats the guard, needle, plate, foot, and fasteners as one operating system.
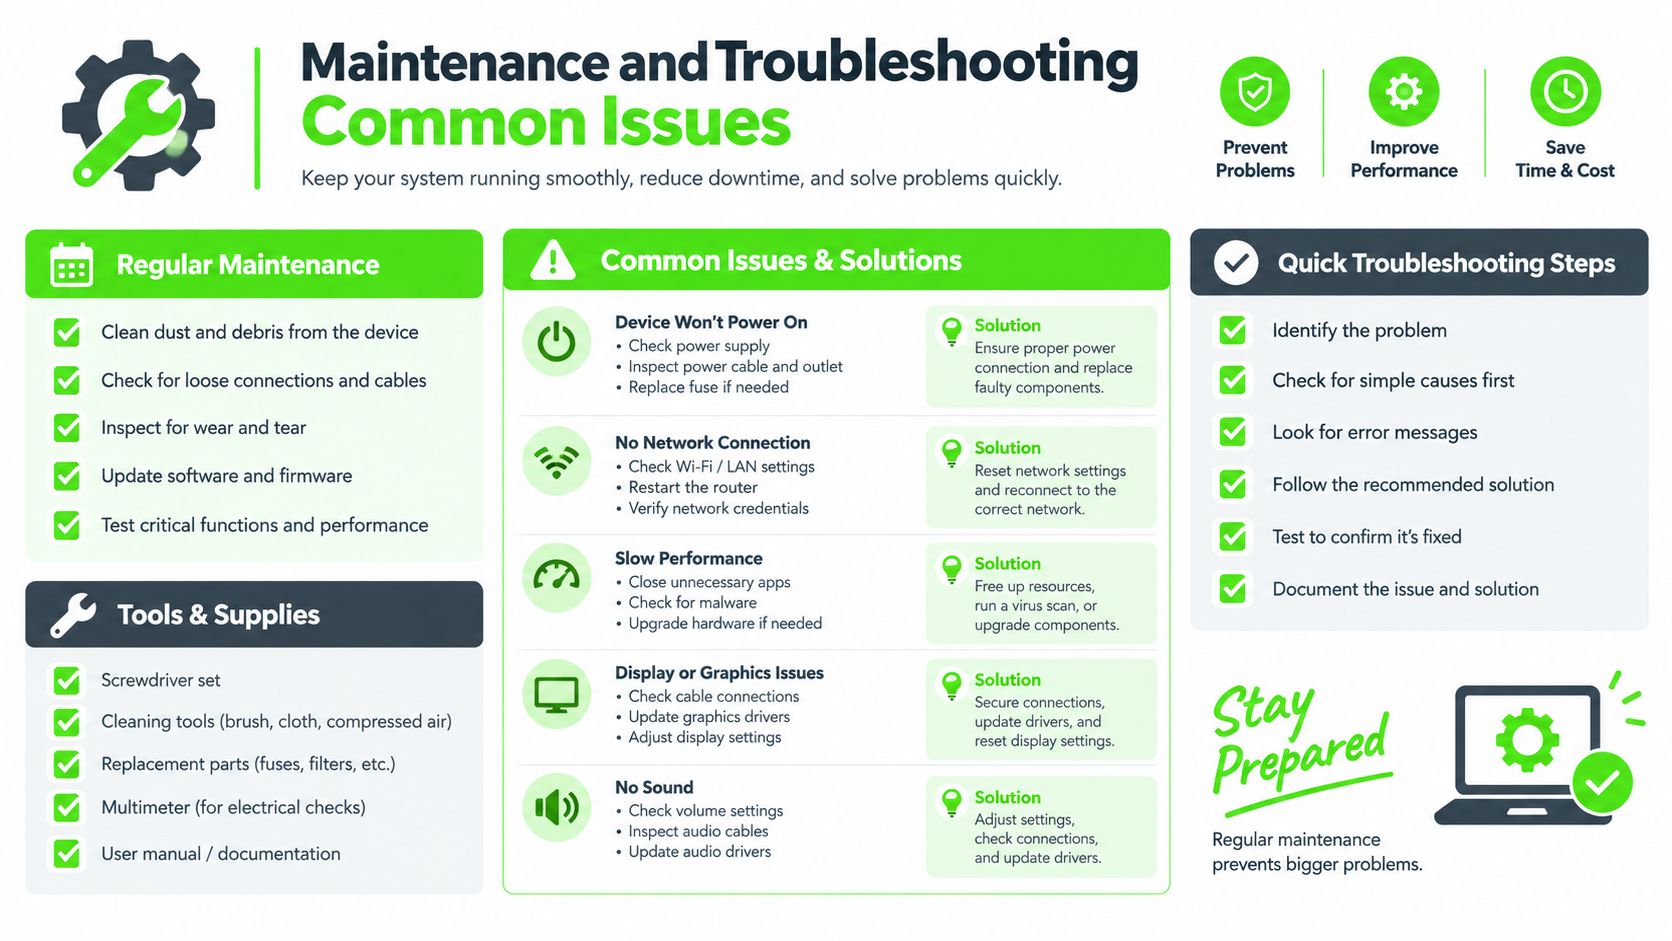
Hesperian's machine-safety guidance recommends that guards be inspected and tested regularly to confirm that they're present and working (machine guarding inspection guidance). That inspection doesn't need to be complicated, but it should happen before sewing and after any maintenance that disturbs the needle-area assembly.
A practical inspection checklist
- Fasteners: Check that screws, clips, or snap fittings remain secure. A guard that shifts by hand needs attention before operation.
- Needle condition: Replace a bent or damaged needle and confirm that the replacement is seated correctly.
- Needle plate: Use the plate specified for the machine and stitch setup. JUKI safety manuals warn that the wrong needle plate can cause the needle to break, which demonstrates why guard safety depends on nearby components as well as the guard itself (JUKI needle-plate safety warning).
- Clearance: Turn the handwheel slowly and check that the needle, guard, presser foot, and plate don't touch.
- Fabric feed: Test with the project material. The guard mustn't pull, snag, or obstruct the fabric.
- After needle changes: Recheck alignment whenever the needle or presser-foot assembly has been disturbed.
A needle strike against the guard isn't a minor annoyance. Stop the machine, disconnect power as appropriate, identify whether the needle, plate, foot, or guard moved, and correct the cause before testing again. If the source isn't clear, a service inspection is safer than repeated trial stitching.
Test Your Setup and Upgrade Your Studio
Online diagrams can show the general shape of a finger guard, but they can't confirm how a specific machine feels under a sewist's hands. Small differences in presser-foot height, needle visibility, fabric clearance, and hand position become obvious when a machine is threaded and running.
Hands-on testing is especially valuable for a significant machine purchase. A sewist can compare mechanical and computerized controls, test the feeding response with quilting layers, and determine whether the guard supports a natural guiding position. The same visit can reveal whether a machine-specific foot, needle, plate, or other notion solves the problem more effectively than a universal accessory.
Evaluate the complete sewing station
A safe upgrade considers more than the needle barrier:
- Machine fit: The operator should be able to see the needle entry point without leaning or reaching forward.
- Control: Speed control and start-and-stop behavior should support steady fabric handling.
- Attachment compatibility: Feet and guards must mount securely to the intended machine family.
- Project demands: Quilting, garment sewing, serging, and embroidery each create different setup requirements.
- Instruction: Correct hand placement is easier to develop with an instructor observing the machine in use.
A laser guide can also change how a sewist aligns fabric and seam paths. Before choosing one, review this explanation of a laser guide for a sewing machine, then consider whether the feature improves visibility without encouraging hands to move closer to the needle.
B-Sew Inn has retail stores in Tulsa and Oklahoma City, Oklahoma, Springfield, Missouri, Humble, Texas, and Fayetteville, Arkansas. Its staff can help sewists see, test, and try machines in person, including models from Baby Lock, Bernina, Bernette, Brother, and Janome, along with sergers, longarm quilting machines, presser feet, notions, thread, stabilizer, cabinets, and cutting tables. The retailer also offers in-person classes, machine mastery sessions, service, repair, and trade-ins, giving buyers a way to address compatibility and technique before committing to a new setup.
Browse the sewing, quilting, and embroidery machines and accessories available from B-Sew Inn, or visit a retail location to test a machine, guard, and presser-foot setup in person. The team can also help with service, repair, machine mastery, and an in-person class focused on safer, more precise sewing.

