

A new embroidery machine can feel like the finish line. Then the first project begins, the thread loops underneath, the fabric puckers, and the design looks nothing like the sample. The machine may be perfectly capable. The problem is usually sitting in the supply drawer, where the stabilizer, needle, thread, hoop, and bobbin are mismatched to the fabric.
That's why machine embroidery supplies deserve a buying plan, not a random collection of attractive spools and specialty packages. Each consumable changes what happens during stitching. The right stabilizer controls distortion, the right needle reduces shredding, and the right thread keeps lettering and fills clean. The practical guide below follows project behavior rather than a disconnected shopping list, with recommendations that help home embroiderers buy less guesswork and get more usable results.
Table of Contents
- Why Machine Embroidery Supplies Matter More Than the Machine
- Choosing Embroidery Stabilizers That Prevent Puckering
- Picking the Right Embroidery Thread for Clean Stitches
- Matching Embroidery Needles to Thread and Fabric
- Hoops, Bobbins, Adhesives, and Specialty Notions
- Real Projects That Show How Supplies Change Results
- Caring for Supplies and Knowing When to Service the Machine
- Test Supplies in Person and Build Your Kit at B-Sew Inn
Why Machine Embroidery Supplies Matter More Than the Machine
A new machine owner often leaves a dealer focused on hoop size, built-in designs, connectivity, and stitch speed. Those decisions matter, but the first frustrating project usually teaches a different lesson. The machine forms the stitches, while the supplies determine whether the fabric stays stable, whether the thread moves cleanly, and whether the finished design looks crisp.
The embroidery ecosystem has always depended on specialized supporting materials. The Schiffli embroidery machine, invented by Isaak Gröbli in 1863, helped establish mechanized embroidery, and industrial development created demand for threads, needles, and stabilizing materials that could perform reliably at higher speeds. Modern industry reporting still treats needles, hoops, stabilizers, and thread as core components of the workflow, not optional accessories. Research and Markets' embroidery machine market analysis also estimates the global embroidery machine market at about USD 1.20 billion in 2025, projected to reach USD 1.7 billion by 2030, with supplies benefiting from both machine adoption and recurring replenishment.
The supply drawer decides the result
A crisp design on a cotton onesie may need a light, removable support that keeps the knit from shifting without leaving a bulky backing. A stretchy blanket or knit garment needs a more permanent foundation because repeated needle penetrations can distort the fabric. A towel may require a topping layer so stitches remain visible instead of disappearing into the pile.
Those aren't machine problems. They're project-matching problems.
Practical rule: Buy supplies for the fabric and design density on the hoop, not simply for the machine sitting beside it.
The most common beginner mistake is buying one stabilizer, one needle type, and a large thread assortment, then expecting every project to behave the same way. A better kit starts with the fabrics most likely to be used, then adds specialty notions only when a project calls for them.
A hands-on starting point
B-Sew Inn is an authorized sewing, quilting and embroidery machine dealer with retail stores in Tulsa and Oklahoma City, Oklahoma, Springfield, Missouri, Humble, Texas, and Fayetteville, Arkansas. A shopper can bring a fabric swatch to a nearby store and ask an associate to pair it with a stabilizer, needle, and thread before cutting into the finished garment or quilt block.
Choosing Embroidery Stabilizers That Prevent Puckering
Stabilizer is the largest variable in stitch quality. Every needle penetration pulls on the fabric, and dense designs add more repeated stress. Without suitable support, the fabric can pucker, stretch, shift, or develop uneven edges.
The main removal categories are cut-away, tear-away, wash-away, and heat-away. Shopper-friendly buying decisions become much easier when each category is tied to what remains after stitching.
Match the removal method to the fabric
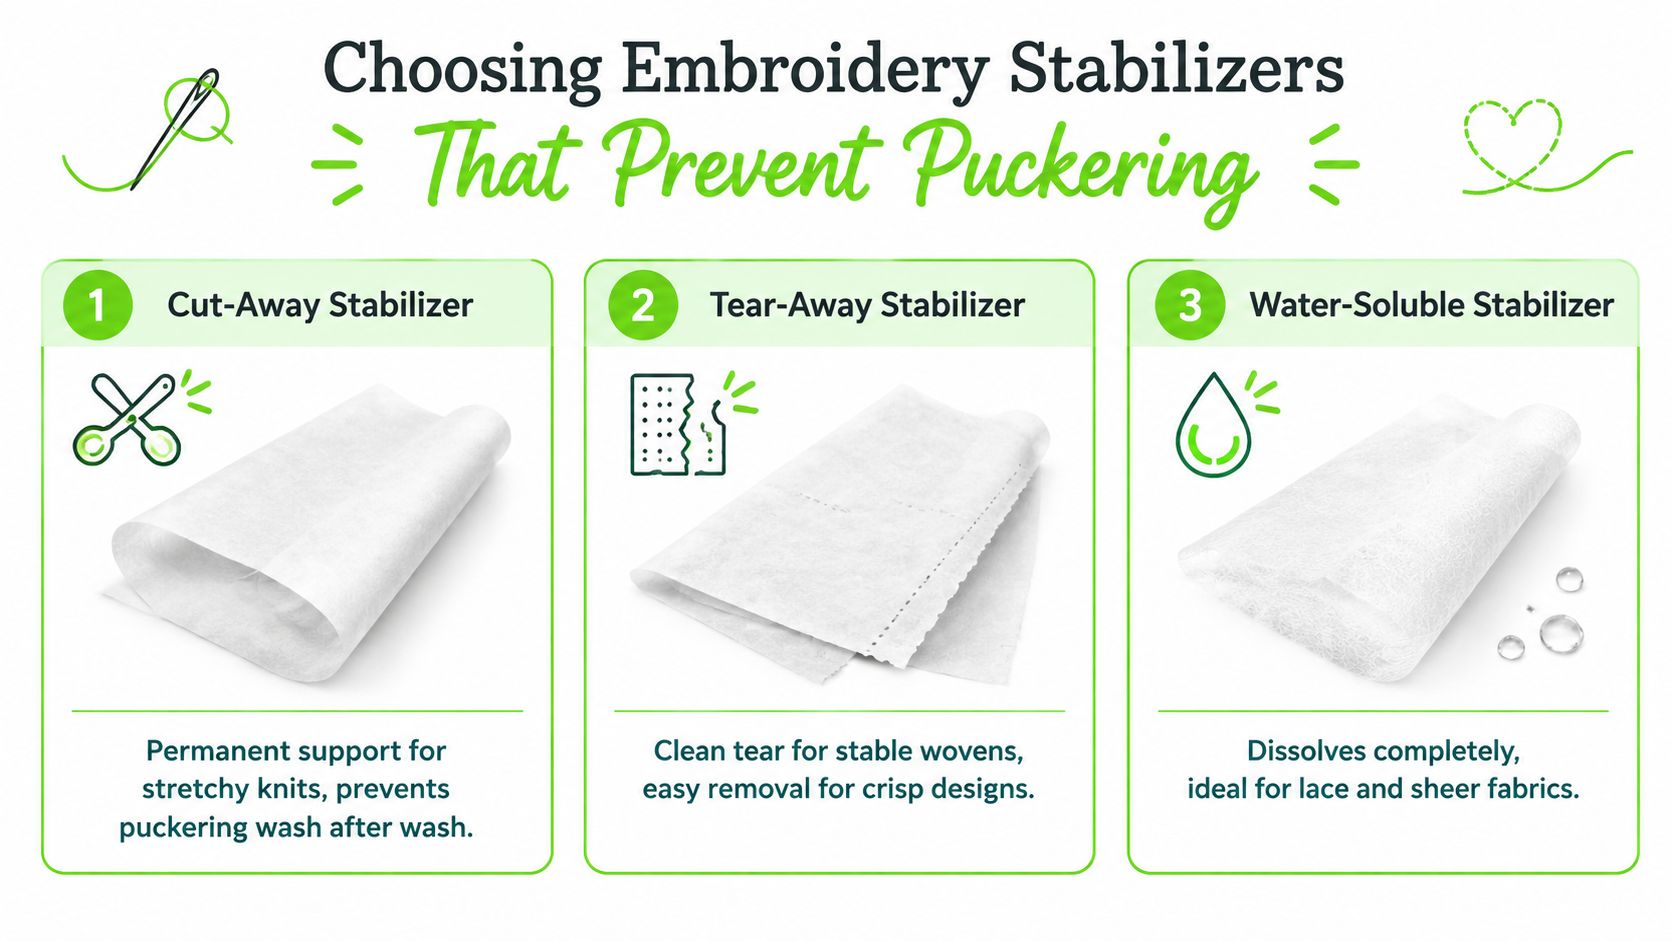
- Cut-away stabilizer stays with the embroidery for the life of the garment. It's the firm choice for knits, polos, stretchy garments, and dense designs because the support continues working after the hoop comes off. This stabilizer guide describes cut-away backing as permanent and notes that products are commonly sold by weight per square yard, from light weights around 1 ounce to heavier options above 3 ounces.
- Tear-away stabilizer suits stable woven fabrics such as cotton blanks, towels, and many totes. It removes around the design after stitching, leaving support where the stitches need it without making the entire project permanently backed.
- Water-soluble stabilizer dissolves in water. It belongs under lace and freestanding lace, and it can serve as a topping on textured surfaces where thread would otherwise sink.
- Wash-away and heat-away products make sense when the temporary support must disappear rather than remain in the garment or be trimmed from its edges.
Weight matters too. Dense stitch counts and stretchy fabrics need stronger support, while lighter designs on stable cloth can use a lighter backing. Specialty choices such as no-show mesh, fusible polymesh, and sticky-back stabilizer earn their space when the fabric is delicate, difficult to hoop, or prone to showing the backing.
For a fuller explanation of how stabilizer affects fabric behavior, see B-Sew Inn's guide to what stabilizer does for embroidery.
A demonstration can make this decision faster than reading package labels. Bring a swatch of the most troublesome fabric to a B-Sew Inn store in Oklahoma, Missouri, Texas, or Arkansas, and let an associate compare stabilizer samples before the good fabric meets the needle.
Picking the Right Embroidery Thread for Clean Stitches
A clean design starts with thread that matches the project's workload. For everyday home embroidery, 40-weight thread gives a reliable balance of coverage, detail, and stitch definition. The thread's weight also affects looping, shredding, and how much detail a design can hold, so choose the spool before adjusting machine settings.
Choose fiber for the garment's life
Polyester is the practical choice for garments, children's items, towels, and other projects that face regular laundering. It holds color well and handles routine wear. Rayon has a softer, elegant sheen that suits lettering, satin columns, and decorative fills, but use it where the finished item will receive gentler care.
Trilobal polyester makes a strong everyday workhorse. Its construction gives stitches a polished surface without making the project difficult to maintain. Metallic and variegated threads belong in the specialty part of the collection, where they can add contrast or movement without becoming the default choice. Glow-in-the-dark and reflective threads also need a design that benefits from their particular finish.
Thread behavior changes with fiber, weight, fabric, and design density. A thread that runs smoothly on a stable cotton can expose looping or distortion on a stretchy knit, especially when the design has heavy fills. Match the thread to the project's handling and the result you want to see.
Build a useful palette
A focused collection of core colors serves home embroiderers better than a random wall of spools. Start with shades that coordinate with the garments, towels, quilts, and bags already in the sewing room. Add unusual colors only when a project calls for them, and store spools away from direct window light.
Before choosing a full set, read this guide on how to choose good embroidery thread. Then bring a fabric swatch to a B-Sew Inn store in Oklahoma, Missouri, Texas, or Arkansas. Compare rayon's sheen with polyester's finish, place both against the fabric, and check whether the contrast keeps lettering readable. Ask an associate to help build a palette around the projects you plan to stitch.
Matching Embroidery Needles to Thread and Fabric
Needle choice controls how thread enters and leaves the fabric. A blunt, bent, or incorrectly sized needle can cause looping, skipped stitches, shredding, and enlarged holes, even when the design file and tension are set correctly. Replace a needle as soon as stitching becomes noisy or inconsistent, rather than waiting for visible damage.
For common 40-weight embroidery thread, start with 75/11 or 80/12. Heavier 30-weight thread generally needs a 90/14 needle. Magnetic Hoop's needle size chart places standard 40-weight thread with 75/11 through 80/12 and heavier 30-weight thread with larger sizes. The eye must give the thread enough room to pass smoothly without cutting fibers or damaging the fabric.
Understand the needle's job
Embroidery needles have a larger eye and a scarf shaped for repeated decorative stitching. Chrome plating reduces friction as the needle moves through the fabric and thread. A general-purpose sewing needle may fit the machine, but fit alone does not make it suitable for embroidery.
| Needle Type & Size | Best Thread Match | Best Fabric Match | Typical Project |
|---|---|---|---|
| Embroidery 75/11 | Fine or standard lighter embroidery thread | Lightweight cotton and fine fabrics | Small lettering and delicate motifs |
| Embroidery 80/12 | Common 40-weight thread | Quilting cotton and medium woven fabric | Quilt blocks and everyday designs |
| Embroidery 90/14 | Heavier thread or standard thread on firm fabric | Canvas and decorator fabrics | Totes and dense woven projects |
| Ballpoint 75/11 or 90/14 | Standard embroidery thread | Knits and stretch garments | Onesies and knit shirts |
| Metallic 90/14 | Metallic and foil-effect thread | Stable fabrics suited to specialty thread | Accent details and decorative highlights |
| Jeans or denim 90/14 | Strong embroidery thread | Heavy denim and decorator materials | Jackets and sturdy bags |
A practical sizing rule pairs a larger needle eye with thicker thread, reducing abrasion and shredding during repeated stitching. Choose the needle for the thread's diameter and the fabric's resistance, not solely for the design size.
The working rule is simple: match needle weight to fabric, needle type to thread, and replace the needle before wear affects the stitch. B-Sew Inn's guide to the best needles for embroidery helps narrow the options. Bring the actual fabric, thread, and a design sample to a B-Sew Inn store in Oklahoma, Missouri, Texas, or Arkansas, then compare needle choices in person before buying a full supply set.
Hoops, Bobbins, Adhesives, and Specialty Notions
The supporting accessories often decide whether the design lands cleanly in the hoop. A hoop that shifts, a bobbin with inconsistent winding, or a missing topping layer can create an amateur finish even when the main supplies are appropriate.
Compare hoop styles by the project
Traditional screw-down hoops remain reliable for flat cotton, garments, and routine embroidery. They hold the fabric through adjustable pressure and suit projects that fit comfortably inside the frame.
Magnetic hoops are the clear choice for difficult bulk. Thick towels, heavy denim, jackets, and items that are awkward to force into a conventional frame benefit from a hoop that clamps the layers without repeated fabric handling. The frame size still needs to match the design, so shoppers should check the machine's approved hoop options before buying.
A hoop should hold the project firmly without creating a ridge or crushing a textured surface. B-Sew Inn's embroidery hoop size chart gives shoppers a useful starting point for matching frame dimensions to the design and machine.
Keep bobbin choices practical
Pre-wound bobbins save preparation time and offer consistent winding for everyday home stitching. Self-wound bobbins become useful when a project requires a particular backing color, a high volume of stitching, or a bobbin format specific to the machine. The correct bobbin type and case still matter, because a suitable thread on the wrong bobbin setup can create tension trouble.
Technical explanations of bobbin motion note that the bobbin rotates in micro-jerks within an estimated 300 to 800 RPM range while the rotary hook body spins continuously. This bobbin mechanics explanation shows why bobbin quality, winding, and timing affect thread pull rather than following the machine's visible speed.
Temporary spray adhesive helps position slippery or hard-to-hoop layers, but it should support the hooping method rather than replace it. Wash-away topping keeps stitches from sinking into towels and plush surfaces. Cut-away support belongs with knits, while tear-away support suits stable wovens. Those accessories change results. Extra notions that don't solve a fabric, placement, or thread problem can stay on the shelf.
A B-Sew Inn associate can compare a magnetic hoop, bobbin format, topping, and adhesive against a real project rather than an abstract supply list.
Real Projects That Show How Supplies Change Results
The same embroidery machine can produce three very different outcomes because the fabric, density, and contact requirements change. A onesie, quilt block, and tote bag shouldn't share one universal supply setup.
A baby onesie
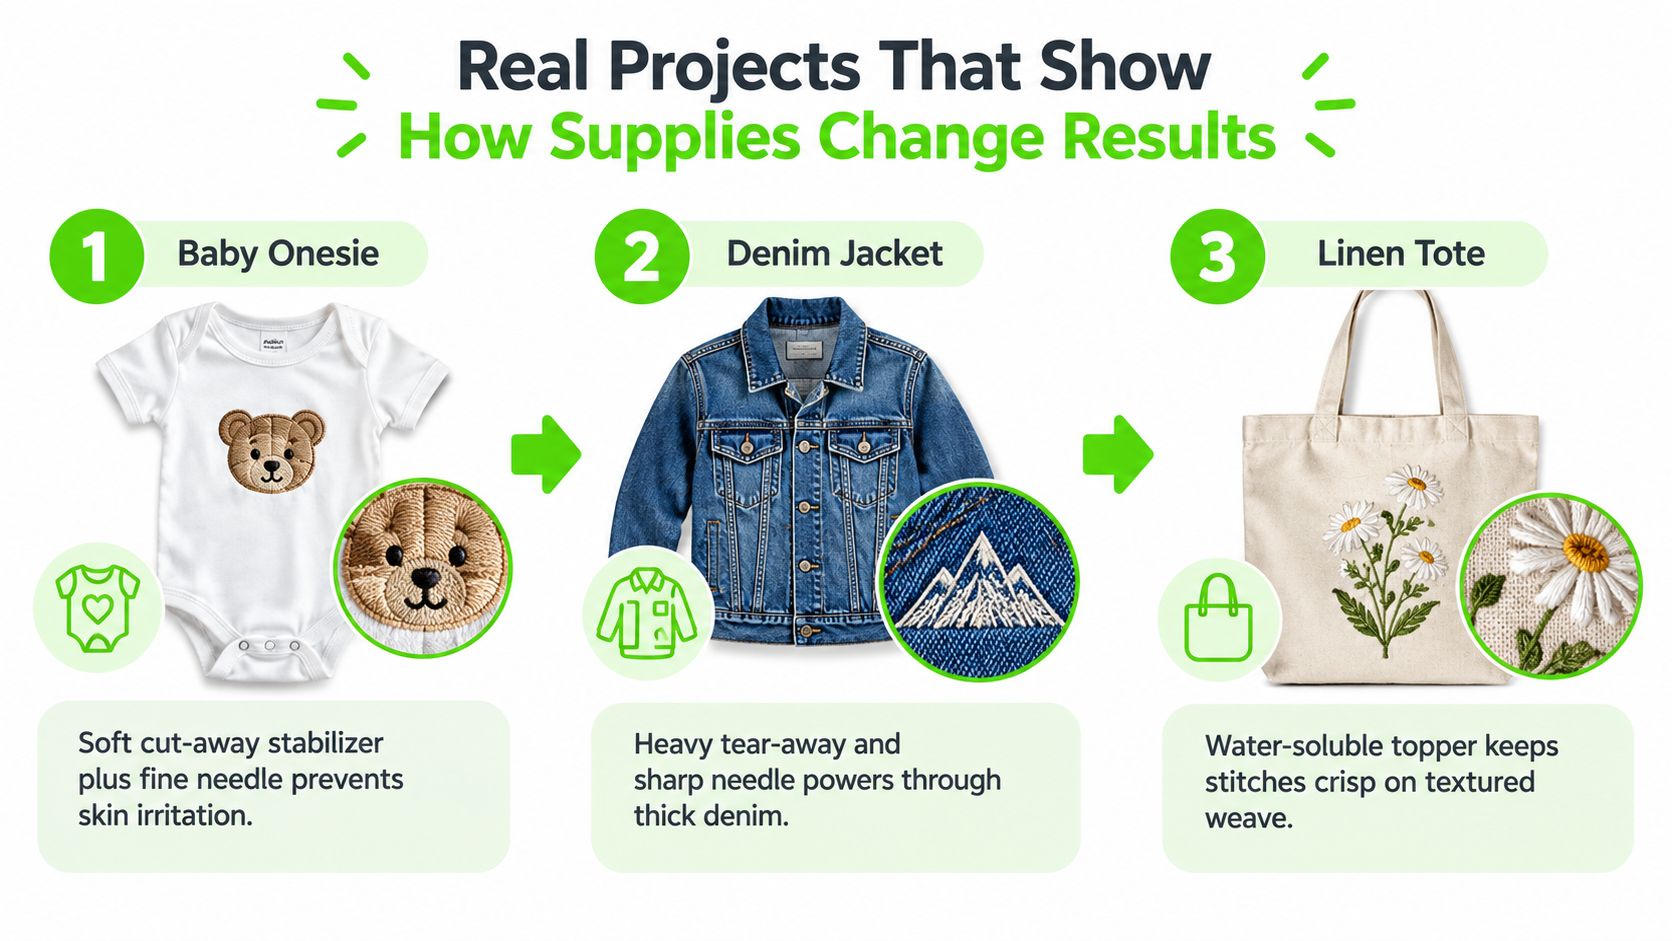
A knit onesie stretches while hooping and continues moving during stitching. A lightweight support, a ballpoint 75/11 needle, soft thread on the inside, and a smaller hoop help reduce snagging, bulk, and unnecessary strain on the garment. The hoop should fit the placement area without stretching the surrounding fabric.
The key result is comfort as well as appearance. A dense backing or overly large frame can leave the garment stiff and place pressure where a baby's skin will touch the design.
A quilt block
A crisp quilting cotton gives embroidery a stable base, but a quilt block still benefits from support when the design includes dense fills or satin stitching. A medium-weight backing, standard 40-weight rayon or polyester, and a topping layer can keep stitches defined instead of allowing them to sink into the weave.
The topping becomes especially useful when the surface has loft or texture. It creates a temporary barrier between the thread and the fabric surface, helping lettering retain its shape.
A canvas tote
Canvas asks more from the needle and hoop. A heavy cut-away stabilizer, a 90/14 needle, and a magnetic hoop give the design a firmer foundation and reduce movement through thick layers. A test stitch-out remains important because dense embroidery can stiffen a bag panel and affect how the tote folds.
Project rule: If the fabric stretches, prioritize permanent support. If the surface swallows stitches, add a topping. If the layers resist the hoop, change the hooping method before changing the machine.
B-Sew Inn stores in Oklahoma, Missouri, Texas, and Arkansas give shoppers an opportunity to place a real fabric sample against stabilizers and test accessory choices before committing to the finished project.
Caring for Supplies and Knowing When to Service the Machine
Thread, needles, and stabilizer aren't permanent inventory. They age, collect dust, develop creases, and lose reliability when stored poorly. Treating them as working tools keeps troubleshooting focused on the actual cause instead of blaming the machine for every failed design.
Store supplies for the next project
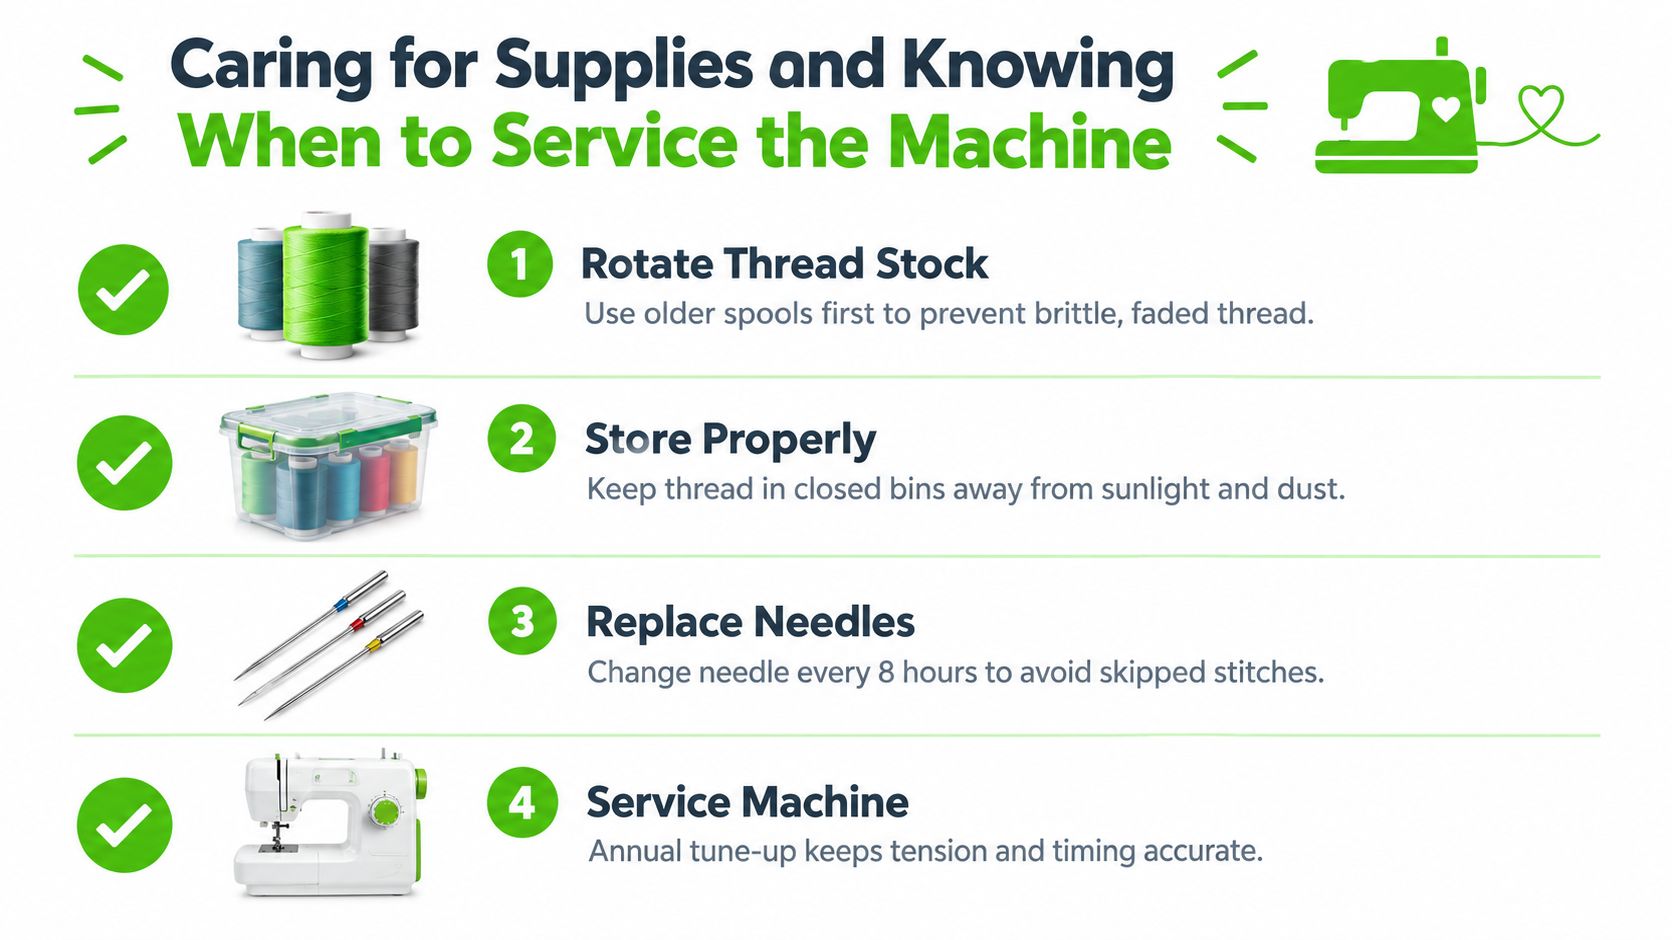
Rotate thread so older spools get used first. Closed bins protect thread from sunlight and dust, while stabilizer rolls should be kept flat and resealed so creases don't transfer into the stitched area. Scraps deserve labels, especially when several backing weights look similar after the original packaging disappears.
A small notebook can record design name, fabric, stabilizer, needle, thread colors, and any tension observations. That record turns a failed project into useful information. It also makes a successful combination easier to repeat.
Replace needles before failure
Replace an embroidery needle at the first sign of looping, a shredded thread tail, skipped stitches, or a popping sound. A fresh needle often solves a problem that looks like a tension mystery, particularly when the fabric is a knit or the thread is specialty weight.
The technical recommendation in the supplied maintenance guidance is to change needles every 8 to 10 hours of stitching. This is a practical replacement interval, not a promise that every needle will last that long. Dense designs, heavy fabrics, and specialty threads can justify earlier replacement.
Know when the machine needs attention
A machine deserves service when thread nests return after checking the needle, bobbin, threading path, and stabilizer. Inconsistent tension controls, recurring timing symptoms, and unusual hook noise also justify a service appointment. Annual cleaning, oiling where appropriate, and hook inspection protect a significant machine investment.
Hoops need maintenance too. Wipe plastic hoops with a dry cloth and clear lint from magnetic corners so the frame continues gripping evenly. B-Sew Inn offers sewing machine maintenance and repair, along with service support for the brands carried through its dealer locations.
Test Supplies in Person and Build Your Kit at B-Sew Inn
Bring the fabric you plan to embroider before buying a full supply assortment. Online photos hide the differences that affect puckering, looping, and distortion. Cut-away backing can resemble tear-away backing on a screen, while a thread color may look right until it meets the actual fabric. Handle the materials, test the fit, and judge the result together.
At B-Sew Inn retail stores across Oklahoma, Missouri, Texas, and Arkansas, you can compare stabilizers by touch, examine rayon and polyester thread side by side, and test a magnetic hoop on a sample garment. Bring a quilting cotton, knit onesie, towel, or canvas swatch. An associate can recommend a workable combination based on that fabric and design, rather than sending you home with every specialty option.
Build around the next project
Build the kit around the project waiting on your table:
- Foundation supplies: Start with standard embroidery thread, suitable bobbin thread, everyday needles, and stabilizer matched to the fabrics already in your sewing room.
- Problem-solving additions: Add ballpoint needles for knits, topping for towels, or a magnetic hoop when thick layers make conventional hooping awkward.
- Specialty effects: Buy metallic, variegated, reflective, or glow-in-the-dark thread when a planned design needs that visual effect. These threads should solve a design goal, not fill a drawer.
- Learning support: Pair the supplies with an in-person machine mastery session or beginner machine embroidery class. Correct settings and material choices work together.
B-Sew Inn sells and services machines from leading brands carried in-store, along with embroidery designs, thread, stabilizer, notions, cabinets, and cutting tables. Test machines in person before making a larger investment, then choose supplies that fit the machine's hoop system and your project goals.
Start with a short list tied to the next garment, quilt block, towel, or tote. Bring a fabric swatch to a store, book an in-person class, or review the relevant collection at B-Sew Inn before placing your next order. Associates can help match supplies to the project, identify whether a consumable is causing distortion or looping, and arrange service when the problem reaches beyond thread, needles, stabilizer, or hooping. That hands-on check can prevent another expensive piece of fabric from entering the hoop before the setup is ready.

