

Let's be honest, sewing a truly straight seam is one of those skills that looks simple but can be maddeningly tricky. It's the foundation of everything we make, from a simple tote bag to a tailored garment, and getting it right is what makes a project look polished and professional.
It really boils down to three things: getting your fabric ready before you sew, setting up your machine correctly, and then guiding the fabric consistently as it goes under the needle. Nail these, and you'll be creating beautiful, straight seams every single time, ready to tackle any project you can imagine.
Laying the Groundwork for Flawless Seams
A perfect seam isn't just a line of thread; it's the backbone of your project. It’s the difference between a pillow cover with crisp corners and one that looks a little wonky. But this skill isn't magic—it's a process. And it starts long before your foot ever touches the pedal.
Here at bsewinn.com, we believe in empowering crafters. Our custom sewing machine designs are built to make projects like these accessible and enjoyable. We don't just sell machines; we build a whole support system around them with online classes, training, and extensive resources. Think of this guide as part of that commitment—we're breaking down a core skill into simple, actionable advice so you can start creating tangible projects you're proud of.
What Really Makes a Seam Straight?
Forget about trying to have a super-steady hand or some innate talent. Sewing a straight seam is all about setting yourself up for success.
- It Starts with the Cut: You can't sew a straight line on a crooked edge. Accurate cutting, clear marking, and a good press with the iron are non-negotiable. If you skimp here, you’ll be fighting your fabric the whole way.
- Your Machine is Your Best Friend: The right needle and stitch length make a huge difference. But the real game-changers are the guides! Whether it’s a magnetic seam guide, a piece of washi tape, or a special presser foot, these tools give you a physical edge to follow. They do most of the hard work for you.
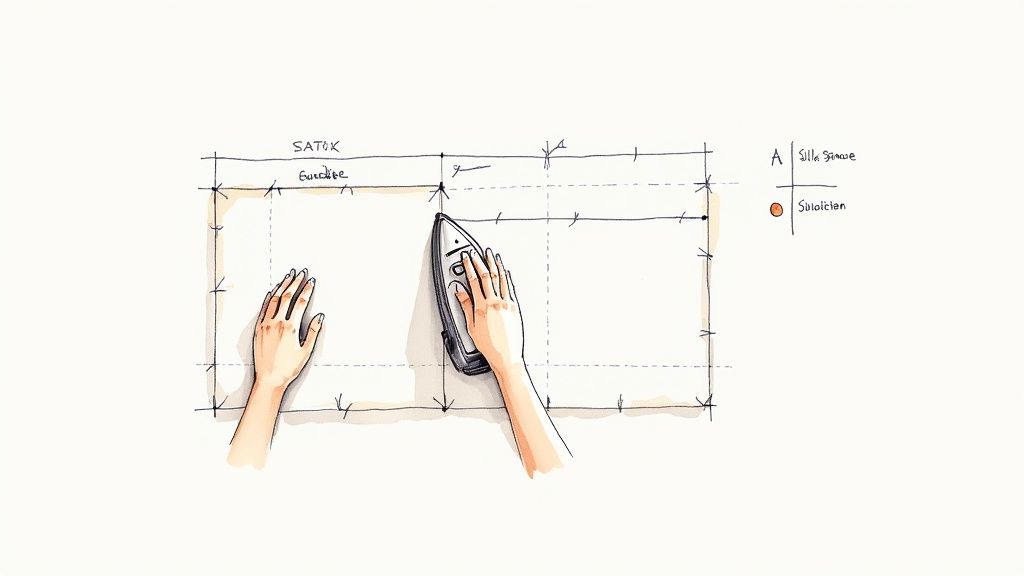
- Guide, Don't Push: Once you're sewing, your job is to gently guide the fabric along your chosen seam guide. You're not forcing it through; you're just steering. This light touch lets the machine's feed dogs do their job and pull the fabric through evenly.
The biggest secret I ever learned about how to sew straight seams? Stop watching the needle. Seriously. Keep your eyes glued to the edge of your fabric as it runs along your seam guide. This one little shift in focus will change everything.
When you start thinking about each of these steps, you're not just sewing anymore—you're building a solid foundation of good habits. In the next sections, we'll dig into the nitty-gritty of each of these areas with practical tips you can try today.
To get started, let's break down the fundamentals. Think of these as the three pillars that support every perfect seam you'll ever sew.
Core Elements for Sewing Straight Seams
This table gives you a quick overview of the three key areas we'll be focusing on. Mastering each one is a step toward making wobbly seams a thing of the past.
| Element | Key Actions | Why It Matters |
|---|---|---|
| Precise Preparation | Accurate cutting with a rotary cutter/mat, marking seam allowances clearly, and pressing fabric flat before starting. | You can't sew a straight line on a crooked edge. Good prep removes guesswork and ensures your fabric pieces are true to size. |
| Machine & Guide Setup | Choosing the right needle, setting the correct stitch length, and using a physical seam guide (magnetic, tape, etc.). | Your machine needs the right settings to perform well, and a seam guide provides a consistent visual and physical reference point. |
| Consistent Guidance | Using your hands to gently steer the fabric along the guide without pushing or pulling. Keeping your eye on the guide, not the needle. | This prevents the fabric from shifting or stretching, allowing the machine's feed dogs to pull it through evenly for a perfectly straight stitch. |
By paying close attention to these three areas, you're building a system for success. It takes the guesswork out of the process and turns it into a repeatable skill.
Getting Your Fabric Ready for Success
Before you even think about threading your machine, the fate of your seam has already been decided by how you prep your fabric. I like to think of it as a chef's mise en place—getting everything perfectly organized beforehand makes the actual cooking (or in our case, sewing) process go so much smoother. Honestly, rushing this stage is the number one reason beginners struggle with wavy, uneven seams on projects like zippered pouches or simple skirts.
First things first, you have to pre-wash and dry your material. This is non-negotiable. Many fabrics, especially natural fibers like cotton, linen, and rayon, can shrink up to 10% in their first wash. If you skip this, you’ll sew a beautiful garment, wash it, and watch in horror as the fabric shrinks unevenly, causing your perfect seams to pucker and warp.
Pre-washing also gets rid of any sizing or weird chemicals left over from the factory, which makes the fabric much softer and easier to work with. It's the only way to ensure your project will look just as good after its tenth wash as it did the day you finished it.
The Power of Pressing and Marking
Once your fabric is clean and dry, the next step is to give it a good, thorough press with a hot iron. You want your fabric to be as flat and crisp as you can get it. Trying to sew on wrinkled fabric is like trying to draw a straight line on a crumpled piece of paper—it’s just not going to work out. Pressing gives you a stable, true surface to cut and sew on.
With your fabric looking sharp, it's time to mark your sewing lines. While a straight cut is important, marking your seam allowance gives you an invaluable roadmap to follow. Don't just eyeball it; grab a reliable marking tool and draw that stitch line.
- Chalk Wheels and Pencils: My go-to for most woven fabrics. They leave a crisp, clear line that brushes or washes right off.
- Water-Soluble Pens: These are a lifesaver for light-colored fabrics where chalk won’t show up. A little dab of water and the marks vanish.
- Disappearing Ink Pens: Great for quick projects since the marks fade on their own in 24-48 hours. But always, always test on a scrap first to be sure!
"The moment of truth for any seam happens before the machine is even threaded. A sharp cut, a crisp press, and a clear line are your best insurance against wobbly stitches."
Don’t Forget the Grainline
The final piece of this prep puzzle is understanding the fabric's grainline. The grainline is simply the direction of the threads woven together to create the fabric. The lengthwise grain, which runs parallel to the selvage edge, is the strongest and has the least stretch. The crosswise grain has a bit more give.
For a seam to hang correctly without twisting or sagging, your pattern pieces have to be aligned with the proper grainline. Most patterns will have a long arrow printed on them showing you exactly how to lay the piece on the fabric. If you ignore this, even a perfectly sewn seam can look wonky and distorted in the final garment. We empower crafters by drilling down on foundational skills like this in our online classes at bsewinn.com, because mastering these details is what separates homemade from handmade. Taking those extra few minutes to get the grainline right will make a world of difference.
Setting Up Your Sewing Machine for Precision
Your sewing machine is your greatest ally for straight seams, but only when you've got it set up just right. I like to think of my machine less like a tool and more like a precision instrument. Taking a few moments to dial it in correctly can transform it from just a stitching device into a guide that actively helps you get those perfect results.
The settings and accessories you choose really can be the difference between a frustrating afternoon spent making napkins and a flawless final project. It all starts with the basics—the things we often forget to check—and getting these right lays the foundation for every seam you sew.
Needles and Stitches: The Building Blocks
The first, and honestly most critical, choice is your needle. Trying to sew with a dull or incorrect needle is just asking for skipped stitches, puckered fabric, and messy seams. I make it a habit to start every new project with a fresh, sharp needle that’s right for the fabric I'm using. A universal needle is fine for a lot of cottons, but you'll want a microtex for delicate silks or a tough denim needle for heavy twills.
Next up, let's talk stitch length. The default setting on most machines is around 2.5 mm, and that’s a great starting point for most medium-weight fabrics. But you'll want to tweak this depending on your material:
- Lighter fabrics like voile or chiffon do better with a shorter stitch length, around 2.0 mm.
- Heavier fabrics like canvas or denim need a longer stitch, somewhere between 3.0 mm to 3.5 mm, to keep the seam from getting too dense and stiff.
A sharp needle and the right stitch length are a powerful combo for a balanced, strong seam. Don't forget that tension is also a key player here. If you need a refresher, you can check out our guide on tension adjustment on a sewing machine for more in-depth tips.
Leveraging Seam Guides for Accuracy
Now for the real secret weapon for effortlessly straight seams: using a guide. Early sewing machines revolutionized production speed, but it was features like Isaac M. Singer's horizontal support table and vertical presser foot that truly transformed precision work. These innovations made it possible to consistently guide fabric, which is exactly what we're going to do.
Your machine has built-in guides right on the throat plate—those little etched lines with numbers like 1/4, 3/8, and 5/8. These are your first point of reference, corresponding to the most common seam allowances.
The single best habit you can develop is to watch the edge of your fabric against the seam guide, not the needle. Your machine will handle the stitching; your job is to be the pilot, guiding the fabric along the marked runway.
For even more accuracy, you can bring in an external guide. A magnetic seam guide is a small but mighty tool that sticks right to your machine’s metal throat plate. It creates a physical ridge for your fabric to follow, which is a game-changer. If you don't have one, a few layers of washi tape or painter's tape can create a similar raised edge. This tactile feedback makes it so much easier to keep your fabric perfectly aligned, ensuring your seams are straight every single time. The intuitive design of bsewinn.com machines makes using these guides simple, and our online training resources show you exactly how to master them, empowering you to create with confidence.
Mastering the Art of Guiding Fabric
Okay, your machine is all tuned up and ready to go. Now it's time to talk about your hands—they're the final piece of the puzzle for sewing truly straight seams. The single biggest mistake I see sewers make is watching the needle jump up and down. Resist the urge! Your eyes should be locked on the edge of your fabric, keeping it perfectly aligned with the seam guide you set up.
Your machine is built to do the hard work. The feed dogs are designed to pull the fabric through at a consistent rate. Your job isn't to force it; it's to be a gentle pilot, steering the fabric along the path. If you push or pull, even a little bit, you’ll get wavy lines, puckers, and distorted seams. So, relax your shoulders, rest your hands lightly on either side of the presser foot, and let the machine do its thing.
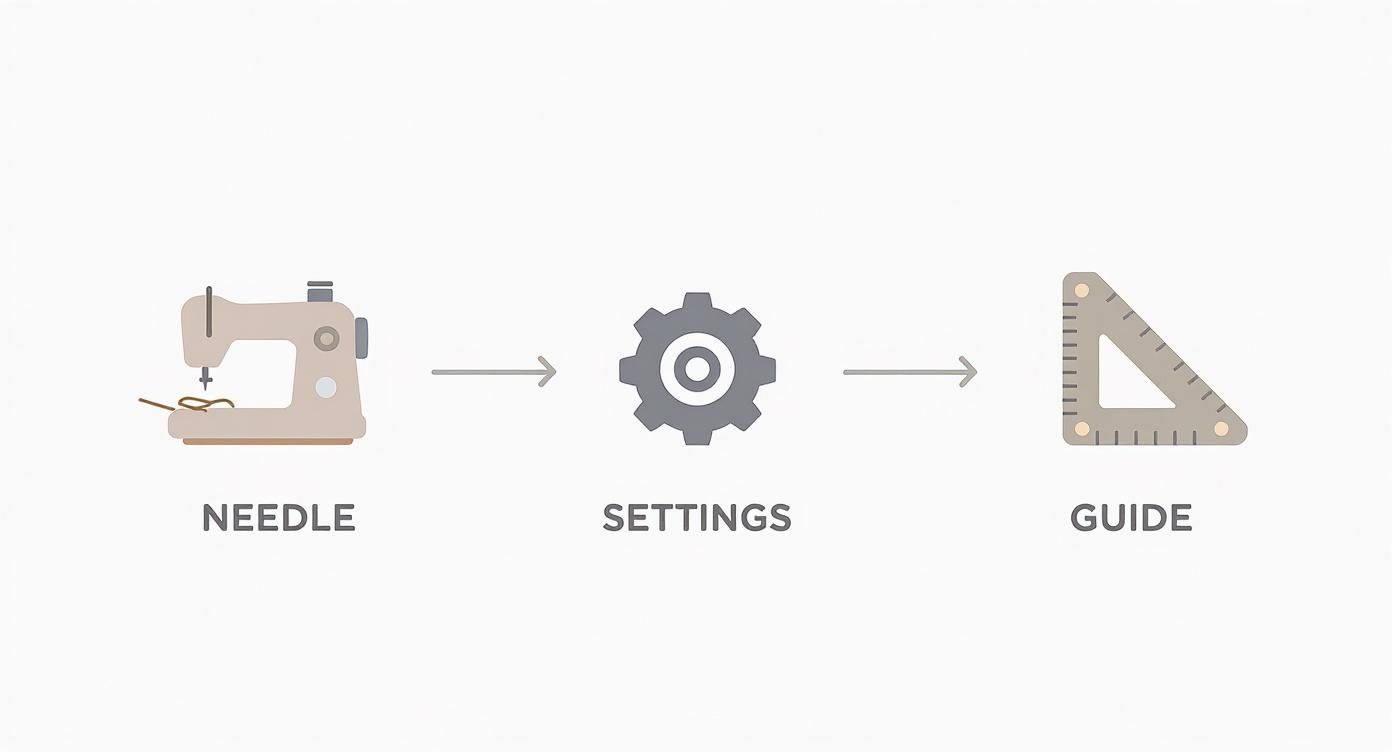
As you can see, getting the needle, settings, and guide to work in harmony creates a smooth, predictable workflow. Each step really does build on the last, turning what feels like a complicated task into a simple, precise sequence.
Starting and Stopping with Confidence
How you start and finish your seam is just as critical as the stitches in the middle. A sloppy start or a weak finish can unravel, ruining all your hard work. I always recommend starting your seam just a tiny bit in from the fabric's edge, not right on it.
To lock your stitches in, use the backstitch function. Sew forward two or three stitches, hit the reverse button to sew back over them, and then continue forward. This creates a tiny, secure knot. Do the exact same thing when you reach the end of the seam to lock it on both sides.
Control Your Speed for Better Accuracy
Think of your foot pedal like the gas pedal in a car. It’s tempting to floor it, especially on a long, boring seam like a curtain hem. But trust me, speed is not your friend here. Sewing at a moderate, steady pace gives you so much more control.
"The secret to guiding fabric is a light touch and a steady pace. You're not forcing the fabric through the machine; you're simply escorting it along the path you've already created with your guides."
Practicing speed control is a game-changer. It helps you handle curves without veering off course and gives you a split second to react if the fabric starts to drift. Some fabrics are especially slippery and love to shift around under the presser foot. For those, learning how to use a walking foot is a lifesaver—it basically adds a set of feed dogs to the top to grip the fabric from both sides.
Achieving a Professional Finish
Getting that perfectly straight seam is a huge win, but the journey to a project that looks truly store-bought isn't over yet. The final steps—pressing and finishing—are what really separate good sewing from great sewing. It’s these details that give your project structure, durability, and that clean, polished look both inside and out.
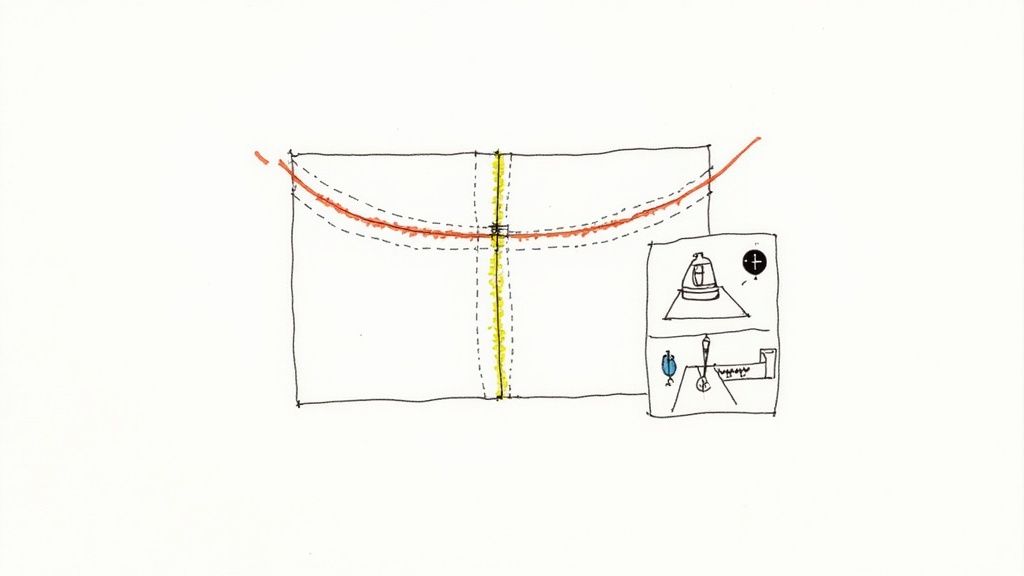
The most critical step here is pressing your seams. It’s easy to think of this as just ironing, but there’s a massive difference. Ironing means sliding a hot iron back and forth, which can easily stretch and distort the seams you just worked so hard on. Pressing, however, is a simple up-and-down motion. You use heat and pressure to set the stitches and flatten the seam allowance without pulling the fabric out of shape.
Pressing Seams Open vs. To One Side
Once you’ve stitched a seam, you have a couple of options for pressing the seam allowance. Knowing which one to choose can make a huge difference in your final project. For a really deep dive, we have a complete guide on exactly how to press seams that covers all the little techniques.
- Pressing Seams Open: This is my go-to for reducing bulk. You just open the seam allowance and press each side flat. It’s the best choice for medium to heavy fabrics like denim or corduroy because it creates a super flat, smooth appearance on the right side.
- Pressing Seams to One Side: With this method, you press both layers of the seam allowance together in the same direction. This adds a bit more strength to the seam and is common in quilting or tailoring, where you might need to direct the bulk away from other seams that will cross it.
The choice really depends on your fabric and what you're making. Lighter fabrics can easily handle seams pressed to one side, but bulkier materials almost always look better when pressed open.
"A well-pressed seam is the hallmark of quality craftsmanship. It's a quiet detail that speaks volumes about the care and precision invested in a project, turning a simple line of stitches into a structural element of beauty."
Essential Seam Finishing Techniques
After pressing, you've got to deal with the raw edges of your seam allowance to keep them from fraying. An unfinished seam can completely unravel with washing and wear, which weakens the whole garment. It's interesting to think about how seam allowances have evolved—they grew from just a quarter-inch in medieval times to a standard five-eighths inch during the Industrial Revolution, mostly because machines needed more consistency.
Here are a few simple but effective ways to finish your seams:
- Zigzag Stitch: Just about every sewing machine has this setting. All you have to do is sew a zigzag stitch along the raw edge of each seam allowance to lock in the threads.
- Pinking Shears: These scissors cut a zigzag pattern that helps stop fraying on stable, tightly woven fabrics. It’s a super quick and easy option for projects that won’t be laundered too heavily.
Getting your straight seams down is the foundation for tackling more advanced details, like creating beautiful piping on cushions that can really elevate your work. Here at bsewinn.com, our online classes and extensive resources are all designed to empower you as you master these finishing touches, ensuring your projects are as durable as they are beautiful.
Dealing With Common Seam Problems
Let's be honest, even after you've done everything right, sewing machines can throw a tantrum. We've all been there—the dreaded puckered seam, the infuriating skipped stitches. It happens to everyone. The trick isn't avoiding problems altogether, but knowing how to diagnose and fix them without reaching for the seam ripper in despair.
Over time, you'll find that most seam issues come down to just a few usual suspects: the needle, your thread tension, or how you're guiding the fabric. Getting a feel for spotting the signs is what turns a sewing session disaster into a minor speed bump.
Why Are My Seams Puckered?
Puckered seams are probably the most common headache when you're learning how to sew straight seams. The fabric gets all bunched and wavy under the stitches, giving your project a frustrating, homemade look. But before you start unpicking, let's play detective.
More often than not, the culprit is tension. If your top thread tension is cranked too high, it yanks the bobbin thread upwards and causes the fabric to gather. Another possibility? Your needle is dull or has a tiny burr on it, causing it to snag the fabric fibers instead of piercing them cleanly. You also want to check your own technique—are you accidentally pushing or pulling the fabric through the machine? That fights against the feed dogs and can easily distort your seam.
Here's a little rule of thumb I live by: always start with the easiest fix first. Before you spend ages re-threading your machine or fiddling with tension dials, just change the needle. A fresh, sharp needle solves a surprising 90% of common stitch problems.
Solving Skipped Stitches and Messy Tension
Skipped stitches are another classic. You'll be sewing along, only to find gaps in your seam where the machine just... didn't form a stitch. This is almost always a needle issue. It could be that you're using the wrong type for your fabric (like a universal needle on a slinky knit), or the needle itself is slightly bent, dull, or even inserted backward.
And what about those ugly loops on the top or bottom of your fabric? That's a dead giveaway that your top and bobbin threads aren't playing nicely. It’s a classic sign of unbalanced tension. The first thing to do is re-thread your machine from scratch (make sure the presser foot is up!). Also, double-check that your bobbin was wound evenly and popped in correctly.
Here’s a quick cheat sheet for when you're in a pinch:
| Problem | Potential Causes | What to Do |
|---|---|---|
| Puckered Seams | Tension is too tight; Dull needle; Pushing/pulling fabric. | Lower the top thread tension; Swap in a new needle; Let the feed dogs do the work. |
| Skipped Stitches | Wrong needle type; Dull or bent needle; Needle in backward. | Match the needle to your fabric; Replace the needle; Re-insert the needle correctly (flat side to the back!). |
| Uneven Tension | Threaded incorrectly; Bobbin is inserted wrong. | Re-thread the entire machine with the presser foot up; Check your bobbin is in the right way. |
Learning these quick fixes will make you a much more confident and empowered crafter. The extensive online classes and resources at bsewinn.com are always there to support you, helping you sew with total confidence.
Here at bsewinn.com, our mission is to empower your creativity with not just the best machines, but also the knowledge and support to use them. Check out our custom sewing machine designs and see what you can create. Visit us today to find the perfect machine for your crafting journey!

