

A spool wobbles halfway through a seam, thread surges, and loops appear underneath the fabric. The instinct is to turn the tension dial, but the fault often starts where thread leaves the spool. A spool holder for sewing machine use isn't storage. It's the first control point in the upper-thread path, and its orientation, fit, and friction decide whether thread arrives steadily or in jerks.
Table of Contents
- Spool Holder Types at a Glance
- How a Spool Holder Controls Thread Feed
- Choosing a Holder by Spool Size and Thread
- Matching a Holder to Your Machine
- How to Set Up a Spool Holder Step by Step
- Spool Holder Problems and Quick Fixes
- Try Holder Setups in Store Before You Buy
Spool Holder Types at a Glance
A spool can be seated on the machine and still feed badly. If it wobbles, slips, or catches as thread leaves it, check the holder's position and the spool's unwinding direction before changing the tension dial. The type of holder determines how the spool moves and which thread formats it can handle.
Five Common Setups
Machines may have a built-in horizontal main pin, a vertical auxiliary pin, two pins for twin-needle sewing, an external thread stand, or a thread net or cone adapter. These options affect the route and resistance of the upper thread, so a larger holder is not automatically a better fix.
With a horizontal pin, thread typically reels off the spool. On a vertical pin, the spool rotates as thread is drawn. Check your machine's instructions for the intended orientation and confirm that it has the pin position needed for your spool and thread. A vertical pin may suit large spools or specialty threads, but compatibility depends on the machine.
Spool holder types compared
| Holder type | Where it sits | Best for | Watch for |
|---|---|---|---|
| Built-in horizontal main pin | On top of the machine, horizontal | Standard thread and everyday seams | The cap should keep the spool in place without squeezing it |
| Vertical auxiliary pin | Upright on the machine body | Large spools, cones and specialty thread | Check that the machine supports the spool's size and thread direction |
| Twin-needle spool pair | One vertical pin and one horizontal pin | Twin-needle sewing with two threads | Both threads need a clear path to the tension area |
| External thread stand | Free-standing, beside or behind the machine | Cones, bulky thread and high-volume sewing | Keep the thread path straight into the first guide |
| Thread net or cone adapter | Fitted over the spool | Spools that collapse or overrun | Use only when the spool collapses or spins out |
Choose by how the thread leaves the spool, not by holder size alone. A stand can accommodate a bulky cone, but it also adds distance before the first guide; a built-in pin keeps the setup compact, but may not suit every spool. First confirm which pin positions your machine offers, then match the holder to the spool's shape and feed direction.
How a Spool Holder Controls Thread Feed
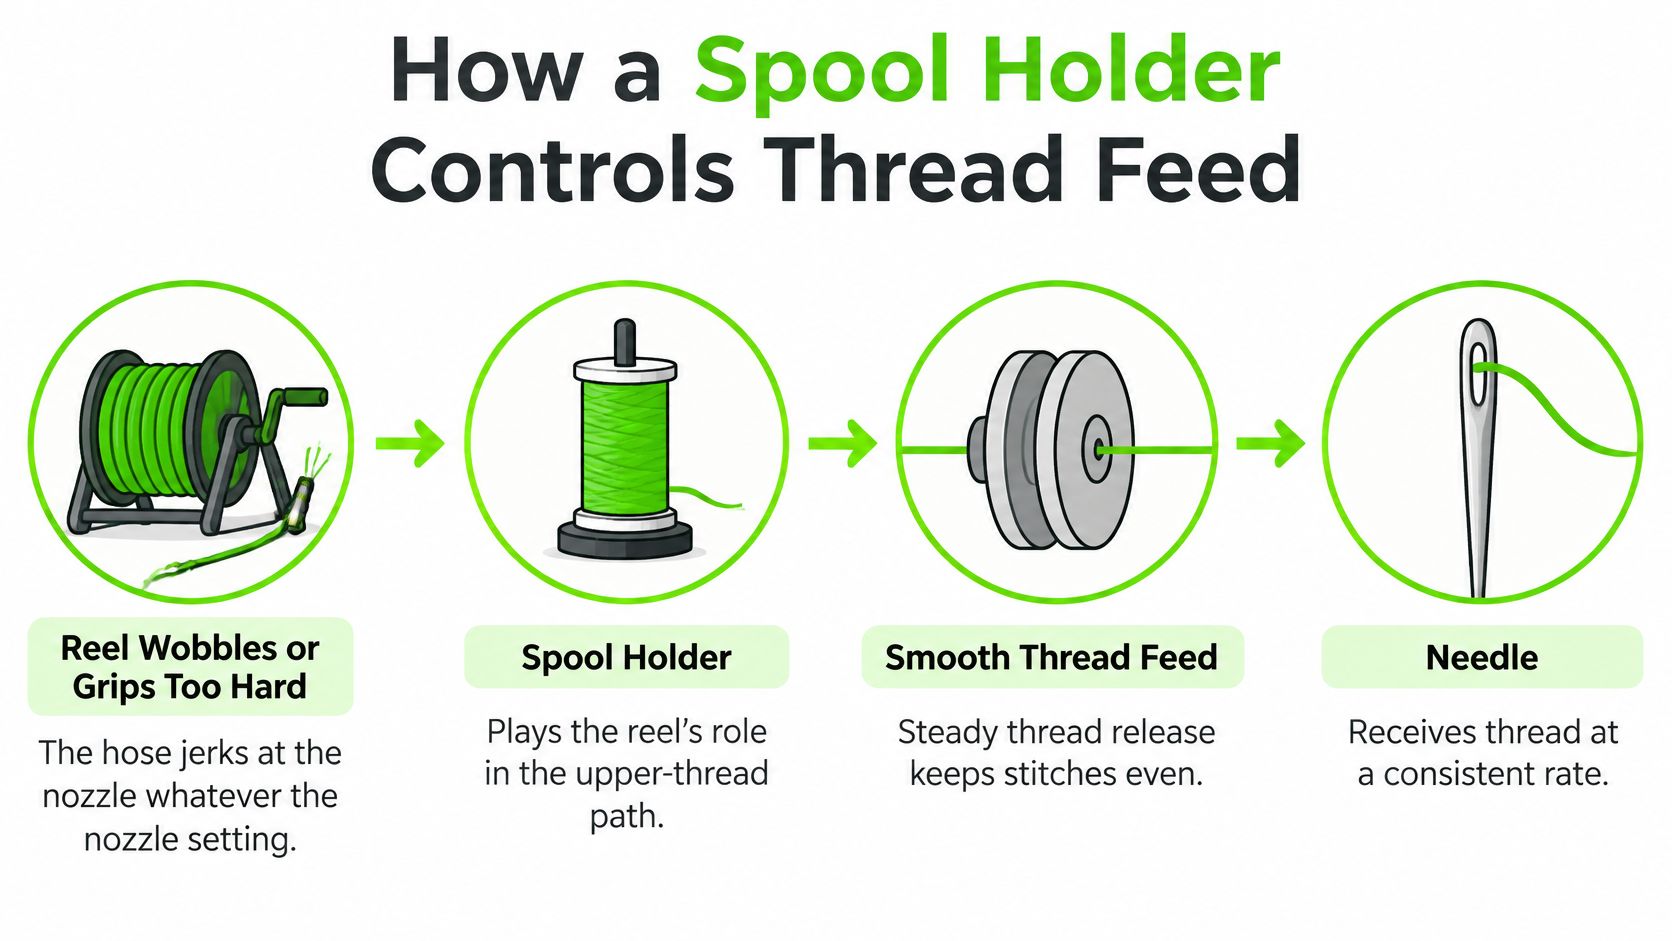
A spool can wobble even while the tension dial stays put. If stitches turn uneven mid-seam, check how the thread leaves the spool before changing the machine's settings. The holder works like a hose reel: if it rocks or grips too tightly, thread reaches the guides in jerks.
The Thread Path in Order
Thread typically runs from the spool pin through guides, between tension discs, around a check spring, across the take-up lever, and then to the needle. Each part depends on steady delivery from the spool. The holder is the first point in that upper-thread path, so its position and friction affect what reaches the tension discs.
The spool should stay centred and rotate with low, even resistance. Drag at the holder changes the thread's movement before it reaches the discs, making the dial setting a poor guide to the tension acting on the thread.
Practical rule: Check the holder and thread path before adjusting tension. A snag or excess drag upstream can mimic a tension problem, and turning the dial will not reliably fix it.
Three Faults That Mimic Bad Tension
- Tilted spool: It wobbles sideways and feeds in pulses.
- Loose cap: The spool shifts along the pin, then catches.
- Thread trapped behind the cap: The thread snags, releases, and snags again.
All three add intermittent drag before the discs. That can cause loops, uneven stitch balance, or thread breakage, and prompt unnecessary dial changes on a machine whose tension was correctly set.
Start the check at the spool. Confirm it rotates without wobbling, select a cap that limits movement without clamping the spool, and make sure the thread exits in the direction set by its winding pattern. Then rethread with the presser foot raised so the discs open, and lower the foot before sewing.
Once the holder and thread path are clear, use this guide to adjust tension on a sewing machine if stitches still show a tension problem.
Choosing a Holder by Spool Size and Thread
A spool that wobbles or slips during a seam can interrupt thread delivery before it reaches the tension discs. Check the spool's fit and direction of rotation before changing the tension setting or replacing the holder.
Fit Checks Before Anything Else
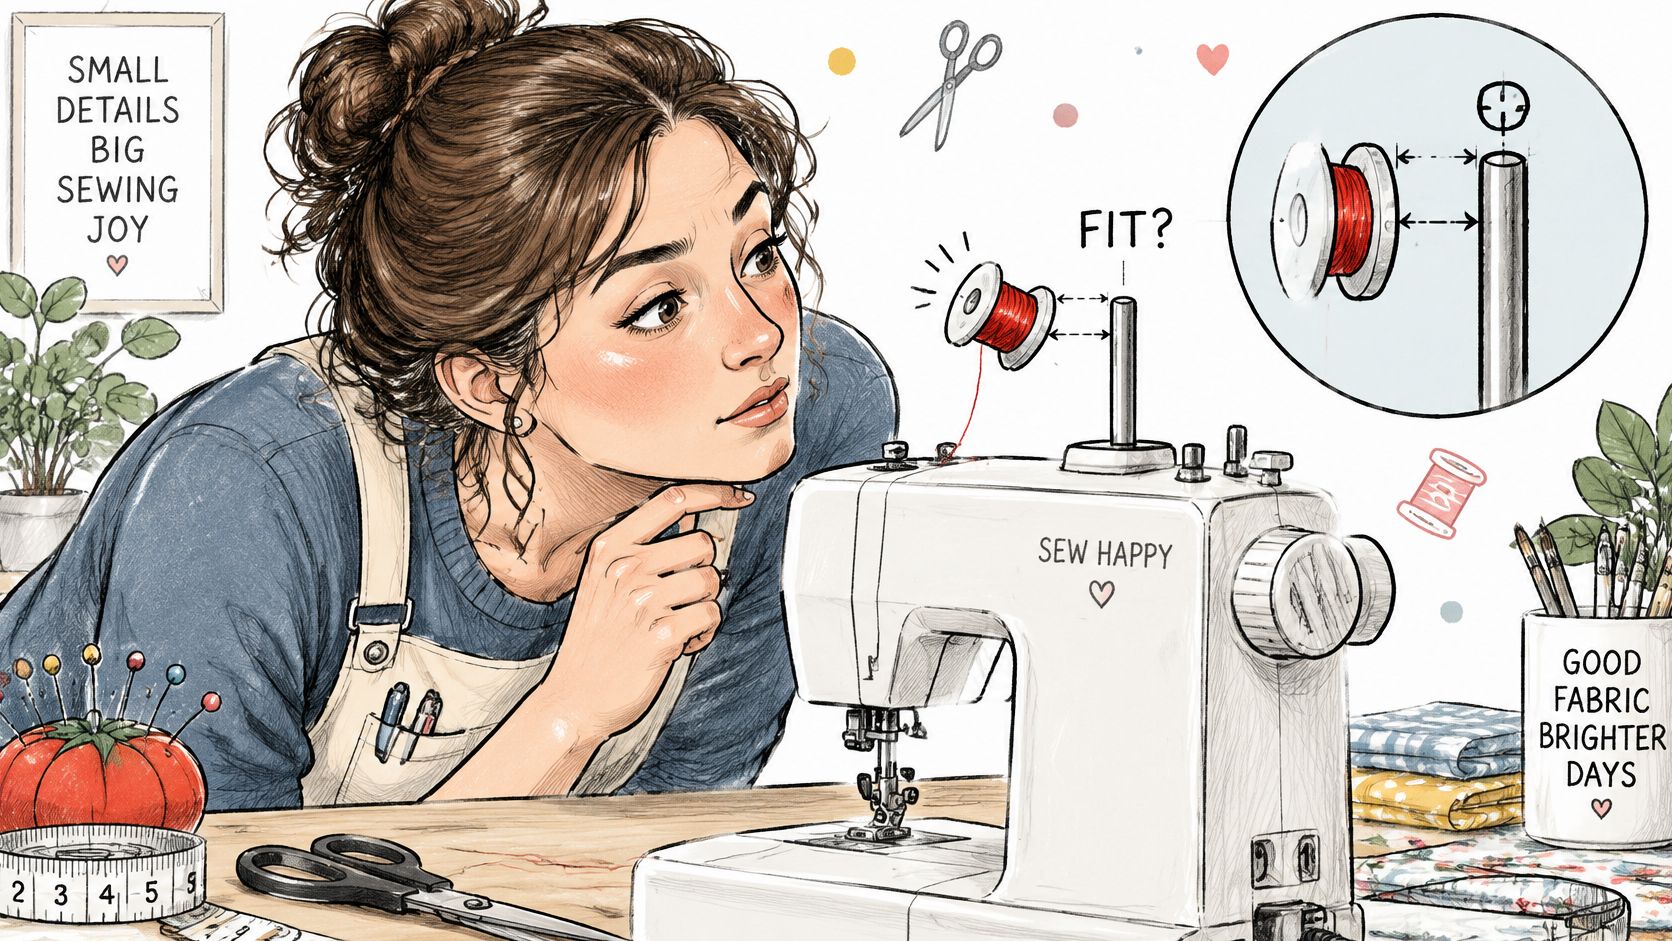
Start with two checks: the spool's centre hole must clear the pin, and the holder or cap must steady the spool without stopping it from turning. For a small spool on a horizontal pin, place the holder's small side next to the spool. Make sure the thread exits in the direction intended by the spool's winding.
Some small spools have a removable base that prevents them from seating properly. Check the opening and base before buying an accessory. Thread size matters as well: use a sewing thread size guide to match thread to the project, then confirm the holder can feed it without snagging.
Choose the pin position by the spool's shape and how the thread unwinds. Regular thread on a standard spool generally feeds from a horizontal pin. Large spools and specialty threads often feed more steadily from a vertical pin with a felt pad, or from an external stand if the built-in pin is too short. Forcing a cone onto a short pin will bind the thread and strain the pin.
Spool and thread matched to holder setup
| Spool or thread | Orientation | Accessory to check |
|---|---|---|
| Standard small spool, regular thread | Horizontal main pin | Small side of the holder next to the spool, with a cap that holds it snugly |
| Small spool with a bottom piece | Horizontal main pin | Remove the bottom piece if the spool will not clear the holder |
| Large spool or cone | Vertical auxiliary pin or external stand | Felt pad beneath the spool; no cap on a vertical pin |
| Specialty thread that spins out or tangles | Vertical pin or external stand | Felt pad or thread net; confirm the thread exits in the winding direction |
| Twin-needle thread pair | One vertical pin and one horizontal pin | Spool cap on the horizontal pin; foam pads where needed |
| Collapsing spool that overruns | Any setup | Thread net or cone adapter, used only when needed |
The Baby Lock Radiance Sewing & Embroidery Machine is described as a sewing, quilting, and embroidery machine with intuitive controls and a large embroidery area. Its controls do not change the basic fit check: the spool must turn freely and feed in the right direction.
Matching a Holder to Your Machine
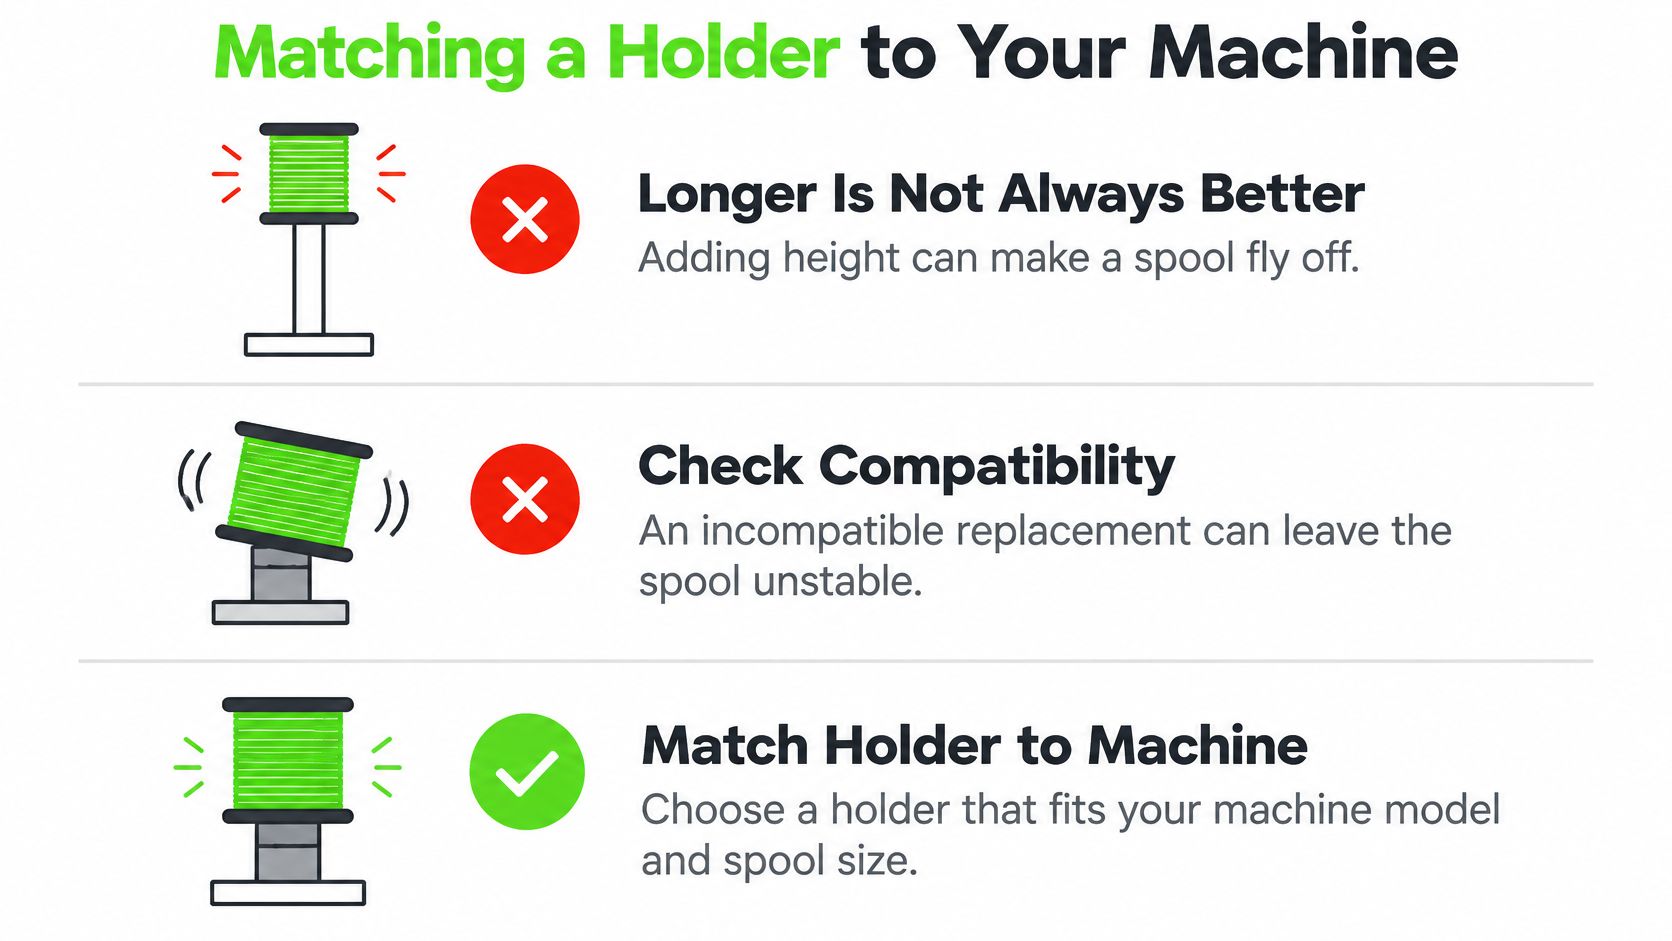
When a spool wobbles mid-seam, check how it sits on the pin before changing the tension dial. Pin orientation, usable height, and the thread's exit direction all affect upper-thread feed. A longer holder often makes a spool fly off, while an ill-fitting replacement can leave it unstable or damage the machine.
Ordered Compatibility Checks
- Identify pin orientation: Check whether the machine has a vertical pin, a horizontal pin, or both.
- Measure the pin: Note its diameter and usable height above the machine body.
- Check for retraction: Some pins retract for transport. Extend the pin before deciding it is broken.
- Confirm the auxiliary setup: Check for a dedicated vertical auxiliary pin and a felt pad.
- Match spool and cap: Compare spool diameter and height, cap style, and thread direction with the pin arrangement.
If a holder seems too short or stuck, pull it into its working position and measure it before ordering a replacement. Check the owner's manual for your model before buying a holder.
Twin-Needle Machines Need Two Positions
Twin-needle sewing requires two spool positions. Instructions for twin-needle spool placement and thread routing show one spool on a vertical holder and the other on a horizontal holder, with foam pads and a cap on the horizontal pin.
Both threads pass under the upper guide hook, then separate at the tension disk, one to each side. They rejoin through the lower guides before reaching their respective needles. The twin-needle instructions also specify stitch plate widths of 9.0 mm or 5.5 mm; match the plate to the machine's maximum stitch width before sewing.
Cap fit can affect how freely each thread feeds. Check this guidance on spool caps for a sewing machine before using a generic cap. For a replacement, confirm the pin and spool fit in the owner's manual or with a dealer.
How to Set Up a Spool Holder Step by Step
Setup takes minutes, but order matters. Each step prevents a specific feed fault.
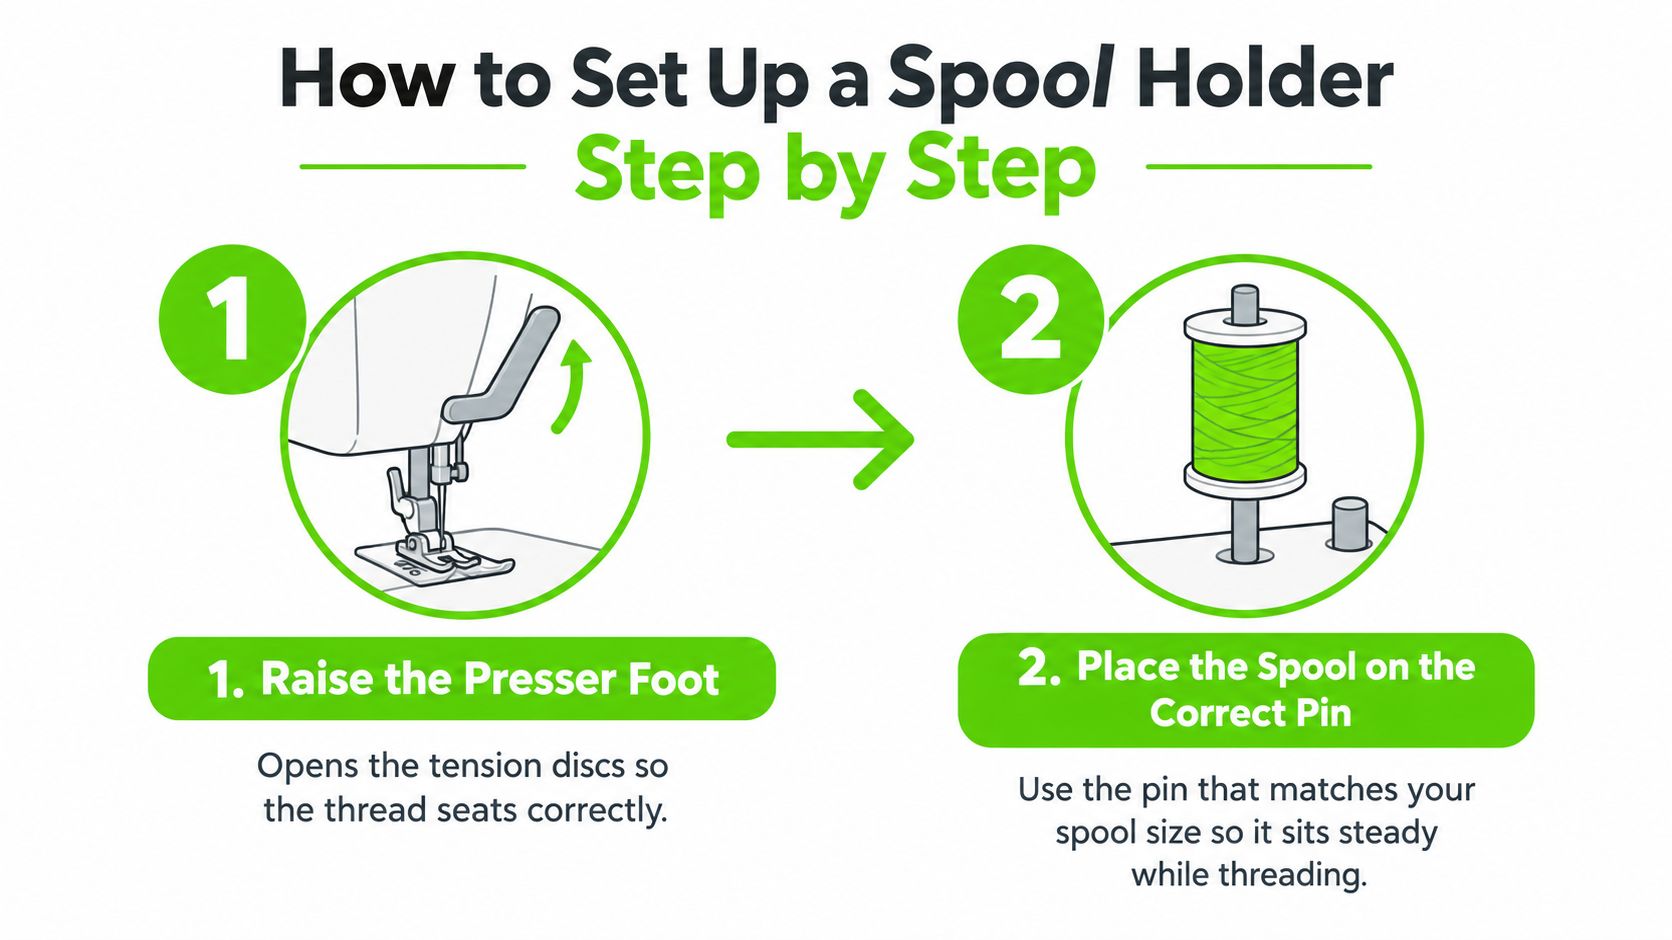
- Raise the presser foot: This opens the tension discs so thread can seat between them. Threading with the foot down leaves thread riding on top of closed discs.
- Place the spool on the correct pin: Use the orientation the thread requires, with the small side of the holder next to a small spool. Confirm thread leaves in the prescribed direction.
- Add the right restraint: Fit a cap on the horizontal pin, snug but not clamping. Place a felt pad under a vertical spool, and never put a cap on a vertical pin.
- Route through every guide in order: Follow guides, tension discs, check spring, and take-up lever down to the needle. Skipping the discs removes tension control entirely, as shown in a walkthrough on how to thread a sewing machine.
- Lower the presser foot and recheck: Thread should still sit in the discs and pull with clear resistance. If it slides freely, it isn't seated.
- Pull thread by hand through the full path: Resistance should feel even, without surging or catching. Repeat with a near-empty spool, since unwinding behaviour changes as the spool shrinks and its inertia drops.
Finish with a short test seam on scrap fabric before starting the actual project. Watch the spool during that test, not just the needle. Wobble, spinning in bursts, or thread slipping behind the cap shows up at the spool first.
A felt pad, spool cap, or thread net comes from the notions collection, and a store team can confirm the right accessory for a specific machine model. Bringing the spool along beats describing it.
Spool Holder Problems and Quick Fixes
If a spool starts wobbling only as it empties, check the fit before replacing the holder. A smaller, lighter spool may shift on a pin that held it steady when full. Test the pin height with the same spool: seat it as directed, draw thread by hand, and watch whether the spool rocks or catches as it turns. A cap that presses against the spool can add drag; one that leaves too much play may let it tilt.
For loops or uneven stitches that persist despite tension changes, use the earlier thread-feed fault list to check the upper path before touching the dial. A holder problem can create resistance before the thread reaches the tension discs. If the holder and route check out but thread still breaks at the needle, follow this guide to troubleshoot sewing machine thread that keeps breaking at the needle.
Quick fixes for less obvious holder issues
| Check | What to do |
|---|---|
| Spool jumps off the pin | Fit the correct cap. If the spool still lifts, confirm the holder is designed for that spool rather than adding height. |
| Thread tangles on a vertical pin | Add a felt pad beneath the spool, then check that the thread unwinds in the direction specified for the machine. |
| Spool will not seat or binds | Try the holder's other side for the spool size, or remove the bottom piece if the holder design allows it. |
| Twin-needle threads snag | Keep the threads separate at the tension disc, following the machine's threading instructions. |
Make one change at a time, then sew a short test on scrap. Changing the cap, pad, and tension together makes it hard to identify what helped.
If the holder and full thread path check out, arrange a service inspection. A bent pin, worn tension discs, or damaged check spring needs repair, not an accessory change. A service department can inspect the machine's tension and threading.
Try Holder Setups in Store Before You Buy
A catalogue photo can't show how a spool sits, spins, or clears the machine body. On a significant machine purchase, that small detail decides which threads run without improvisation. Hands-on testing settles it in minutes.
B-Sew Inn stores in Tulsa and Oklahoma City, Oklahoma, Springfield, Missouri, Humble, Texas, and Fayetteville, Arkansas let sewists test setups in person. Staff can show where the vertical pin sits and whether a felt pad and cap come with the machine.
Worth asking for, specifically: the twin-needle spool pair threaded correctly, a large cone seated at working height, and thread pulled by hand through the full path. In-person classes and machine mastery sessions cover these setups at the machine, and service and repair can check a holder problem that won't clear at home.
Three next steps work well. Browse the machine collections online, visit a store with a spool of the thread used most, or make contact with the machine model in hand so fit can be confirmed before ordering parts.
Bring a spool that misbehaves, a cone that won't sit, or a machine model number, and the right holder, cap, or stand can be matched to the geometry in person. Visit B-Sew Inn to browse machines and notions, check in-person classes, or arrange service at a store in Oklahoma, Missouri, Texas, or Arkansas.

