Have you ever meticulously followed a sewing pattern, only to find the finished garment is uncomfortably snug or, just as frustratingly, way too baggy? If you’ve been there, you’ve come face-to-face with the all-important concept of ease.
Think of it as the secret ingredient in your sewing. It’s the intentional “breathing room” built into a pattern—the crucial difference between your body’s measurements and the final garment’s dimensions. This guide will walk you through everything you need to know to replicate your favorite designs with a perfect, custom fit.
Your Guide to Understanding Sewing Ease
So, what exactly is ease in sewing? In simple terms, it's the extra space a pattern includes so you can actually move, sit, and live in the clothes you make. Getting a handle on this concept is probably the single most important step you can take toward getting a truly professional, custom fit every single time.
This isn’t just a technical skill; it’s your greatest creative advantage. Here at bsewinn.com, our whole mission is to empower crafters like you by breaking down these core principles. Through our extensive resources, online classes, and hands-on training for our custom sewing machine designs, we give you the support you need to sew with absolute confidence.
The Two Pillars of a Perfect Fit
To really understand ease, you have to know it comes in two distinct forms. Each one plays a different, but equally critical, role in how a garment turns out.
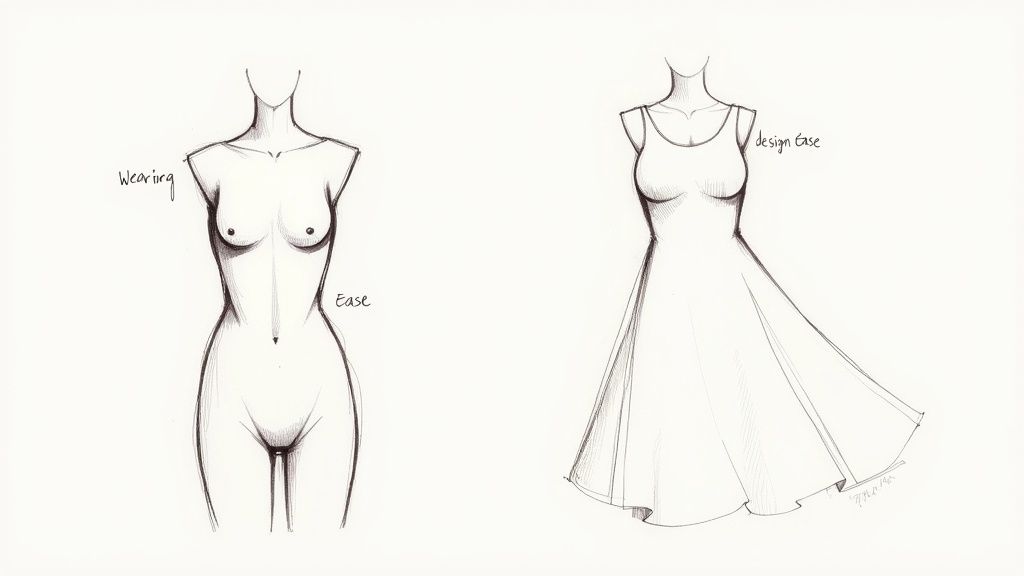
- Wearing Ease: This is the non-negotiable stuff. It’s the bare minimum amount of room you need for basic movements—lifting your arms, bending your elbows, sitting down—without popping a seam. A woven shirt without wearing ease would feel more like a straitjacket. It's essential.
- Design Ease: This is where the fun and creativity come in! Design ease is all the extra volume added to create a specific silhouette. It's what makes a dress flowing and breezy instead of form-fitting, or what gives a coat that trendy, oversized look. This is the part you can tweak to really make a pattern your own.
To give you some context, sewing patterns have always incorporated ease based on the garment's style and function. Back in the early 20th century, a typical dressmaking pattern might have included 4 to 6 inches of ease for comfortable everyday wear. In contrast, a more fitted dress might have had as little as 1-2 inches, while a coat designed for layering would need 6 inches or even more. If you're interested in the history of the clothing industry, uniformmarket.com offers some fascinating insights into its evolution.
The secret to professional-looking garments isn't just precise stitching; it's a deep understanding of how ease shapes the fabric to flatter the body.
Once you get a feel for both wearing and design ease, you unlock a new level of control. You can stop just following patterns and start turning them into personalized pieces that look and feel exactly how you imagined.
Before we dive deeper, let's break down these core ideas into a simple chart. This little table is a great quick reference for keeping the two types of ease straight in your head.
Sewing Ease at a Glance
| Concept | Simple Definition | Why It Matters |
|---|---|---|
| Overall Ease | The extra room in a garment compared to your body measurements. | It's the key to achieving both comfort and the intended style of a garment. |
| Wearing Ease | The minimum extra space needed to move and breathe comfortably. | Without it, clothes would be restrictive and seams could burst under strain. |
| Design Ease | The additional space added on top of wearing ease for stylistic purposes. | This is what creates the silhouette—fitted, relaxed, or oversized. |
Think of this as your cheat sheet. Wearing ease is for function, and design ease is for fashion. Both are absolutely essential for a successful project
Wearing Ease vs. Design Ease: What's the Difference?
If you really want to get a handle on getting the perfect fit, you have to understand that not all ease is created equal. The total ease you find in any pattern is actually a mix of two totally different—but equally important—types: wearing ease and design ease. I like to think of them as the two secret ingredients that shape every single garment you make.
Wearing ease is that practical, non-negotiable space your body needs just to exist inside a piece of clothing. It's the absolute bare minimum room you need for simple things like breathing, reaching for your morning coffee, or sitting down without feeling like you’re in a straightjacket. It’s pure function.
Just imagine trying to button up a shirt made from a crisp, non-stretch cotton that has less than two inches of ease around your chest. You'd feel completely constricted, and every seam would be screaming for mercy. This base layer of ease is what makes a garment wearable all day versus one that feels like a trap.
The Foundation: Wearing Ease for Function
Wearing ease isn’t about style; it’s about physics and anatomy. Without it, even the most beautiful projects would be unwearable, no matter how much time you poured into them.
Here’s what wearing ease really does for you:
- Movement: Lets you lift your arms, bend your elbows, and walk without anything holding you back.
- Comfort: Allows you to sit down without the fabric pulling tight across your hips and thighs.
- Durability: Keeps your seams from popping under the normal stress of just moving through your day.
Wearing ease is the science behind a comfortable fit. Design ease is the art that defines its style. Mastering both is the key to creating garments that feel as good as they look.
This brings us to the fun part of the equation. Once that essential wearing ease is built in, anything extra is what we call design ease.
The Artistry: Design Ease for Style
This is where your inner designer gets to come out and play. Design ease is all the extra volume a patternmaker intentionally adds to create a specific silhouette or style. It’s the deliberate choice that turns a basic block into a fashion statement.
It’s what separates a slinky, close-fitting sheath dress from a flowy, bohemian maxi dress. It’s what gives an oversized coat its dramatic shape or makes a summer top feel light and airy. While wearing ease is about fitting your body, design ease is all about creating the look. You can find more insights on how these choices impact garment creation through apparel industry statistics.
When you understand how much design ease is in a pattern, you suddenly have the power to change it. You can take a standard pattern and make it completely your own, which is a skill that resources and online classes, like those at bsewinn.com, are perfect for developing. This knowledge frees you from just following instructions and empowers you to start making your own creative decisions on every single project.
How to Confidently Calculate Sewing Ease
Calculating sewing ease doesn’t have to feel like a dreaded math test. Honestly, it's one of the most empowering steps you can take to get that perfect, custom fit you’ve been dreaming of. Once you get the hang of this simple process, you'll feel completely in control, turning what seems like a technical chore into a skill you'll use on every single project.
Let's walk through it. The whole thing just boils down to comparing two simple numbers: your body measurements and the final measurements of the garment.
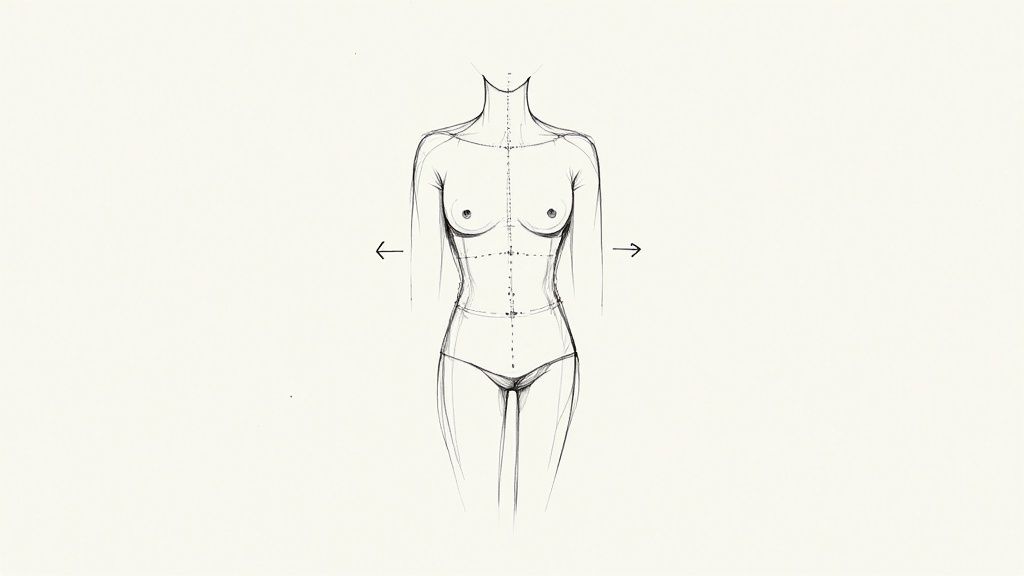
Step 1: Take Your Body Measurements
First things first, you need accurate measurements of your unique shape. Grab a flexible measuring tape and measure the fullest part of your bust, the narrowest part of your waist, and the widest part of your hips. Remember to keep the tape snug but not so tight that it digs in, and try to keep it parallel to the floor for the most accurate numbers.
These three measurements are your personal starting point. They're the foundation for every single fitting decision you'll make, so take your time and jot them down somewhere safe.
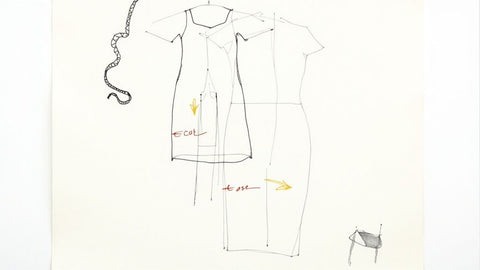
Step 2: Find the Finished Garment Measurements
Next up, it’s time to do a little detective work on your sewing pattern. Commercial patterns almost always list the finished garment measurements. You can usually find these printed right on the pattern tissue pieces (often at the bust, waist, and hip lines) or in a handy chart on the instruction sheet.
These numbers tell you the exact circumference of the garment once it’s all sewn up. They already include both the wearing ease needed to move and breathe, plus any extra design ease the pattern maker added for that specific style.
The magic formula is refreshingly simple: Finished Garment Measurement – Your Body Measurement = Total Ease. This quick calculation instantly reveals how much "breathing room" your pattern gives you.
This little graphic breaks down the three essential steps for figuring out ease perfectly.
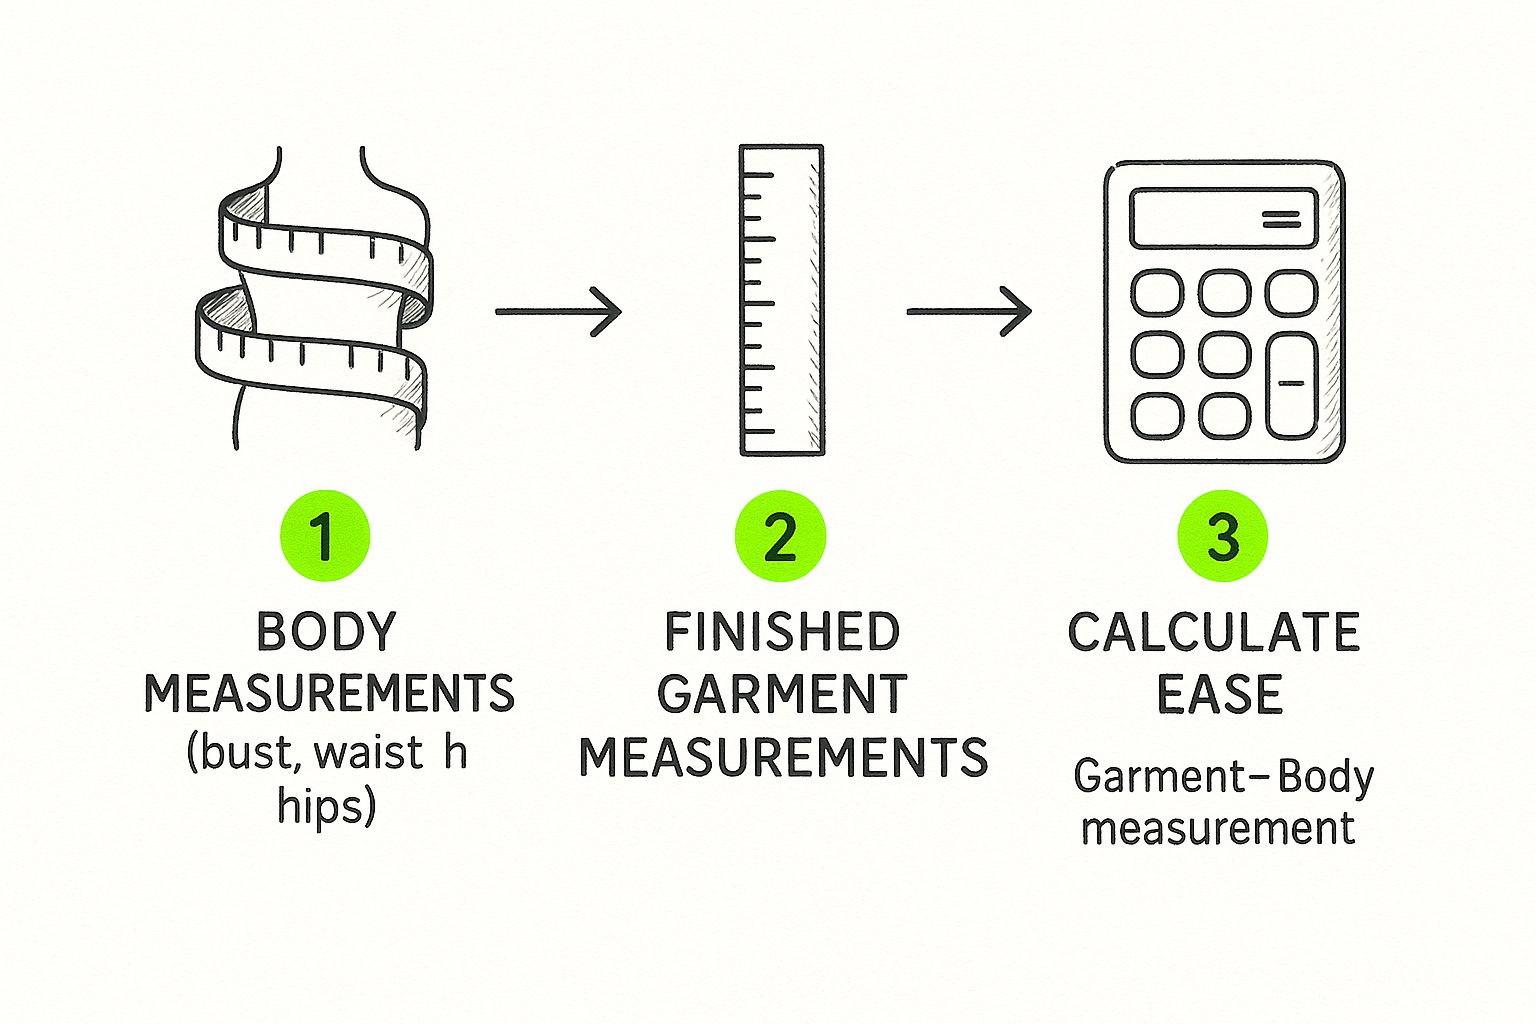
As you can see, the path from measuring your body to finding the garment's specs and doing the final math is a straightforward way to understand exactly how your pattern will fit.
A Practical Example
Let's make this real. Imagine you're making a simple top from a woven fabric—a tangible project you can replicate right now.
- Your Bust Measurement: 38 inches
- Finished Garment Bust: 42 inches
Now, just plug those numbers into the formula:
42 inches (Garment) - 38 inches (Body) = 4 inches (Total Ease)
And there it is! This tells you the finished top will have four inches of ease around the bust. Since we know a woven top needs at least 2-3 inches of wearing ease just to move comfortably, you can figure out that this pattern includes about 1-2 inches of design ease. This creates a comfortable, relaxed fit that isn't too baggy.
This knowledge is your superpower—it lets you decide before you even cut into your precious fabric if the fit is what you're looking for. If you need a hand figuring out how much material to buy for your project, check out our guide on how to calculate fabric yardage. This whole process is a foundational skill that we at bsewinn.com love to support through our extensive resources and online training, helping you nail that perfect fit every single time.
Choosing The Right Ease For Your Fabric
Knowing how to calculate ease is a huge step, but the numbers are only half the equation. The fabric you pick is just as crucial for getting that perfect fit. Think of fabric and ease as a partnership—get the pairing right, and your project is destined for success.
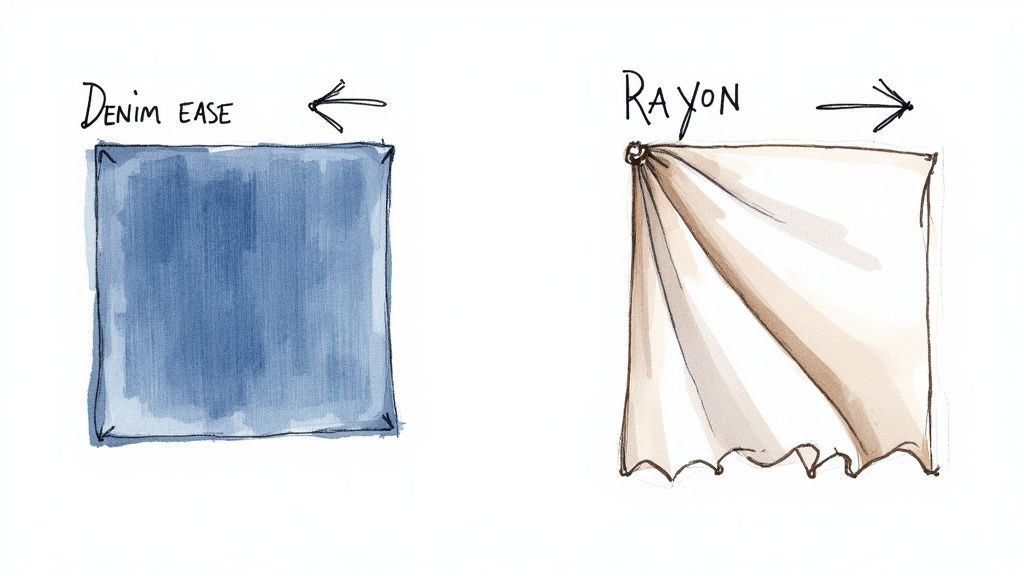
Let's say you have a pattern for a simple shift dress. If you make it with a stiff, non-stretch denim, you'll need a good bit of ease just to move around comfortably. But what happens if you use that exact same pattern with a slinky, fluid rayon? It would hang totally differently and likely feel like a sack with the same amount of ease. You can't just swap one fabric for another without rethinking the fit.
How Fabric Properties Influence Ease
A fabric's personality—its structure, weight, and drape—is what really dictates how much ease you need. Stiff fabrics don't have any natural give, so they need more room built in. On the other hand, soft, drapey materials flow beautifully over the body and often look best with less added design ease.
Here are a few common scenarios to consider:
- Structured Wovens (Denim, Corduroy, Canvas): These are the workhorses. They have zero natural stretch and a rigid structure, so they demand generous wearing ease. You'll also need to be mindful of design ease to keep the garment from feeling like a straightjacket.
- Lightweight Wovens (Cotton Lawn, Voile, Rayon Challis): These fabrics are light, airy, and love to flow. They definitely still need wearing ease, but they can handle a whole spectrum of design ease, from close-fitting styles to wonderfully billowy silhouettes.
- Stable Knits (Ponte, French Terry): These fabrics are the best of both worlds. They have a little bit of stretch, which gives you some built-in comfort. This means you can get away with less wearing ease than a woven because the fabric itself helps you move.
Understanding this interplay between fabric and fit is a cornerstone of sewing. Here at bsewinn.com, we're committed to empowering crafters through our custom sewing machine designs. Our online classes and extensive training resources are here to help you master these details, so every project turns out exactly as you imagined.
Making sense of how much ease to add for different fabrics can feel like a guessing game at first. To help you out, here’s a quick-reference table with some starting points for total ease (that’s wearing ease + design ease combined).
Recommended Ease Allowances by Fabric Type
| Garment Type | Woven Fabric (e.g., Cotton Poplin) | Stable Knit (e.g., Ponte) | Stretch Knit (e.g., Jersey) |
|---|---|---|---|
| Fitted Bodice | 2–3 inches | 0–1.5 inches | -2 to 0 inches (Negative Ease) |
| Blouse/Shirt | 3–5 inches | 2–4 inches | 0–2 inches |
| Shift Dress | 4–6 inches | 3–5 inches | 1–3 inches |
| A-line Skirt | 2–3 inches (Waist), 4+ inches (Hips) | 1–2 inches (Waist), 2-4 inches (Hips) | 0–1 inch (Waist), 0-2 inches (Hips) |
| Trousers (Woven) | 2–4 inches (Hips) | 1–3 inches (Hips) | -2 to 1 inch (Hips) |
Remember, these are just guidelines! Always check your pattern's recommendations and consider the specific drape and structure of your chosen fabric before cutting.
The Special Case Of Negative Ease
Just when you think you've got the rules down, you step into the world of stretch knits like jersey or spandex blends. This is where things get turned completely upside down with a cool concept called negative ease.
Negative ease is when the finished garment is intentionally sewn to be smaller than your body measurements. The magic is in the fabric's stretch, which allows it to hug your body for a snug, comfortable fit that moves right along with you.
Think about your favorite pair of leggings, a swimsuit, or a fitted t-shirt. These garments depend on negative ease to stay put and create a smooth line. Without it, your leggings would be baggy at the knees and your tee would feel shapeless.
Working with these fabrics is a totally different ballgame. Instead of adding ease, you’re subtracting it based on the fabric’s stretch percentage. Most patterns designed for knits will tell you exactly what stretch percentage they were drafted for. If you use a fabric with less stretch than required, your garment will be uncomfortably tight—or you might not be able to get it on at all! On the flip side, using a fabric with too much stretch can make the final piece feel loose and sloppy.
For a complete walkthrough on handling these materials, check out our guide on how to sew stretch fabrics. Getting the hang of negative ease is the secret to creating knitwear that looks and feels professionally made.
Applying Ease in Your Sewing Projects
Okay, so we've talked about the what and why of sewing ease. But the real fun begins when you take that theory and put it into practice at your sewing machine. This is where you really build confidence and start to see how these numbers translate into actual garments.
Let's walk through a couple of tangible examples to see how it all comes together.
Woven vs. Knit: Two Sides of the Ease Coin
Picture yourself making a simple woven tunic. The pattern might call for four inches of total ease at the bust, which gives you a comfortable, relaxed fit. But what if that's not the vibe you're going for?
If you want a more tailored, figure-skimming look, you can just take in the side seams to reduce that ease. On the flip side, if you're dreaming of a breezy, oversized tunic for summer, you could add a little extra width at those same seams. See? One small adjustment completely changes the style.
Now, let's switch gears to a classic knit t-shirt. These garments are a whole different ballgame because they usually work with negative ease. To get that smooth, body-hugging fit without any wrinkles or bagginess, the pattern is actually drafted to be smaller than your body measurements. It's the natural stretch of the knit fabric that closes the gap, giving you room to move while keeping a sleek silhouette.
Grasping these concepts is what empowers you to stop just following a pattern and start making it your own. You become the designer.
A sewer who understands ease can look at any pattern not as a set of rigid rules, but as a starting point for their own creative vision. It’s the difference between making clothes and creating a personalized wardrobe.
This skill is your secret weapon for so many projects. It's the principle behind adding beautiful volume when you learn how to sew gathers, and it’s crucial for making precise alterations fit perfectly. Even understanding how ease affects the drape of denim is key to tricky jobs like shortening jeans while maintaining a professional look.
Of course, having the right tools makes executing your vision so much easier. The sewing machine market, which is expected to hit around $6.2 billion by 2030, is constantly evolving to help us sew better.
Modern machines with automated stitch types and tension controls are a huge help in managing fabric ease consistently. With the industrial market growing at a CAGR of 6.89%, these advancements are making their way into our home sewing rooms, giving us more power than ever to create professional-looking garments. You can find more data on the sewing machine market to see where the technology is headed.
Time to Nail the Perfect Fit
So, you've made it through the nuts and bolts of what sewing ease is all about. You're now armed with the secret to getting a truly perfect fit every single time. It all comes down to those two key players: wearing ease (for moving and breathing!) and design ease (for nailing the style).
You now know the simple formula—subtracting your body measurements from the pattern's finished garment measurements—to figure out exactly how much ease is built in. Even better, you have a feel for choosing the right amount based on your fabric's personality and the look you're going for. If you're sewing for little ones and want to see how these measurement concepts apply more broadly, you might find some helpful guidance on kids' pant size charts.
Understanding ease is what takes your sewing from just a hobby and turns it into a real art form. It's the difference between a garment that just fits and one that truly flatters.
This is exactly what we're all about here at bsewinn.com—breaking down the technical stuff to help makers like you feel totally confident. Between our community, online training, and handy tools, you've got everything you need at your fingertips to succeed with your custom sewing machine designs.
Your next project is waiting. Go on, pick out that pattern, take a look at its ease, and get ready to sew your best-fitting garment yet.
Your Top Questions About Sewing Ease, Answered
As you start to get the hang of ease, a few questions always seem to pop up. It's totally normal! Let's clear up some of the most common ones so you can tackle your next project with total confidence.
What Happens If I Sew a Garment with No Ease at All?
This is a great question, and the answer really depends on your fabric. If you’re using a woven fabric with no stretch, a garment with zero ease will be completely skin-tight. Forget about lifting your arms or sitting down—you’d barely be able to breathe, and your seams would be screaming for mercy!
But for stretchy knits, it's a different story. Sewing with less room than your body measurements is called negative ease, and it’s done on purpose for things like leggings, swimwear, or fitted knit tops that need to hug your body.
How Can I Figure Out the Ease in a Commercial Pattern?
Most patterns make this pretty simple. Look for a chart or some text on the pattern envelope (or sometimes right on the tissue paper) labeled "finished garment measurements."
To find the total ease, just do a little subtraction: take the finished measurement for your size and subtract your actual body measurement. So, if your bust is 36" and the pattern’s finished bust measurement is 40", you’ve got 4" of ease to work with. Easy peasy!
Can I Change How Much Ease is in a Pattern?
Absolutely! This is where you really start to take control and make patterns work for you. It's a super common pattern adjustment that makes a world of difference.
- For a looser, drapier fit: You can add a bit of width at the side seams to increase the ease.
- For a closer, more tailored fit: You can take in the side seams to decrease the ease.
Just a friendly reminder: always make sure you leave enough ‘wearing ease’ so you can actually move around. If you're making big changes, it’s always a good idea to whip up a quick test version (a muslin or toile) first.
Mastering these little tweaks is a game-changer. It’s a core skill we love to teach at bsewinn.com through our hands-on training, online classes, and wealth of resources. We are committed to empowering you on your creative journey.
Ready to put all this into practice? Check out the custom sewing machine designs, amazing supplies, and all the learning tools you need at bsewinn.com. Let's get you making your best-fitting clothes ever.