

You've chosen a pattern, saved a few fabric ideas, and opened a dozen supply lists. Suddenly, quilting appears to require a dedicated studio, specialized machines, and every notion on the shelf. It doesn't. A useful quilting supplies list should help a beginner buy the right tools for the next project, not collect equipment that may sit unused.
The most practical approach separates essentials from upgrades. Fabric, batting, thread, needles, cutting tools, patterns, and finishing materials form the foundation. Specialty feet, larger rulers, advanced machines, and decorative threads can come later, when a specific technique justifies them.
Table of Contents
- Introduction to Your Essential Quilting Supplies List
- Choosing the Right Fabrics for Your Project
- Essential Cutting and Measuring Tools
- Matching Needles and Thread for Every Stitch
- Selecting Batting for Lofts and Drapes
- Machine Accessories and Pressing Tools
- Sustainable Practices for Quilting Scraps
- Building Your Quilting Kit by Project Type
- Next Steps for Your Quilting Journey
Introduction to Your Essential Quilting Supplies List
A quilt depends on three functional layers, a pieced top, batting, and backing. The rest of the supply list supports measuring, cutting, joining, quilting, binding, and care. Organizing purchases by those jobs makes the process easier to understand and reduces the temptation to buy attractive tools without a clear use.
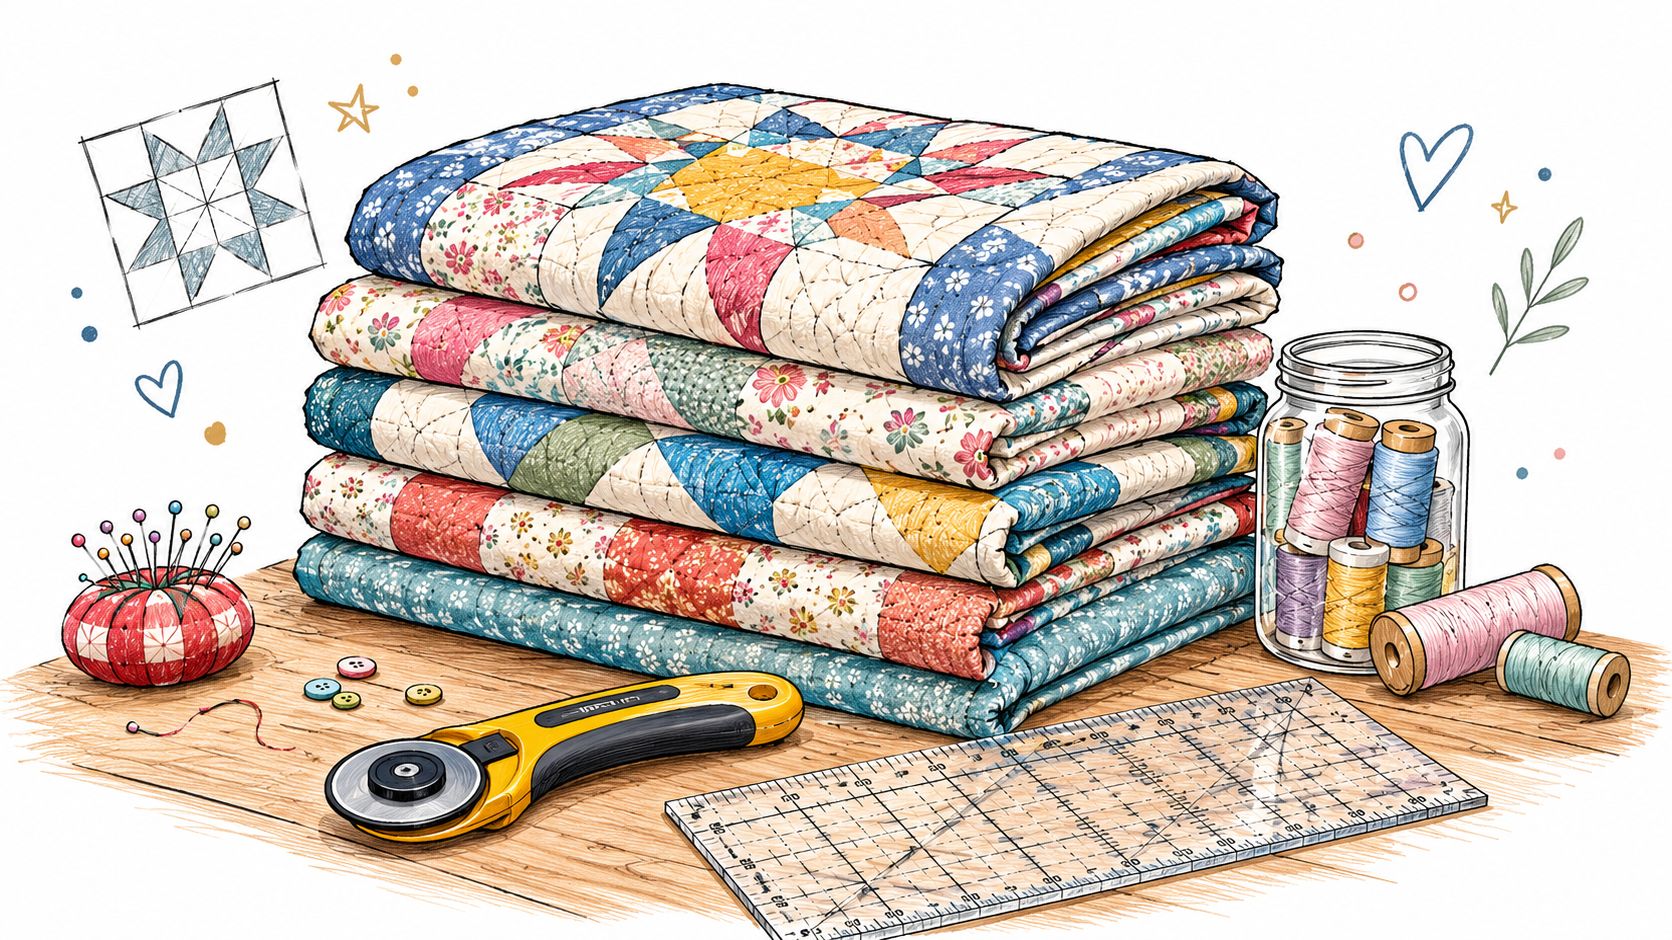
Historical collections show why a complete list includes more than decorative fabric. The Smithsonian's National Quilt Collection began in the 1890s with three quilts included in a donation of household and costume objects. It has grown to more than 400 quilts and related items spanning three centuries of American history, including unfinished quilt tops and textile pieces from the 1700s through the 1900s. The Smithsonian's overview of the National Quilt Collection demonstrates that construction materials, partially finished work, and techniques all help explain how quilts were made.
Start with the job, not the shopping cart
A focused starter kit usually includes:
- Fabric and backing: Choose materials suited to the pattern and intended use.
- Batting: Select the fiber and loft according to warmth, drape, and quilting method.
- Cutting equipment: A rotary cutter, self-healing mat, and acrylic ruler create the foundation for accurate pieces.
- Sewing supplies: Keep machine needles, thread, pins or clips, a seam ripper, and fabric scissors available.
- Pressing tools: An iron and stable pressing surface help seams lie flat.
- Finishing materials: Binding fabric, hand-sewing needles, thread, and a way to secure the quilt layers complete the project.
A sustainable kit also needs a scrap-storage plan. Textile waste research has identified cut scraps as the dominant form of waste in small-scale textile production, with quilting and appliqué offering possible routes for creative reuse. Readers comparing household disposal options can also compare waste and recycling providers before deciding what belongs in a reuse bin, textile program, or regular waste stream.
Choosing the Right Fabrics for Your Project
Fabric choice affects nearly every later decision, including needle size, seam behavior, pressing, shrinkage, and the finished quilt's durability. For a first patchwork project, quilting cotton is usually the most forgiving option because its stable weave handles rotary cutting and repeated pressing predictably. A beginner should read the fiber content, care instructions, and fabric width on the bolt rather than choosing by color alone.
A complete fabric purchase normally includes the quilt-top fabrics, backing fabric, and binding fabric. The pattern should determine quantity, but the fiber and weave still need to suit the project. A quilt intended for regular washing benefits from fabrics with compatible care requirements. Mixing fabrics with very different stretch or shrinkage behavior can make blocks harder to align and may change the finished dimensions after washing.
Match fabric behavior to the project
Lightweight fabrics can be attractive for delicate wall pieces or garments, but they may need more careful handling and a finer needle. Heavy fabrics such as dense wool or denim can add visual interest, yet they create thicker seams and greater resistance under the needle. A decorative fabric may work beautifully as an accent while becoming frustrating across an entire pieced top.
| Project need | Sensible fabric direction | Main caution |
|---|---|---|
| First patchwork quilt | Stable quilting cotton | Keep the weave and care requirements reasonably consistent |
| Lightweight decorative project | Fine, closely woven fabric | Test needle, thread, and seam behavior first |
| Heavy or textured accent | Use selectively | Watch seam bulk and machine clearance |
| Plush or novelty detail | Reserve for controlled areas | Understand pile, stretch, and cleaning needs |
The phrase “quilting cotton” describes a useful starting category, not a guarantee that every bolt behaves identically. Colorfastness, weave density, surface finish, and washing instructions still matter. A practical fabric-selection guide from B-Sew Inn can help readers compare these decisions in how to choose quilting fabric.
Specialty surfaces deserve separate consideration. For readers exploring plush materials beyond traditional patchwork, this resource on faux fur fabric types explained provides useful vocabulary for pile and texture. Such materials aren't automatic substitutes for quilting cotton, but they can inform decisions about accents, trims, or projects that require a different construction approach.
Essential Cutting and Measuring Tools
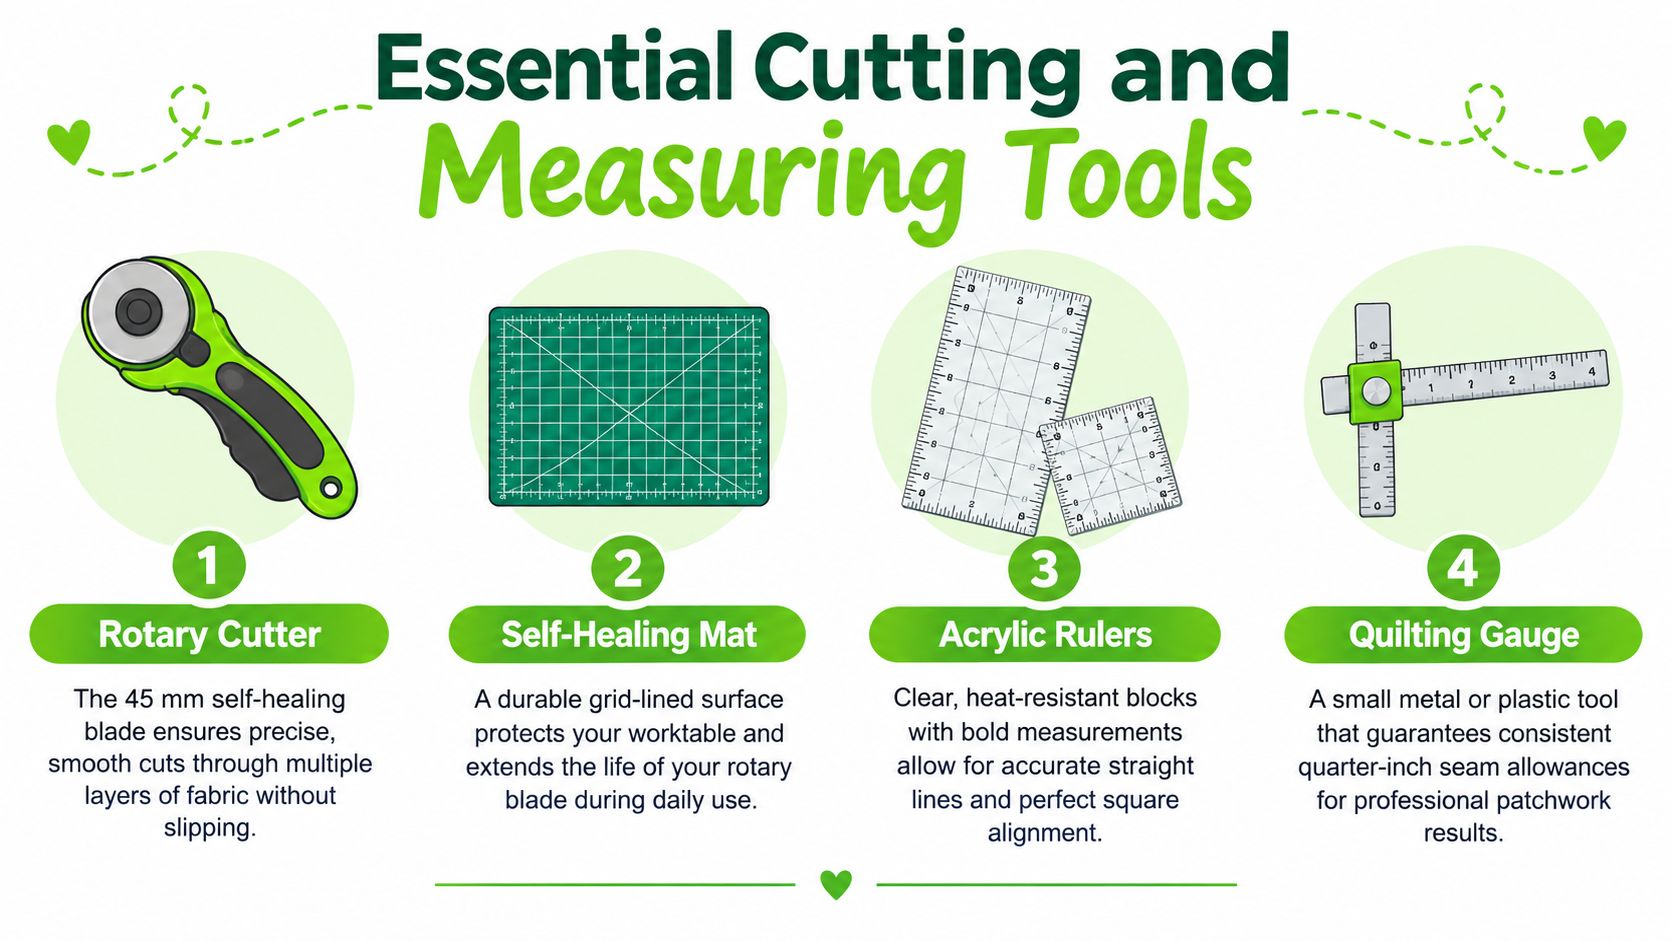
A beginner can spend heavily on cutting equipment before knowing which projects they will make. Start with the tools that control accuracy, then add specialized sizes only when a project demands them. For many patchwork blocks, the core setup is a rotary cutter, self-healing mat, and acrylic ruler. A 45 mm rotary cutter handles multiple fabric layers while remaining manageable for straight and detailed cuts. A mat measuring at least 12 by 18 inches provides a useful minimum work area for many block-cutting tasks.
Build the cutting station in order
- Place the mat on a stable surface. Its grid helps with alignment and shields the table from the blade.
- Position the fabric without stretching it. Smooth it gently so the grain stays controlled.
- Align the ruler before opening the cutter. Check both the intended cut line and the fabric edge.
- Keep the free hand away from the blade path. Press firmly on the ruler instead of reaching toward the cutter.
- Let the blade do the work. Extra pressure usually points to a dull blade rather than a need for greater force.
- Close the blade after every cut. Leaving a rotary cutter open creates an avoidable injury risk.
A long acrylic ruler is useful for strips and extended edges. A square ruler supports block trimming and alignment. A quilting gauge or quarter-inch guide helps keep seam allowances consistent during piecing. A retractable tape measure has a different role from a rigid ruler, but quilters who want to compare hand-measuring options can browse leather measuring tools.
Choose additions by project type. A beginner making small blocks may need only one ruler, while larger quilts benefit from a longer model. Buying every size at once often adds cost without improving the first cuts.
Check the blade on scrap fabric before cutting the project pieces. A dull blade may need extra pressure, slip more readily, and leave inaccurate edges. The test also shows whether the blade, ruler grip, and mat are working together.
For a visual demonstration of rotary-cutting technique, the following video can complement hands-on practice:
B-Sew Inn's guide to how to use a rotary cutter offers another practical reference before a beginner cuts a full fabric set.
Matching Needles and Thread for Every Stitch
Needle and thread selection works as a system. The fabric, thread diameter, batting thickness, backing, and machine speed all influence the result. A needle that works for piecing may not be the best choice for quilting a bulky three-layer sandwich.
For ordinary cotton piecing, an 80/12 universal or sharp needle is commonly suitable. Lightweight quilting fabrics may use sizes from 75/11 through 90/14, while a thicker quilted sandwich may call for a 90/14 needle. Needle condition matters as much as size. A bent, damaged, or worn needle can create skipped stitches, thread breaks, or unnecessary fabric damage.
Separate piecing thread from quilting thread
A 50-weight cotton thread is commonly used for piecing because its relatively fine diameter creates less buildup in quarter-inch seam allowances. A 40-weight thread produces a more visible quilting line and can give decorative stitching greater presence. Neither is universally correct. The intended appearance and the number of layers should decide.
Machine quilting requires more deliberate matching. The BERNINA Q Series manual recommends quilting needles in the 130/705 H-Q range, commonly sizes 75–90. Its guidance pairs:
- 12–28 wt thread with size 100–120 needles
- 30–40 wt thread with size 100–110 needles
- 50–60 wt thread with size 80–90 needles
- Thread finer than 60 wt with size 70–80 needles
These pairings come from the BERNINA Q Series manual. Polyester can reduce breakage and lint during longarm work, while 50–60 wt polyester can be suitable for bobbins. Metallic and specialty threads typically need testing, a compatible needle, and careful tension adjustment.
A test sandwich is more reliable than guessing from the spool label. Sew through the actual fabric, batting, and backing combination, then check the top and underside for balanced stitches. The sewing thread size guide can help organize thread choices before the machine is threaded.
Selecting Batting for Lofts and Drapes
Batting determines warmth, loft, drape, stitch definition, shrinkage, and how easily the quilt moves beneath the presser foot. It isn't merely a soft middle layer. It is a structural part of the quilt that must suit the top, backing, quilting distance, and intended care.
Common batting fibers include cotton, polyester, wool, bamboo, and silk. Batting may be carded, needle-punched, or thermally bonded, and those construction methods influence cohesion and handling. A low-loft option often suits garments and wall quilts, while a medium-loft option can provide more body for bed quilts.
Compare the main trade-offs
| Batting type | General behavior | Useful direction |
|---|---|---|
| Cotton | Breathable, easy to needle, flatter drape | Traditional quilts and projects where natural feel matters |
| Cotton-polyester blend | Balanced stability and drape | General-purpose quilts requiring moderate shrinkage |
| Polyester | Lofty, soft, potentially slippery, less breathable | Puffy texture, pronounced stitch definition, or added warmth |
| Wool, bamboo, or silk | Distinct warmth, drape, or hand | Specialty projects requiring careful testing |
Museum conservation data lists natural cotton batting at approximately 1/16 inch loft with about 3–5% shrinkage, an 80/20 cotton-polyester blend at approximately 1/16 inch loft with about 2–3% shrinkage, and polyester batting at approximately 1/4 inch loft with roughly 0–2% shrinkage. The Museum Conservation Institute's batting reference explains why fiber name alone isn't enough for selection.
University of Idaho extension material identifies thin-to-medium polyester batting as suitable for apparel or lightweight quilted projects because it adds insulation without excessive bulk. The extension guidance on batting also supports checking the manufacturer's quilting-distance limit and shrinkage behavior before cutting.
A quilt can distort when the top, batting, and backing respond differently to washing or tension. Prewashing, controlled shrinkage testing, or leaving materials unwashed can all be reasonable choices, but the decision should be consistent across the complete quilt system. The guide to the best batting for quilts can help narrow the choice by project purpose.
Machine Accessories and Pressing Tools
A machine becomes more useful when its accessories match the task. A beginner piecing straightforward blocks may need only a standard presser foot, a suitable needle, and a reliable thread setup. A quilter working with a layered sandwich may benefit from a walking foot, while free-motion work typically requires a compatible free-motion or darning foot and the correct feed-dog setting.
Match the accessory to the movement
A walking foot helps feed multiple layers more evenly during straight-line quilting. It can also support controlled work on borders, bindings, and seams where shifting would be inconvenient. A free-motion foot gives the quilter more control over stitched curves and motifs, but it requires practice on scraps and careful adjustment of speed, hand movement, and machine settings.
Accessory compatibility varies by machine. B-Sew Inn sells and services machines from Baby Lock, Bernina, Bernette, Brother, and Janome, along with quilting feet, thread, notions, longarm machines, and cutting equipment. A staff member can confirm the correct foot, bobbin, needle system, and extension setup for a specific machine rather than relying on an uncertain fit.
Pressing deserves equal attention. A clean iron, stable ironing surface, and heat-safe work area help seams settle accurately. Pressing means setting the iron down and lifting it rather than sliding aggressively across the fabric, especially when a block includes bias edges. The practical difference is visible in block dimensions and seam alignment. B-Sew Inn's explanation of how to press seams offers a useful refresher before a large set of blocks is assembled.
Sustainable Practices for Quilting Scraps
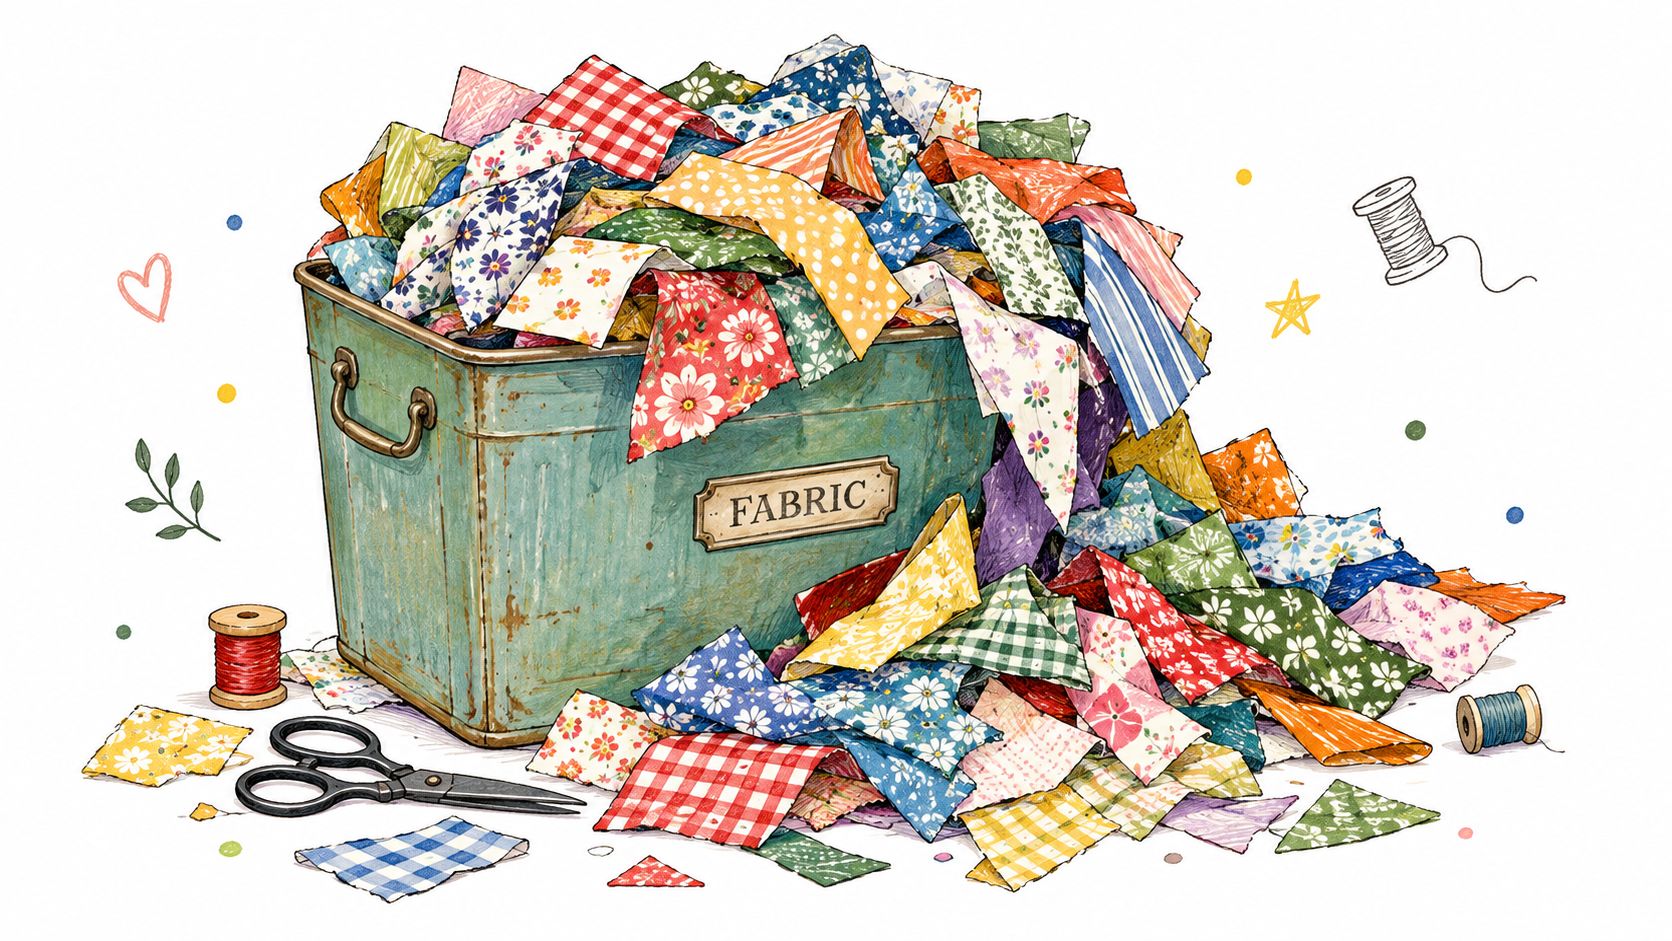
Saving every scrap isn't automatically sustainable. A crowded bin can hide useful pieces, encourage unnecessary storage, and make future sorting so difficult that the material eventually gets discarded. Better scrap management starts by assigning each remnant a realistic use.
Research on small-scale textile production found that 90–95% of identified waste consisted of cut scraps, which were commonly burned or landfilled. The same research documented quilting and appliqué as possible creative-reuse routes. A separate 2025 study of a quilting enterprise found environmental and social benefits from transforming discarded textiles into products, while also identifying limits involving supporting materials and production capacity. The research on textile waste and quilting reuse supports a practical rather than purely aspirational approach.
Sort scraps by likely use
- Reusable strips: Keep strips grouped by width when a future strip-piecing project is likely.
- Foundation-piecing pieces: Save irregular cotton pieces large enough to cover a template.
- Batting trimmings: Store clean pieces for small quilts, placemats, or stuffing.
- Thread ends: Collect them separately for appropriate stuffing or textile-art uses.
- Tiny or contaminated pieces: Don't keep material that can't be handled safely or used realistically.
Label containers by fiber content and approximate size. Designing a scrap-friendly project, cutting efficiently, and using existing fabric often reduces waste more reliably than buying supplies marketed as sustainable. Donation and textile-recycling rules vary by country, so local programs should be checked before materials leave the sewing room.
Building Your Quilting Kit by Project Type
The right kit depends on the next technique, not an imagined future identity as a quilter. A person making a first patchwork block needs precision cutting and consistent piecing. A person preparing a quilt sandwich needs batting, backing, basting supplies, and a way to manage bulk. A person exploring free-motion quilting needs practice fabric, a compatible foot, and a machine that permits the required settings.
For traditional patchwork
Start with quilting cotton, a pattern, a 45 mm rotary cutter, a mat, an acrylic ruler, pins or clips, a seam ripper, an iron, and a piecing needle and thread. Add a quarter-inch foot if the machine accepts one and the pattern depends on consistent seam allowances. A small test block can reveal whether the machine's seam position needs adjustment before valuable fabric is cut.
For foundation paper piecing
Add printed or reusable templates, a fine marking pencil, a shorter stitch setting if the pattern calls for it, and a small iron or pressing tool for frequent seam pressing. The critical supplies are accuracy aids, not a large collection of specialty gadgets. Keep fabric pieces organized by section so the construction order stays clear.
For free-motion quilting
Prepare a layered practice sandwich, quilting needles, thread matched to the selected weight, and a compatible free-motion foot. The machine may need its feed dogs lowered or covered according to the manufacturer's instructions. A larger work surface or extension table can make fabric movement easier, but a longarm machine isn't necessary for a first quilt.
For binding and finishing
Set aside binding fabric, a sharp fabric-cutting tool, hand-sewing needles, thread, clips, and a comfortable pressing setup. Binding is a separate construction stage, so keeping these materials together prevents a finished quilt top from becoming an abandoned project.
A tiered purchase plan keeps spending proportional to experience:
- Use what is already owned: Borrow a machine, use a household iron if it is clean, and purchase only the cutting and fabric essentials that the project requires.
- Build a functional starter kit: Add reliable thread, spare needles, batting, rulers, pins or clips, and finishing supplies.
- Upgrade for a technique: Consider specialty feet, larger work surfaces, advanced machines, or a longarm only when the project and practice justify them.
Next Steps for Your Quilting Journey
A supply list earns its place when it helps you finish a quilt. Start with one pattern, then mark its fabric, batting, thread, needle, cutting, and finishing needs. Buy only what the current kit lacks. This project-first method prevents a beginner from collecting specialty tools before learning which techniques require them.
Machine choice also deserves hands-on attention. B-Sew Inn has retail stores in Tulsa, Oklahoma City, Springfield, Humble, and Fayetteville, serving quilters across Oklahoma, Missouri, Texas, and Arkansas. In a store, you can test controls and workspace, compare how machines feel, and ask which feet and accessories fit the model you are considering.
The online store at bsewinn.com carries machines, quilting accessories, thread, notions, stabilizer, cabinets, cutting tables, embroidery designs, and longarm quilting equipment. B-Sew Inn also provides service, repairs, trade-ins, in-person machine mastery sessions, and classes at its retail locations. Instruction can shorten the gap between owning supplies and using them well, particularly for quarter-inch piecing, rotary cutting, pressing, and free-motion quilting.
Keep the next purchase small. Choose the project, identify the missing essentials, and get guidance on the machine or accessory that will affect the result most. For hands-on support, explore in-person machine mastery sessions and classes.
A focused kit grows with your skills. Browse B-Sew Inn for project-matched quilting machines, feet, needles, thread, batting notions, rulers, and cutting supplies.

