

The needle is moving too quickly as a quilted corner approaches. The fabric shifts, the curve flattens, and the seam runs past the point where it should have turned. On another project, a delicate thread snaps during the first few stitches over a thick seam. These problems often look like technique failures, but sewing machine speed control is frequently the missing part of the setup.
Speed control isn't only a beginner feature. It affects corner accuracy, topstitching, free-motion quilting, thick seams, specialty threads, and small embroidery details. The right machine lets a sewist combine pedal pressure with a controlled maximum speed, creating enough time to guide fabric without fighting the motor.
Modern systems also give home sewists options that older machines didn't. Historical sewing machines moved from hand or treadle-driven power toward mechanically regulated power, including friction-disc controllers that allowed operators to vary speed with treadle pressure and make a single stitch when needed. Industrial output later rose from 200 to 2,000 stitches per minute, a 10-fold gain, making speed regulation a foundational machine-design concern. This historical overview of sewing-machine speed control provides useful context for that transition.
A practical understanding of sewing machine basics for beginners helps, but speed control deserves attention from experienced quilters and embroiderers too. The useful question isn't “How fast can the machine sew?” It's, “Can the machine give the operator the exact speed needed for this fabric, foot, needle, and turn?”
Table of Contents
- Why Sewing Machine Speed Control Matters for Every Project
- Mastering Built In Speed Controls on Your Machine
- How Speed Control Differs by Machine Type
- Using Electronic Limiters and External Speed Controllers
- Troubleshooting Common Speed Control Problems
- Sew Smarter With Speed Control Tips and Next Steps
Why Sewing Machine Speed Control Matters for Every Project
A sewist working on a curved applique edge may need the needle to land precisely at each change of direction. A garment maker easing a sleeve needs controlled movement rather than maximum speed. An embroiderer stitching tiny lettering needs the machine to maintain a steady pace while the hoop changes direction. In each case, speed affects how much time the operator has to guide the work.
Speed is part of stitch quality
A fast machine can produce excellent stitches, but speed alone doesn't guarantee a better result. If the operator reaches a corner too quickly, the needle may pass the pivot point before the fabric can be repositioned. If a dense seam starts aggressively, the thread can pull tight, the needle can deflect, or the fabric can shift under the presser foot.
A speed limiter creates working room. It lets the operator press the pedal naturally without allowing the machine to race beyond a manageable pace. That matters during curves, narrow seam allowances, quilting motifs, and decorative stitching where control is more valuable than throughput.
Modern electronically managed servo systems can offer broad adjustable ranges. Technical documentation describes servo motors with ranges such as 0 to 5,000 RPM and 200 to 6,000 RPM, with control boxes that combine pedal input and maximum-speed settings. The industrial servo technical reference also describes practical sewing ranges from 1/2 stitch per second to 550 stitches per minute, while another setup reaches 1,108 stitches per minute. Those figures illustrate the useful span between deliberate slow sewing and production-oriented speed.
Confidence comes from predictability
Older treadle and clutch arrangements can feel different from a modern computerized machine. A continuously running clutch motor may respond sharply once the pedal engages, while an electronically managed servo motor can provide quieter operation and more controlled acceleration. Servo systems are also described as offering lower energy use, quieter running, a control range of 200 to 5,500 stitches per minute, and pedal response under 50 milliseconds in one technical discussion. This servo-motor speed-control reference gives that specific description.
The machine choice matters because two machines can have similar maximum speeds but feel completely different at the slow end. A sewist should test the first stitch, a curve, a thick crossing, and a stop-start sequence before deciding which control system feels natural.
B-Sew Inn is an authorized sewing, quilting and embroidery machine dealer with retail stores in Tulsa and Oklahoma City, Oklahoma, Springfield, Missouri, Humble, Texas, and Fayetteville, Arkansas. The stores carry machines from Baby Lock, Bernina, Bernette, Brother, and Janome, along with sergers, longarm quilting machines, embroidery supplies, thread, stabilizer, notions, cabinets, and cutting tables. Hands-on testing turns speed control from a specification into something the buyer can feel.
Mastering Built In Speed Controls on Your Machine
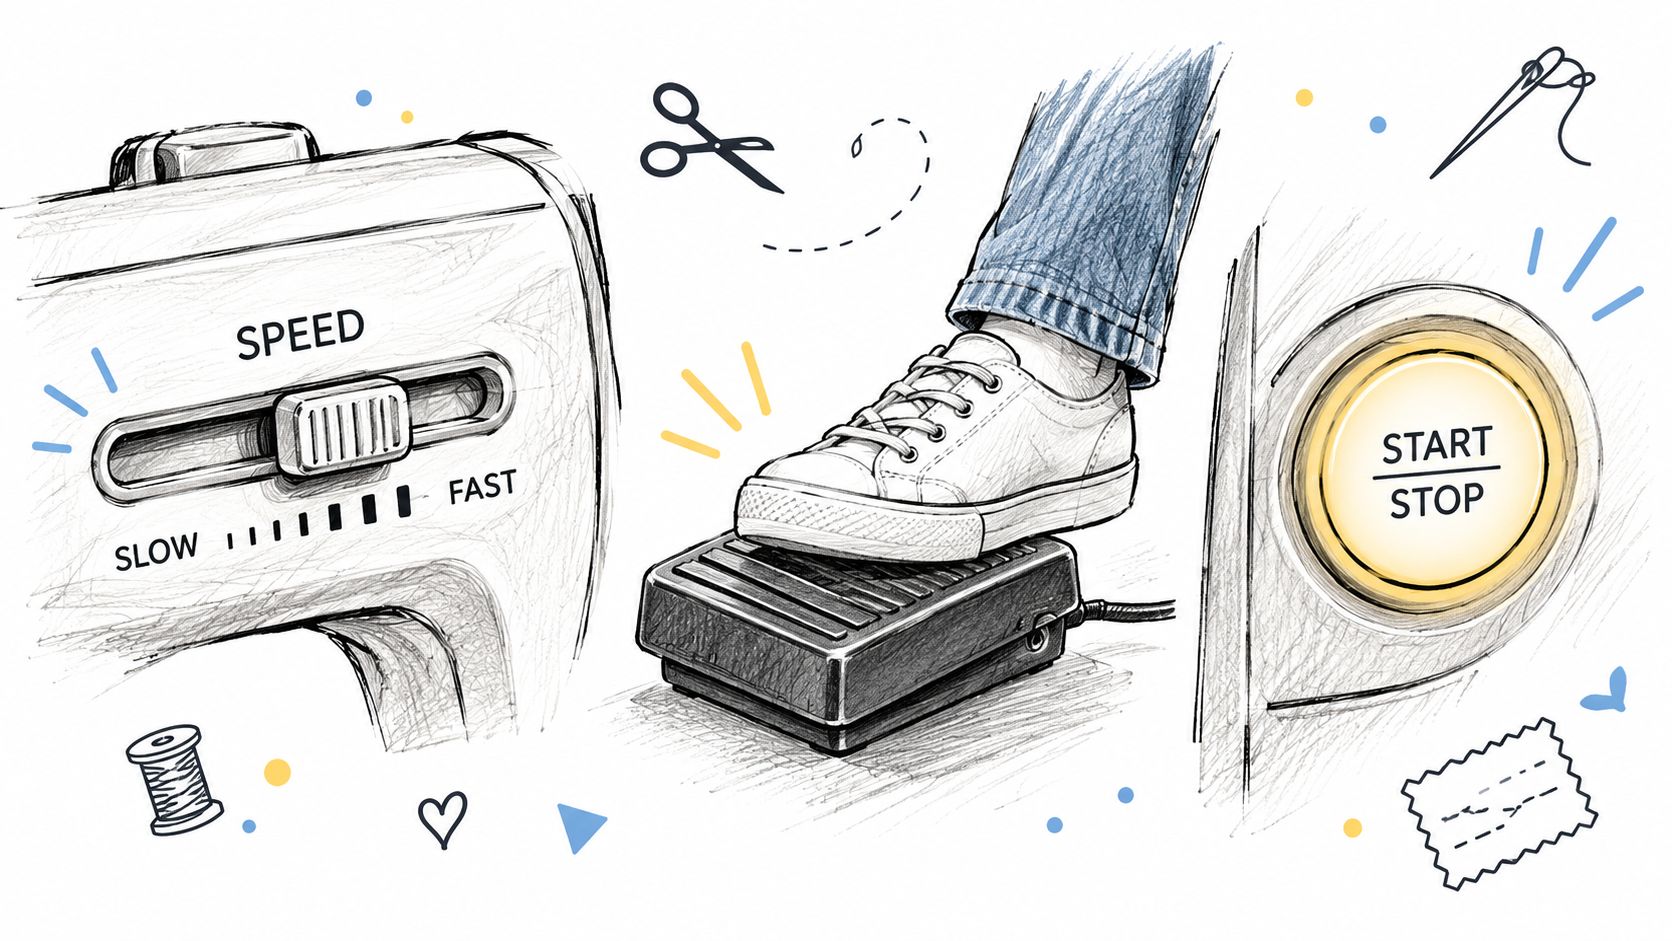
Most modern machines give the operator three useful controls: the foot pedal, a speed slider or dial, and a start/stop button paired with needle-position settings. Each control solves a different problem. The pedal manages live movement, the limiter defines the comfortable ceiling, and start/stop functions reduce dependence on foot pressure during repetitive or detail-oriented work.
Start with the pedal
Place the foot so the heel stays supported and the ankle can make small movements. The useful control zone is usually near the beginning of pedal travel, where a slight change in pressure produces a slow, predictable stitch rather than an abrupt surge.
A potentiometer-based foot control works by changing electrical resistance as the treadle moves. Pressure changes the potentiometer position, which changes needle speed. One referenced machine using this type of control had a range of 0 to 4,000 stitches per minute. The technical description of potentiometer foot control explains the basic relationship between treadle pressure and needle speed.
For a straight seam, a moderate pace may feel efficient. For a curve, the foot should remain relaxed while the hands guide the fabric. If the pedal feels all-or-nothing, the machine's speed cap should be lowered before the operator tries to develop finer ankle control.
Set the ceiling before sewing detail
Use the slider or dial to choose a maximum speed that suits the task. A lower setting is useful for applique, narrow topstitching, free-motion practice, and stitching across uneven layers. A higher setting can be appropriate for long straight seams when fabric handling is stable.
The goal isn't to make every project slow. The goal is to make the fastest permitted speed comfortable enough that the operator can press the pedal without losing control. On computerized machines, the slider often sets a maximum while the pedal continues to vary speed below that ceiling. More detail about that distinction appears in computerized sewing machines versus mechanical machines.
Use start and stop strategically
Start/stop operation can help during repetitive stitching, but it shouldn't replace attention to fabric movement. Needle-down positioning is particularly helpful when turning corners, because the needle holds the project while the presser foot lifts for a controlled pivot.
For free-motion quilting, a consistent machine pace gives the hands a steadier rhythm. A new needle, the correct quilting or darning foot, suitable thread, and properly prepared fabric still matter. Slowing the machine won't correct incorrect tension, a damaged needle, or fabric drag. Sewists building rhythm can also use practice stippling drills to work on hand movement while keeping the machine at a manageable speed.
Practice rule: The best speed setting is the one that lets the operator focus on fabric movement instead of constantly rescuing the pedal.
How Speed Control Differs by Machine Type
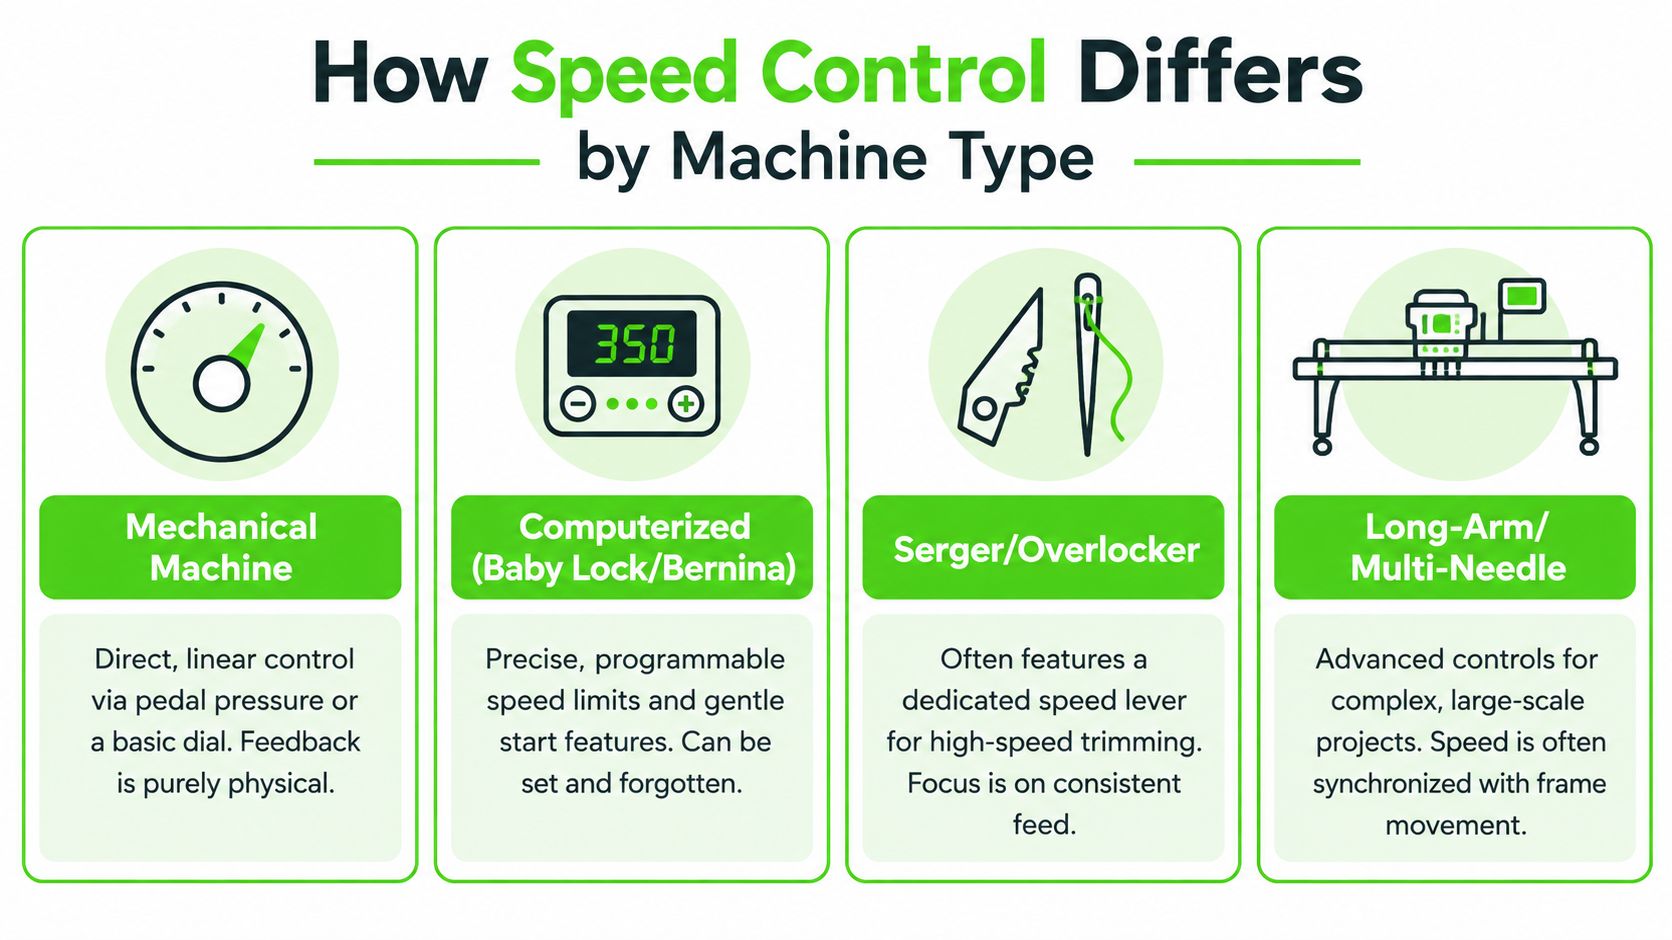
Speed control feels different because the motor, electronics, feed system, and intended work are different. A mechanical machine often gives direct physical feedback through the pedal and a simple adjustment. A computerized Baby Lock or Bernina machine may add a programmable ceiling, gentle starts, needle-position memory, and start/stop operation. Neither approach is automatically right for every sewist.
Match control style to the project
Mechanical machines suit sewists who prefer direct feedback and simple adjustments. They can be excellent for garment construction, piecing, and everyday repairs when the operator wants a straightforward relationship between foot pressure and needle movement. A mechanical sewing machine guide can help buyers evaluate that style before testing specific models.
Computerized machines tend to offer finer configuration. The operator may select a maximum speed, use a start/stop button, choose needle-down positioning, and program soft starts. That combination can be especially helpful for quilting curves, decorative stitches, and embroidery details.
Sergers and overlockers bring another consideration, fabric feed. Their speed may feel fast because the machine trims and forms stitches while feeding multiple layers. The operator should evaluate how smoothly the machine starts and how easily the fabric can be guided near a seam allowance, not just how quickly it reaches its maximum.
Longarm and multi-needle embroidery machines require a different kind of coordination. The machine may synchronize needle activity with frame movement or embroidery operations, so the buyer should test how speed changes respond to hand movement, pattern density, and stopping behavior.
| Machine Type | Typical Speed Control | Best For |
|---|---|---|
| Mechanical machine | Direct pedal response, sometimes paired with a basic dial | Garment sewing, repairs, straightforward piecing |
| Computerized machine | Programmable maximum speed, start/stop, needle-position settings | Quilting, decorative work, controlled detail |
| Serger or overlocker | Pedal control combined with consistent multi-layer feeding | Seam finishing, knits, fast construction |
| Longarm or multi-needle machine | Coordinated controls suited to frame or embroidery movement | Large quilts and repeated embroidery work |
Project-specific handling can expose the differences quickly. Small, curved work needs a calm start and easy stops. Thick or awkward items need clearance, appropriate feet, and a motor that doesn't lurch when resistance changes. Sewists working with headwear can also review these cap sewing tips before testing how a machine handles curved, structured pieces.
The best buying test includes the actual materials used at home. Bring a quilt sandwich, a garment fabric, a specialty thread sample, or a small embroidery design. Test the slowest usable movement, not merely the fastest advertised setting.
Using Electronic Limiters and External Speed Controllers
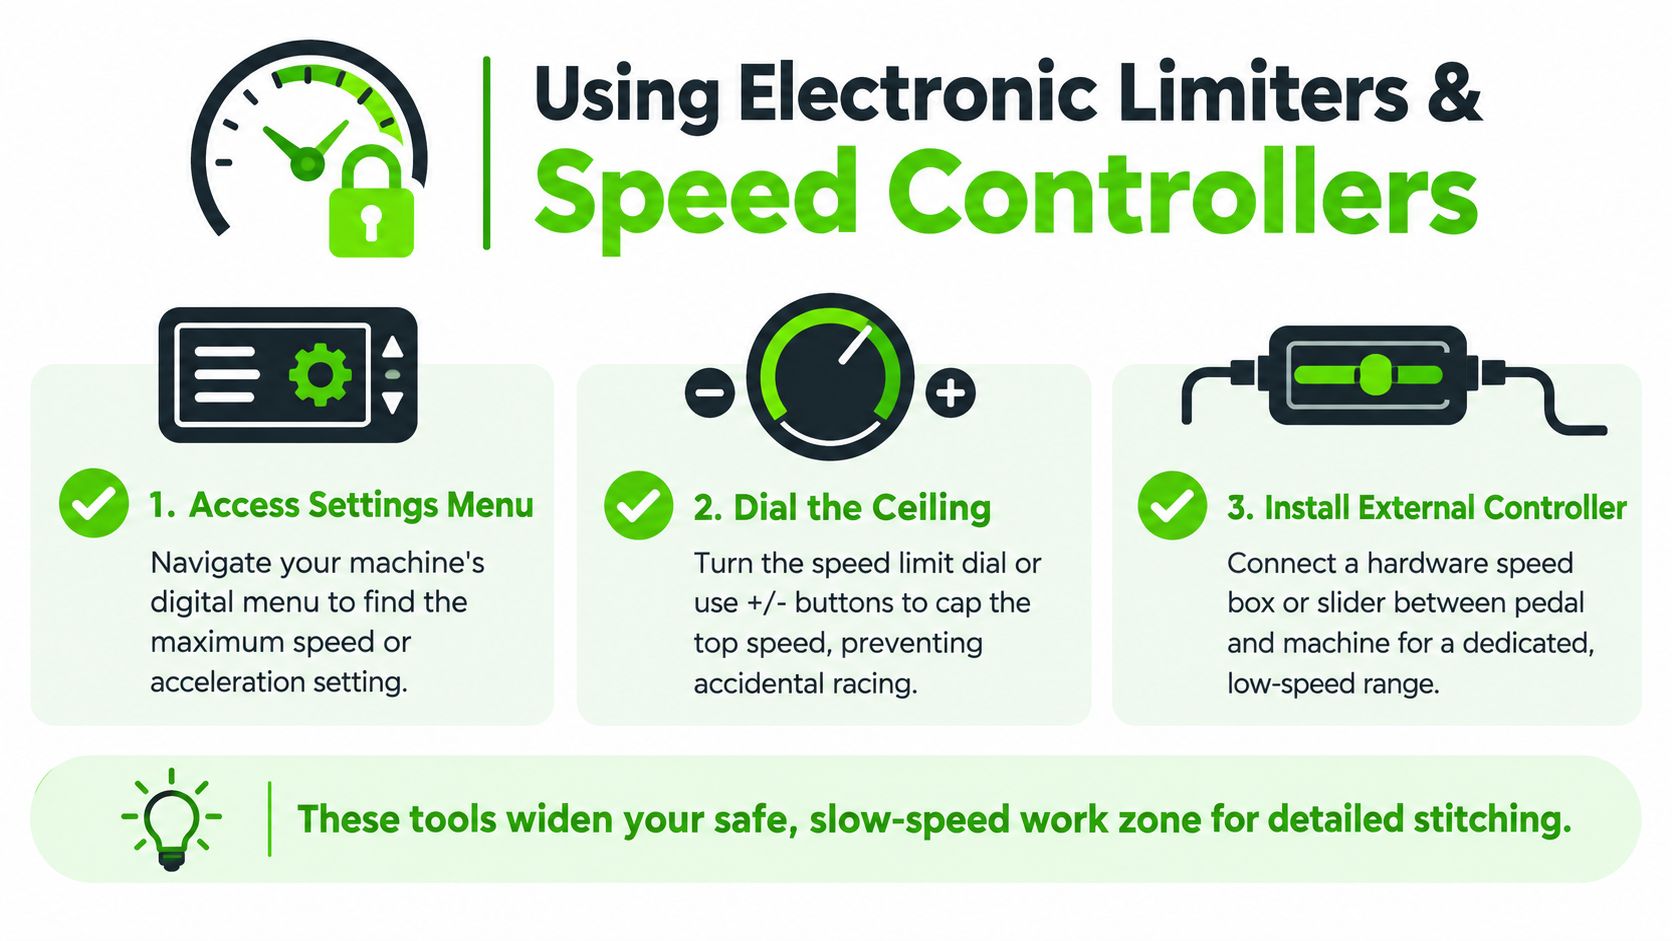
An electronic limiter sets a ceiling. The pedal still controls speed, but the motor can't exceed the selected maximum within the machine's allowed range. This distinction matters because a sewist may want full pedal travel for a stable foot position without accepting full motor speed.
Some industrial controls offer maximum-speed adjustment from 200 to 2,500 RPM in 100 RPM steps, along with separate soft-start stages for the first stitches. The JUKI control manual describes start speed and one-stitch and three-stitch speed settings. Those settings address the moment when many failures happen, immediately after the needle begins moving.
Tune the machine in the right order
A reliable adjustment sequence is simple:
- Set the global maximum. Choose a ceiling that fits the material and the operator's reaction time.
- Test the first stitch. Watch for needle deflection, thread slack, fabric movement, or a harsh motor surge.
- Lower the soft-start stages if needed. The first few stitches should enter the seam calmly, especially on dense or layered work.
- Check the result under real resistance. Sew across a seam intersection, curve, or multiple layers instead of testing only on a single flat fabric.
- Recheck tension and needle choice. Speed control can't compensate for a blunt needle, unsuitable thread, or incorrect threading.
Another industrial setup separates the motor's ceiling from pedal movement with an adjustment dial ranging from 0 to 3,300 RPM. The foot pedal then controls speed only within that selected limit. This description of a separate speed-adjustment setup shows why a limiter can change the feel of the pedal without replacing it.
Know when hardware changes help
A balance wheel or speed-reduction pulley changes the mechanical relationship between motor movement and needle movement. That can widen the slow-control window, but it usually reduces top speed as well. Sailrite examples describe an Ultrafeed reaching 1 stitch per second and 550 stitches per minute with one balance wheel, while another wheel setup reaches 1/2 stitch per second and 260 stitches per minute. Fabricator examples reach 1,108 stitches per minute with a stock pulley and 640 stitches per minute with a speed-reduction pulley, with the reduced setup reaching 1/2 stitch per second at the low end. The technical manual containing these balance-wheel and pulley examples documents the trade-off.
This hardware approach makes sense for leather, dense quilting, edge stitching, and work where starting too quickly causes overrun. It isn't a universal upgrade. A sewist who regularly needs long, fast seams may prefer the original ratio, while a leatherworker may value slow torque and precise starts more than maximum throughput.
B-Sew Inn carries machines, presser feet, needles, thread, stabilizer, notions, and service support that can help match the control setup to the project. Any foot-control replacement or electrical adjustment should follow the machine's manual, and uncertain repairs belong with a qualified service department. Guidance on replacing a Brother sewing machine foot pedal is useful for understanding the process, but compatibility should be confirmed before ordering.
Troubleshooting Common Speed Control Problems
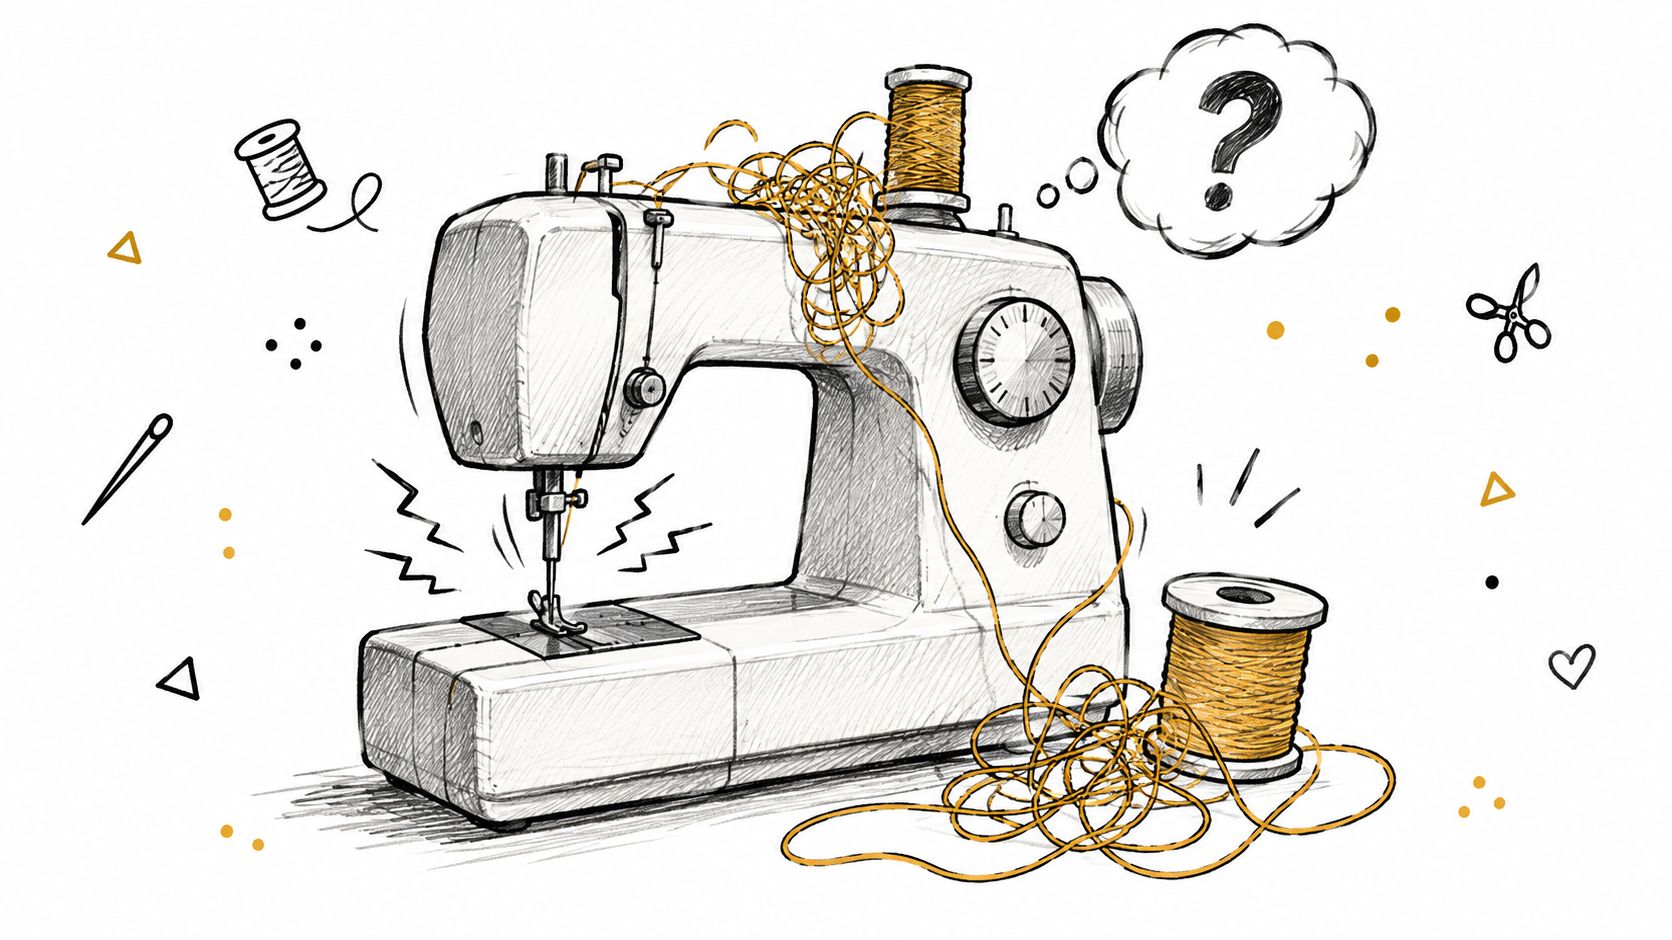
Speed-related stitch problems rarely come from speed alone. The motor may be responding correctly while the needle, thread path, presser foot, fabric layers, or tension settings create the visible failure. Diagnosis works best when the operator separates a control problem from a stitching problem.
The machine races at startup
A high first-stitch setting can cause the needle to surge before the operator can react. Industrial controls address this with separate soft-start settings, but home machines may use a maximum-speed slider, a start/stop function, or pedal calibration.
Lower the permitted maximum and test the first few stitches on a scrap made from the same layers. If the machine still accelerates unexpectedly, inspect the pedal area for obstruction, confirm that the cord is seated correctly, and stop using the machine if the pedal feels hot, crackles, sticks, or behaves intermittently.
Slow sewing feels jerky
Jerky movement may indicate that the chosen speed is below the motor's comfortable operating range, but it can also come from fabric drag, an unsuitable foot, incorrect presser-foot pressure, or a thread path that catches. A free-motion foot, smooth quilt surface, extension support, and appropriate needle can matter more than lowering the speed further.
For quilting, test the machine with the quilt supported rather than hanging heavily from the bed. For embroidery, confirm that the stabilizer supports the design and that the hoop moves freely. Slower motion improves the operator's reaction time, but it won't repair poor preparation.
Thread breaks during takeoff
Thread breakage at the start of a seam often points to a combination of fast acceleration, incorrect threading, excessive tension, a damaged needle, or thread that doesn't suit the needle and fabric. Begin with a fresh needle of the correct type and size, rethread with the presser foot raised, and hold thread tails for the first few stitches if the machine's instructions recommend it.
If the break occurs only over thick seams, use a suitable leveling aid or presser foot designed for the project. Lowering the starting speed may reduce shock, but the thread path and needle still need attention.
Curves skip stitches or overrun
Skipped stitches on curves may result from an incompatible needle, fabric movement, presser-foot pressure, or a stitch formed while the fabric is being forced through a turn. A lower ceiling helps the operator pivot accurately, but it doesn't replace the correct stretch, quilting, embroidery, or universal needle for the material.
Diagnostic rule: Change one variable at a time. Start with the needle and threading, then check foot choice, tension, fabric support, and speed settings.
A pedal that feels like an on-off switch deserves a closer inspection. Mechanical wear, lint, a damaged cable, or an incompatible replacement pedal can affect response. The pedal shouldn't be opened casually, especially when the operator isn't comfortable identifying electrical components.
For broader symptoms, the sewing machine troubleshooting guide can help organize the checks. If cleaning the accessible lint, confirming the manual's settings, and testing with a known-good needle don't solve the behavior, a service appointment is safer than forcing the machine through another project.
Sew Smarter With Speed Control Tips and Next Steps
Speed control becomes most useful when it is planned before the difficult part of the seam. A sewist should identify corners, bulky intersections, curves, and thread-sensitive details in advance, then lower the ceiling before reaching them. That prevents the rushed adjustment that often causes the original mistake.
Hands and foot should work as a team. The foot maintains a steady range, the hands guide the fabric, and the knee lift raises the presser foot when a pivot or repositioning move requires it. Needle-down positioning supports accurate turns, while the correct foot reduces the need to fight fabric movement.
Build a repeatable project routine
- Prepare the material: Choose a suitable needle, thread, stabilizer, and presser foot before adjusting speed.
- Test the start: Sew on a scrap with the same layers, then inspect the first stitches for thread loops, deflection, or fabric shift.
- Set the ceiling: Use a lower maximum for curves, dense seams, free-motion practice, and small lettering.
- Reserve full speed: Use higher settings only where the seam is straight, the fabric is supported, and the operator can stop comfortably.
- Protect the work area: Keep fingers clear of the needle, avoid pulling fabric into the foot, and stop before making adjustments.
A speed limiter helps reduce overshoot and makes practice less intimidating, but it doesn't replace balanced tension, a sharp needle, proper threading, or stable fabric preparation. The best machine is the one whose slow movement, start response, pedal feel, and available feet match the work the sewist does.
Machine buyers can compare Baby Lock, Bernina, Brother, and Janome models at B-Sew Inn, then test them with quilting layers, garment fabric, embroidery materials, or specialty thread. In-person machine mastery sessions and classes are held at retail locations, and the service department can evaluate a pedal, motor, or inconsistent stitch formation when adjustments no longer solve the problem.
Visit B-Sew Inn to browse sewing, quilting, embroidery, serger, and longarm machines, then bring a sample project to a store in Tulsa, Oklahoma City, Springfield, Humble, or Fayetteville for hands-on testing. The team can also help select needles, feet, thread, and stabilizer, book an in-person machine mastery class, or arrange service when speed control still doesn't feel right.

