

The most popular coverstitch buying advice starts with more stitches, more features and more speed. That's the wrong order for a home sewist who wants dependable knit hems. A machine that needs repeated rethreading and tension changes can turn a short finishing job into the most frustrating part of garment construction.
A useful coverstitch machine comparison starts with the fabrics, the finished seam and the effort required to get a clean result. Needle spacing matters, but so do threading access, feed adjustment, compatible needles and support after purchase. The strongest choice isn't necessarily the most elaborate machine. It's the machine that fits the sewist's actual work.
Table of Contents
- Coverstitch Configurations at a Glance
- Stitch Width and Needle Spacing Compared
- Differential Feed, Stitch Length and Speed
- Comparing Coverstitch Lines We Carry
- Matching Needles to Fabric Weight
- Setup Reliability on Real Knit Garments
- Coverstitch Machine or Upgraded Serger
- Choosing a Coverstitch Machine by Sewing Profile
- Test Coverstitch Machines Before You Buy
Coverstitch Configurations at a Glance
Coverstitch configurations compared
| Configuration | Needles | Visible face rows | Best for | Main limit |
|---|---|---|---|---|
| Single-needle chainstitch | 1 | 1 | Basic seams and simple finishes | Single row gives the least cover |
| Two-needle coverstitch (602) | 2 | 2 | Knit hems and trims | Fewer decorative options |
| Three-needle coverstitch (605) | 3 | 3 | Wider athleticwear-style and decorative hems | Uses more thread and needs careful tension on fine knits |
The configuration labels and covering-stitch classifications above follow the terminology summarized in the sewing-machine reference, including 602, 605, and the related bottom-cover classifications 406 and 407. The practical distinction is easier to understand than the numbering: needle threads form parallel straight rows on the fabric's face, while looper thread crosses between them underneath.
That underside structure can cover a raw edge while preserving stretch. It makes coverstitch useful for knit hems, attaching trims and flat-seamed garment details. A chainstitch follows a simpler path and doesn't provide the same broad raw-edge coverage.
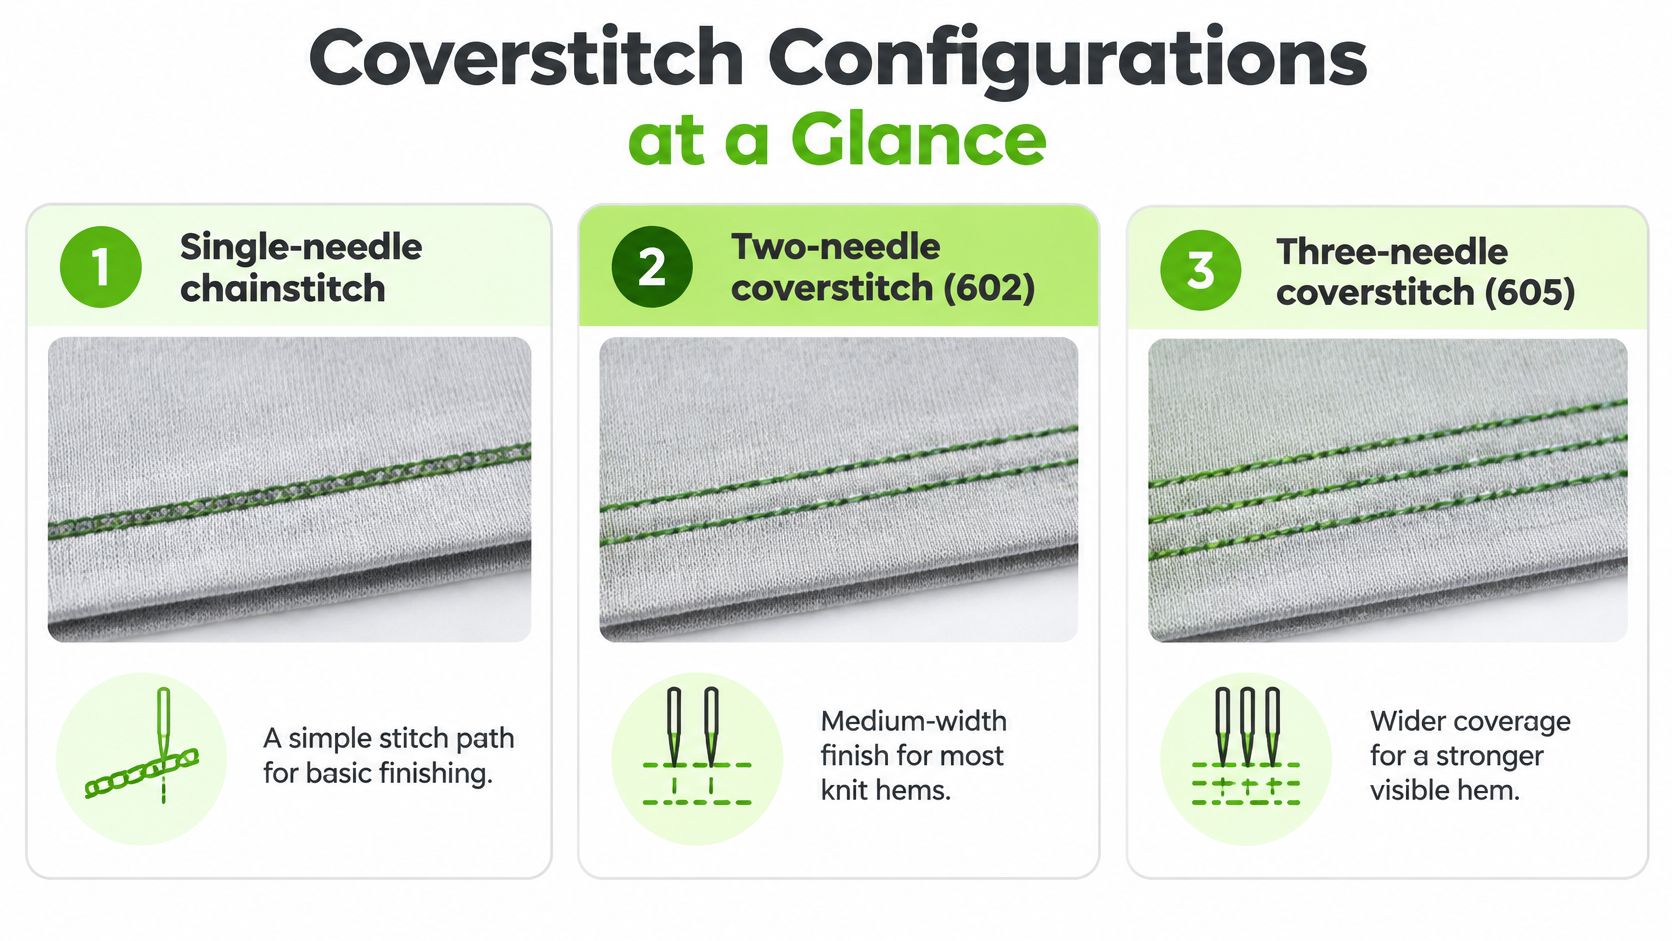
Needle count isn't the whole construction
A simpler cover hem gives a restrained, ready-to-wear appearance. An additional visible row produces a more prominent finish, particularly on athleticwear or decorative garment panels. More rows also mean more needle threads to manage, so extra capability only helps when the projects call for it.
Top cover requires a separate check. Bottom-cover classifications don't establish that a machine can lay decorative covering thread across the garment's face. The specification sheet should identify top-cover capability explicitly rather than leaving the buyer to infer it from a sample photograph.
Thread count also needs context. Needle count indicates the visible straight rows and contributes to the thread requirement, but the looper and covering-thread arrangement determines the complete stitch structure.
A practical selection test starts with a finished garment, not a brochure. The sewist should count the visible rows wanted on the hem, examine the reverse, and identify whether decorative face coverage matters. The store demonstration should then reproduce that construction, including the underside, rather than merely show the machine's most elaborate stitch.
Stitch Width and Needle Spacing Compared
Cover width by needle spacing
| Width or spacing | Approximate spacing | Typical use |
|---|---|---|
| Narrow home setting | About 2.5 mm | Narrow hems and lightweight garments |
| Medium home setting | About 3.5 mm | Everyday knit hems and medium-width finishes |
| Wide home setting | About 5 mm | Broad athleticwear-style lines |
| Single-needle cover | About 3 mm | Narrow topstitching |
| Two-needle cover | About 6 mm | Standard knitwear hems |
| Decorative two- or three-needle | 9 to 12 mm | Wide decorative stitching |
The home-setting references of approximately 2.5 mm, 3.5 mm and 5 mm come from the coverstitch reference. The additional 3 mm, 6 mm and 9 to 12 mm examples appear in the TextileTuts coverstitch guide; its single-needle cover terminology shouldn't be interpreted as spacing between parallel needle rows, because a lone needle doesn't create parallel rows.
These are comparison references, not universal settings. Manufacturers use different needle arrangements and width descriptions. A shopper needs the actual distance between the selected needle positions, not a narrow or wide label.
Why the widest setting can disappoint
A broad stitch can look excellent on a substantial athletic knit yet pull a lightweight hem into a raised ridge. Fabric weight, recovery, seam allowance and thread all influence whether the finish lies flat. Narrower stitching may suit a delicate garment better even when a wider option is available.
Hem placement matters, too. The folded allowance must sit where the looper coverage can catch the raw edge consistently. More width won't compensate for an uneven fold or fabric that drifts away from the guide.
Before comparing maximum width, a buyer should check:
- Needle positions: Which combinations are supported, and how clearly are they marked?
- Stitch capabilities: Are chainstitch and top cover included or absent?
- Fabric access: Can a cuff or small garment opening be positioned comfortably?
- Setup assistance: Which threading aids serve the loopers, and which serve the needles?
- Working clearance: Is there enough room under the foot for the intended seam crossings?
For ordinary garment knits, the most useful first sample is a moderate-width hem on the actual project fabric. Delicate jersey should also receive a narrower trial, while decorative activewear deserves a broader sample. The winner is the finish that stays flat and stretches appropriately, not the widest line on the specification sheet.
Differential Feed, Stitch Length and Speed
Differential feed controls how the fabric travels, using separate front and rear feed sections. It's a fabric-handling adjustment, not a substitute for correct threading or suitable needles.
On conventional domestic controls, the neutral setting feeds the fabric evenly. Increasing the differential can counter stretching and, when pushed further, gather fabric; reducing it can stretch the fabric. Control markings should always be interpreted through the machine's manual and a sewn sample, rather than a blanket rule that a lower number prevents waves.
The BERNINA L 620 specifications provide a useful control benchmark: 0.7–2.0 differential feed, a 1.5–5 mm coverstitch-length range, and adjustable presser-foot pressure. Those figures describe an example of available adjustment, not a current purchase recommendation.
Adjust transport before chasing speed
Stitch length changes both the appearance and the feel of the seam. Shorter isn't automatically stronger or better: excessively dense stitching can make a fine hem stiff. A longer stitch can produce more open topstitching, but it still needs enough thread movement for the garment's stretch.
Presser-foot pressure affects how firmly the fabric is held against the feed mechanism. Excessive pressure can contribute to distortion; insufficient pressure can make transport inconsistent. The compatible foot and needle system remain mechanical requirements, not interchangeable accessories.
For a home-machine speed reference, Sewing Insight's Janome CoverPro 1000CPX review lists a maximum of 1,300 stitches per minute. That ceiling says little about low-speed control at a bulky side seam.
Speed is a workload specification. Feed control is a fabric specification.
A useful bench test holds stitch length and differential setting steady across lightweight jersey, medium rib and elastic, provided the setup is safe for each sample. The sewist can then record waviness, puckering and unwanted stretching before changing a single control.
Thread must remain part of that comparison. B-Sew Inn's wooly nylon thread guide provides context for evaluating textured thread rather than assuming every needle and looper position accepts the same thread.
Comparing Coverstitch Lines We Carry
A useful comparison starts with the garments you sew and the setup you can repeat reliably. For each coverstitch model in B-Sew Inn's catalog, check the specifications and package contents against the fabrics and tasks you have in mind. A feature list matters only if it reduces setup friction or solves a real sewing problem.
| Comparison area | What to record for each model |
|---|---|
| Stitch construction | Supported needle arrangements, available widths and top-cover capability |
| Fabric handling | Differential range, stitch-length range and pressure adjustment |
| Clearance | Presser-foot lift and usable room around the needle |
| Threading | Looper method, needle-threading method and included aids |
| Ownership | Required needles, compatible feet and available service support |
Compare the setup, not the logo
Threading features deserve a practical check. Looper assistance may not help with the needle eyes, and an accessible thread path does not necessarily make it easy to release the finished garment. Record which steps the machine assists with and which still require manual threading.
Control access matters during a project that shifts between fine jersey and sweatshirt fabric. Check whether the adjustments you need are easy to reach, and separate included accessories from optional feet and guides. Confirm the exact machine and package before purchase.
- Fabric priorities: Record the settings and adjustments relevant to your garment samples.
- Accessory priorities: List included equipment separately from optional feet and guides.
- Ownership questions: Check needle requirements, threading aids and available service support.
B-Sew Inn offers Machine & Software Tutorials. Use the comparison worksheet alongside the relevant model information and tutorials to clarify setup and ownership questions before choosing.
Matching Needles to Fabric Weight
Needle size should follow the thickest point in the stitch path, not just the fabric's label. A folded hem or seam crossing can make a lightweight knit behave like a much thicker stack.
| Fabric | Needle size | Reason |
|---|---|---|
| Lightweight knits and jersey | 70/11 | A fine needle helps avoid unnecessarily large holes in delicate fabric. |
| Medium-weight knits and interlock | 80/12 | A middle size suits common garment knits and folded hems. |
| Denim, twill and heavy knits | 90/14 | A larger needle can help pass through dense layers without deflecting. |
The BERNINA overlocker mastery workbook lists ELx705 sizes 70/11, 80/12 and 90/14, matching the medium size with medium-weight fabric and the larger size with denim and twill. Use these as starting points, and confirm each size is approved for your machine's needle system. The workbook also warns that larger needles can interfere with looper movement.
A too-small needle may deflect at a bulky seam crossing, causing skipped stitches or thread damage. If stitches skip there, first check needle size, condition and insertion rather than immediately changing tension. A needle that is too large can leave prominent holes or reduce clearance around the looper.
Check the complete needle designation in the machine manual. Fabric-specific packaging, such as a packet marked for stretch fabric, does not confirm that its needle system is compatible with your coverstitch machine. For a quick reference to needle characteristics, see B-Sew Inn's guide to sewing-machine needle types.
Keep suitable approved sizes on hand for the fabrics you sew. Replace a needle that is damaged or blunt, and check the machine's instructions for the required tool, seating and orientation. If skips continue after correct insertion and rethreading, have the machine assessed rather than moving beyond its approved needle sizes.
Setup Reliability on Real Knit Garments
Setup reliability comes from the interaction between machine, operator and material. A machine that sews a smooth hem on stable jersey may need adjustment on ribbing or a thick sweatshirt seam crossing. Reviews are most useful when they describe specific problems, such as skipped stitches, threading difficulty or repeated tension changes, rather than relying on an average star rating.
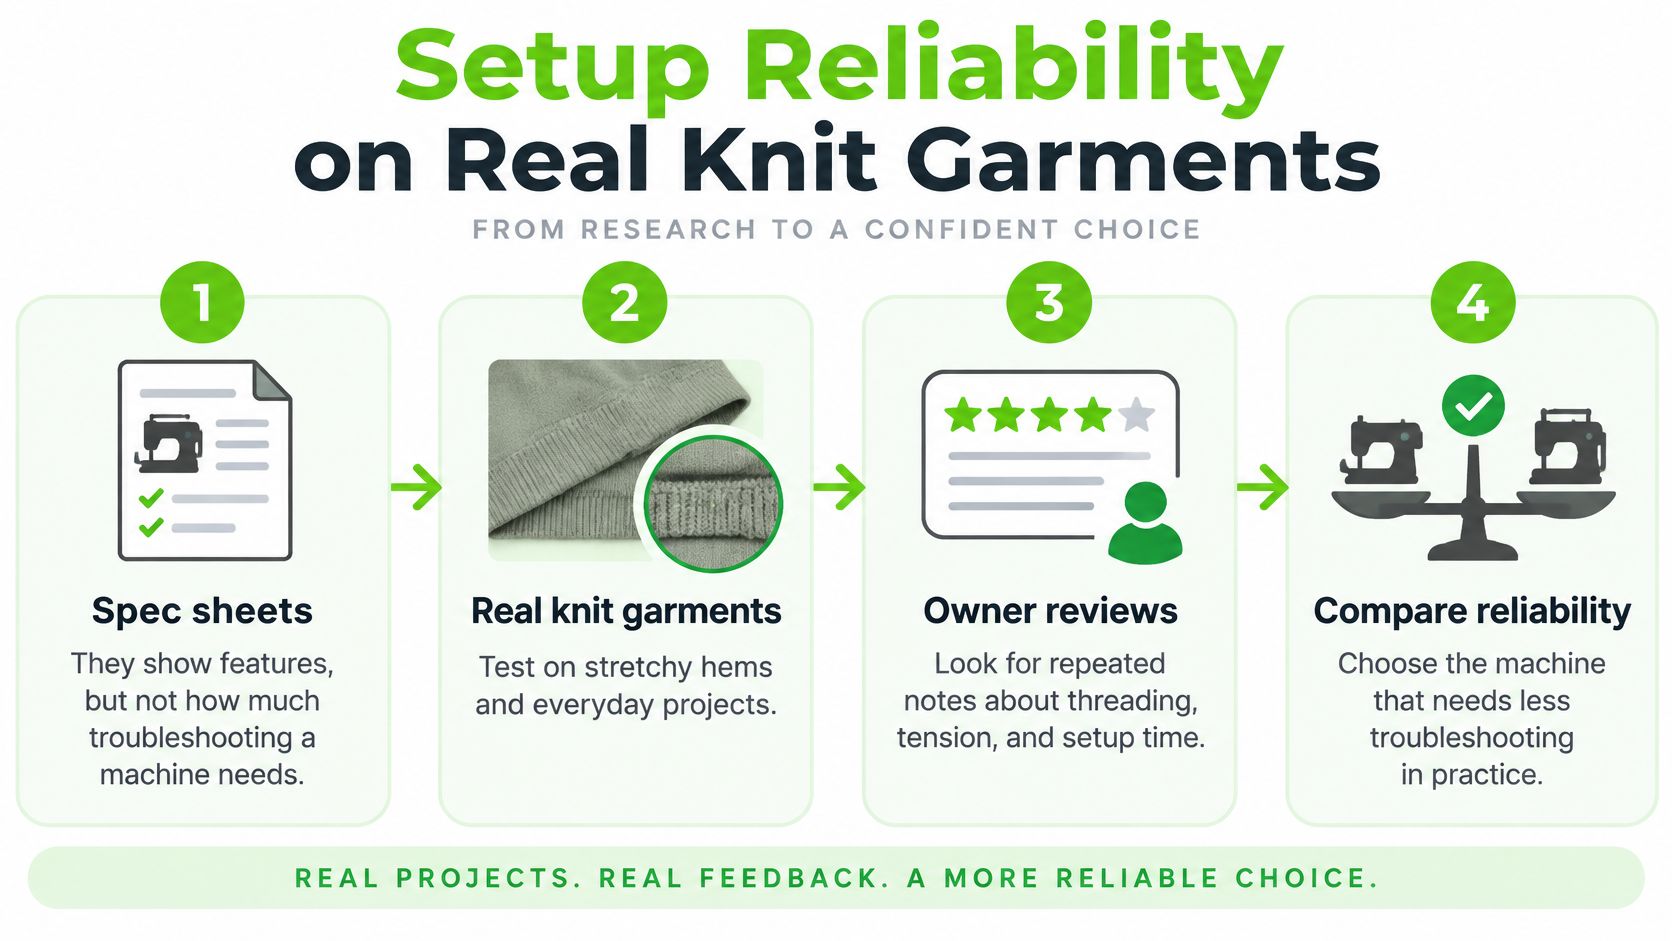
Run a first-success test
Use garment materials that match the work you expect to sew. The Raindropchess knit-fabric coverstitch comparison discusses how needle type, thread tension, presser-foot pressure and differential feed can affect skipped stitches. For broader fabric preparation and handling, consult this guide to sewing stretch fabrics.
- Establish the baseline. Fit fresh, approved needles and record the thread type, thread weight, foot, stitch length and differential setting. Use equivalent conditions for each candidate, while keeping each machine's needle system compatible.
- Sew the fabric set. Try lightweight jersey, sweatshirt fleece, ribbing and elastic. Fold a realistic hem and include a seam crossing; a flat strip alone won't show how the machine handles changing thickness.
- Record the intervention. Note skipped stitches, tension or pressure adjustments, and needle changes. Record what was changed before the seam became clean.
- Rethread from an unthreaded start. Time the complete process, including needle threading and the first clean sample. Check whether the tools and instructions are clear enough for the intended owner.
- Check recovery. If a stitch skips, note how many attempts it takes to identify the cause and restore a clean seam. Don't damage a needle or disturb mechanical settings to create a fault.
A clean sample is only part of the result. The more revealing test is whether the sewist can reproduce it after rethreading and return to sewing without lengthy troubleshooting. Setup time, recovery time and confidence after a break all affect ownership friction.
For some sewists, a slower machine with readable controls and accessible thread paths is a better fit than one with a longer feature list. Match the test fabrics to planned projects, especially the knits and seam crossings most likely to challenge the setup.
Coverstitch Machine or Upgraded Serger
Choose between a dedicated coverstitch and a combination serger by counting conversions across a typical project, not by comparing feature lists alone. A dedicated setup keeps the serger ready for construction and the coverstitch machine ready for hems. A combination machine saves workspace, but its coverstitch capability and conversion steps vary by model.
| Factor | Dedicated coverstitch | Serger with coverstitch function |
|---|---|---|
| Seaming and edge finishing | Requires a separate serger | Handled by one machine |
| Switching from seaming to hemming | Move to the second machine | Convert the machine; check the process on each model |
| Workspace footprint | Space for two machines | Space for one machine |
| Repeated knit hems | Stays set up for hemming | Can stay in coverstitch mode for a batch |
| Occasional knit projects | Space may be hard to justify | A good fit if conversion is manageable |
A combination machine needs converting when you return to overlocking, not between each hem in a batch. The difference matters most when a project alternates frequently between construction and finishing.
Conversion may involve needle placement, thread paths, feet, or other components, depending on the model. Before buying, check the complete switch in both directions and account for the tools, accessories, thread cones, and removed parts you'll need to store.
Count the changes in a typical T-shirt project. If each conversion interrupts the work, a second machine may be worth the extra footprint. If knit garments are occasional, or space is limited, a combination machine can make better use of the sewing area.
Confirm coverstitch capability before assuming a serger offers it. B-Sew Inn sells serger and coverstitch machines, including combination sergers. Its serger buying guide can help you assess the serger's role in your sewing setup.
Frequent, separate hemming tasks favor a dedicated coverstitch station. Occasional knit sewing favors a combination machine if its conversion process fits your workflow; mostly construction favors a serger chosen for its seaming performance.
Choosing a Coverstitch Machine by Sewing Profile
The best coverstitch machine is the one that suits the fabrics and workflow it will handle reliably. Start with the sewist's regular projects, then weigh threading, feed adjustment and speed control before decorative options.
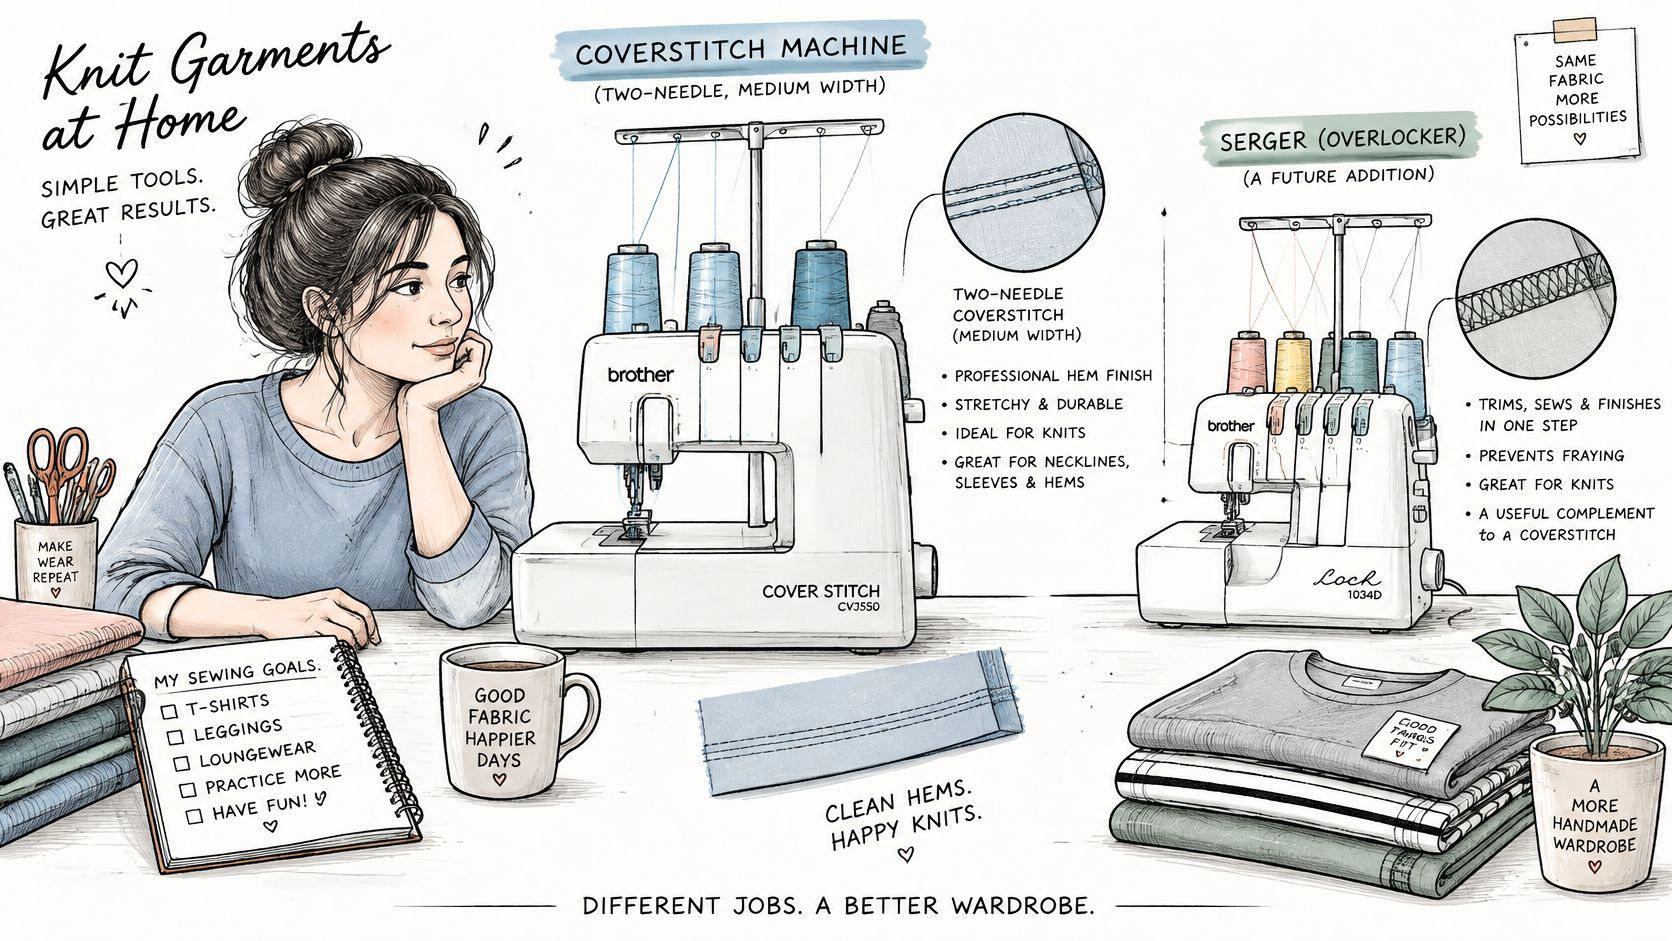
The occasional home garment maker
Verdict: Look for straightforward hemming and threading that is easy to follow. A medium-width, parallel-row finish handles common knit-garment hems without making decorative options the priority.
Use lightweight T-shirt jersey to assess the finish. For this sewist, threading assistance can settle the choice, but test it by rethreading the machine rather than relying on a feature label. If construction seams are also a challenge with the current equipment, a serger may address the more immediate need.
The experienced knit sewist
Regular knit sewing can justify a dedicated coverstitch machine. Selectable needle arrangements allow both restrained hems and more visible decorative finishes within the same workflow.
Medium rib knit reveals how well the fabric feeds and recovers after stitching. Fine differential-feed adjustment is a strong deciding factor, especially when paired with pressure control that is practical to adjust.
Stitch width shapes the seam's appearance. Feed control affects how the seam behaves on the chosen fabric.
The small apparel maker or sewing teacher
Repeatable setup and consistent fabric transport matter across frequent production or instruction. A small apparel maker should evaluate a production fabric at a seam crossing. For a teacher, controls that are easy to explain and restore after adjustments can make lessons more straightforward.
Usable speed control matters more than maximum speed alone. It lets the operator approach a difficult transition deliberately, then maintain a comfortable pace along a longer hem.
Service access also belongs in the ownership decision. A pre-owned machine may fit the budget, but confirm its condition, included equipment and suitability for the intended work.
The quilter or embroiderer
For a quilter or embroiderer, a coverstitch earns a place when garment hems or a specific decorative technique are part of the planned work. Otherwise, the relevant priorities are the sewing, embroidery or edge-finishing tasks the hobby already involves.
Choose a test fabric from the crossover project, such as jersey for a garment that will receive embellishment. The deciding question is whether the machine provides the stitch capability that project requires. Without a regular coverstitch task, another machine category may better serve the workflow.
Test Coverstitch Machines Before You Buy
A machine's fastest stitch rate says little about how readily you can thread it, adjust it, or get a clean hem on your fabric. Before choosing, check whether the needle area is easy to reach, the thread paths are visible, and the garment can be removed without pulling the stitches out of shape. Try the ordinary handling, not just a finished sample.
Make the visit useful
Bring the knit you plan to sew, a folded hem and a bulky seam. Explain what you need the machine to handle, then compare available models on the same task.
- Demonstration: Sew a practical sample and check the underside as well as the top.
- Learning support: Ask about available classes and Machine & Software Tutorials for threading, tension and routine operation.
- Ongoing care: Ask what service support is available for the machine you are considering.
B-Sew Inn offers sewing, serger and coverstitch machines, as well as Machine & Software Tutorials. Its sewing-machine recommendations can help keep the purchase aligned with your broader sewing plans.
Decide after you have operated the controls and made a repeatable sample. A machine that suits your fabric and workflow, and that you can set up reliably, is a better fit than one chosen for a feature you rarely use.

