

What do home embroiderers want finished before December, a pile of pretty previews or gifts and decor that stitch cleanly the first time? The difference usually isn't the artwork. It's whether the file format, hoop size, stabilizer, and thread suit the fabric in front of the machine.
These seven categories of machine embroidery Xmas designs are organized by outcome, from ornaments and linens to stockings and wall hangings. Each one pairs the look with the hooping and support choices that prevent puckering, gaps, and wasted blanks. Readers curious about how stitched marks work more broadly can start with understanding embroidered branding, then apply the same care to placement and density at home.
Table of Contents
- 1. Classic Holiday Motif Collections (Trees, Stars, Wreaths and Bells)
- 2. Christmas Ornament and In-the-Hoop Project Sets
- 3. Snowflake and Winter Lace-Style Designs
- 4. Santa, Reindeer and Holiday Character Designs for Kids' Projects
- 5. Christmas Table Linen and Tea Towel Designs
- 6. Christmas Stocking and Monogram-Ready Designs
- 7. Multi-Hoop Christmas Scenes and Village Designs
- 7 Machine Embroidery Xmas Designs at a Glance
- Start Your Holiday Stitching Today
1. Classic Holiday Motif Collections (Trees, Stars, Wreaths and Bells)
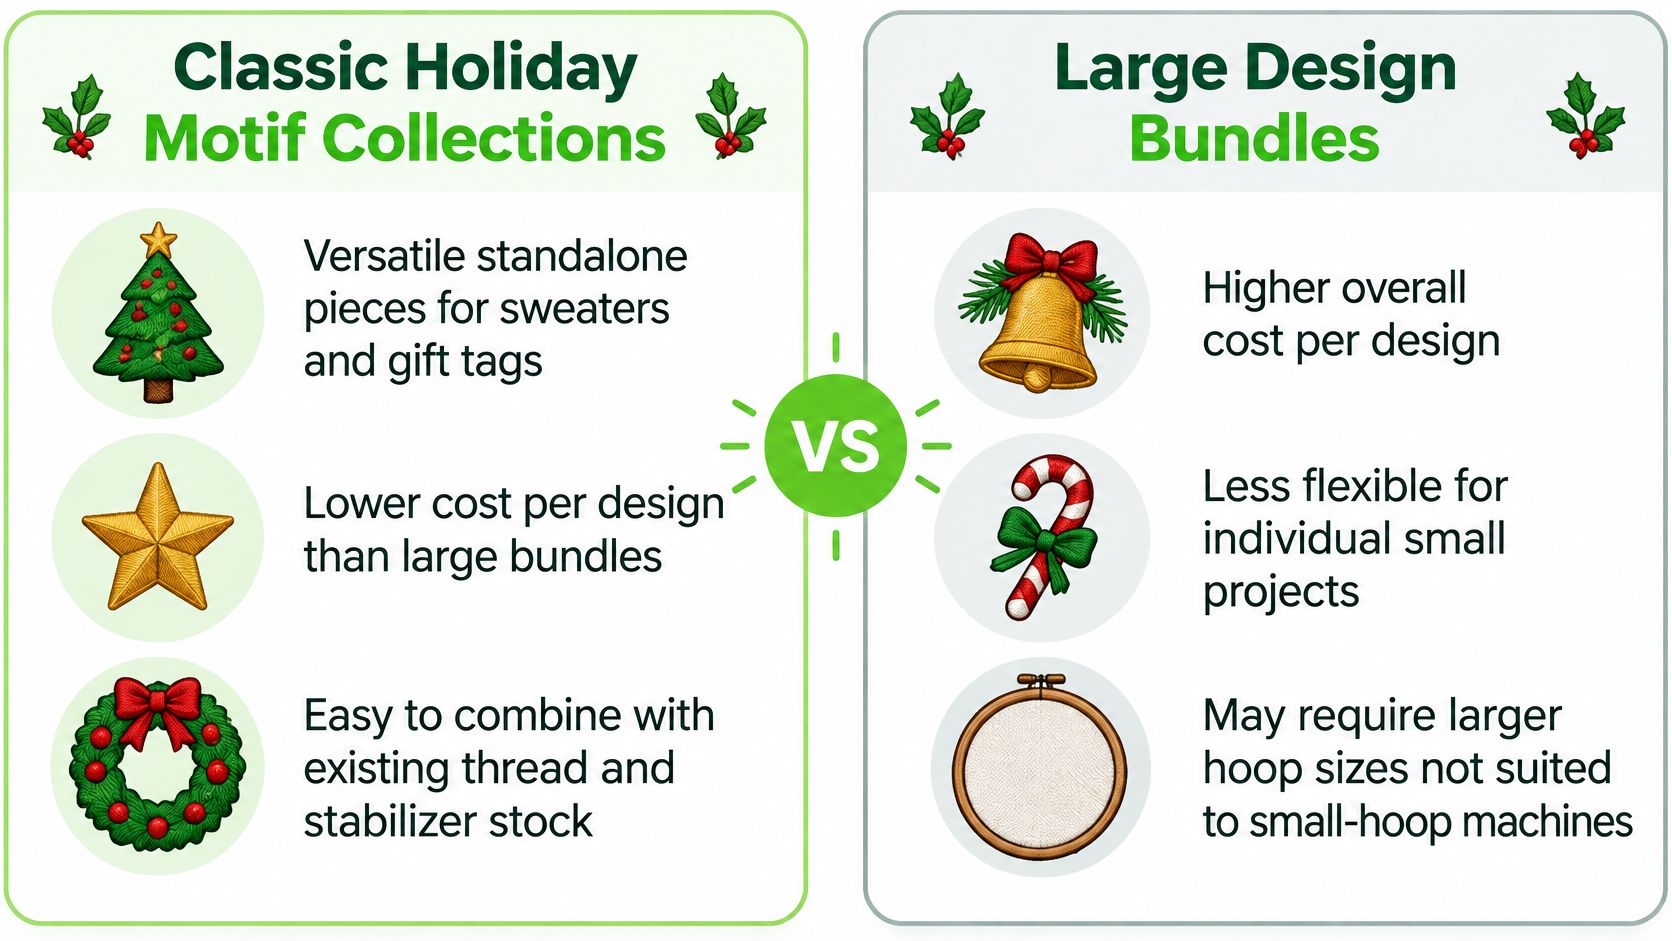
Single motifs earn their keep because one tree, star, wreath, bell, or candy cane can move from a sweater to a tote, table runner, or gift tag without resizing a whole scene. That familiar vocabulary has deep roots. The Orillia Museum account of Christmas ornaments traces decorated trees to Germany and notes trees brought indoors were decorated with candles and paper roses by the early 1600s, long before factory ornaments standardized the symbols stitchers still use.
A row of small stars and trees down a linen runner shows the strength of the format. Spacing can change, colors can repeat, and one failed motif doesn't ruin a large composition. Small wreaths on gift tags work the same way and use fabric scraps that would otherwise be discarded.
Choosing a Set That Fits the Machine
Check PES, DST, JEF, EXP, or the format the machine requires before buying, then test stitch one motif at final size. A dedicated machine such as the Baby Lock Meridian 2 Embroidery Machine, with a 9.5" x 14" embroidery field, WiFi connectivity, and hundreds of built in designs, gives room to arrange several motifs in one hooping. Smaller machines can still stitch the same library one placement at a time.
2. Christmas Ornament and In-the-Hoop Project Sets
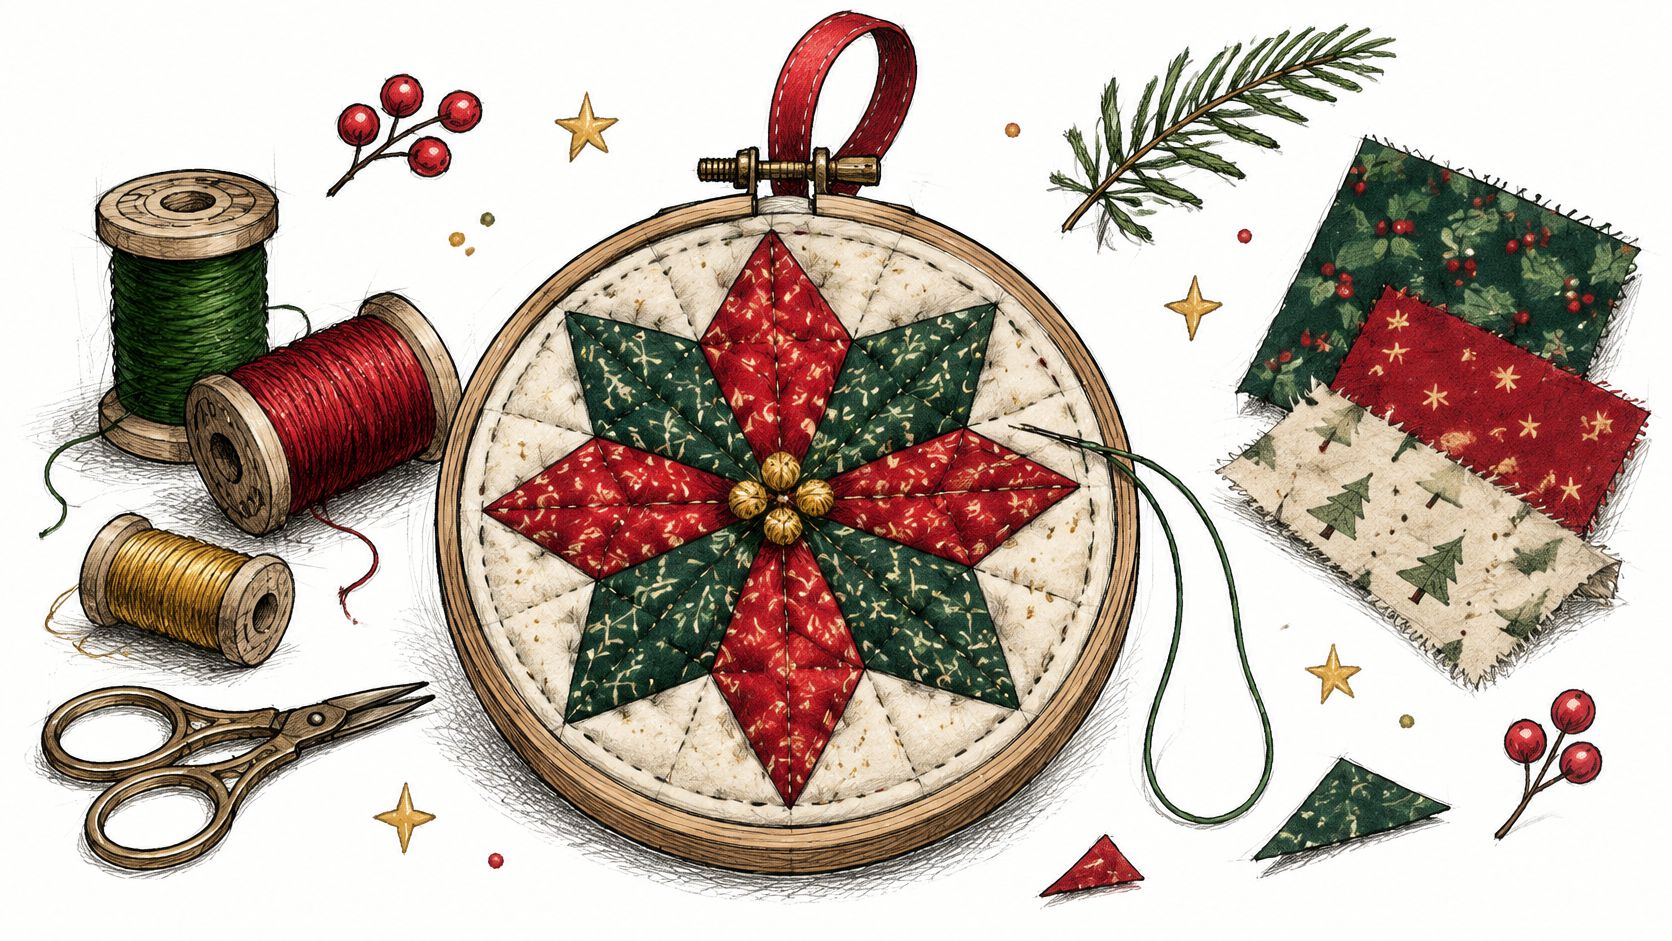
In-the-hoop, or ITH, ornament sets build most or all of a finished piece inside the hoop. Placement lines, tackdown stitches, decorative stitching, backing, and final seams arrive in sequence, leaving mainly trimming, turning, light stuffing, and a hanging loop. They need little fabric and teach hooping discipline fast because misalignment shows immediately.
Say a quilted fabric ornament is stitched, backed, and lightly stuffed in one session. A small holiday pouch built the same way can hold a gift card and hang on the tree afterward. Those who also want to find custom ornaments for Christmas gifting can compare a handmade set against ready made pieces, but ITH versions let fabric and thread match the recipient's decor.
Practical rule: the stated project size isn't enough. The finished ITH file, including seam allowances and placement steps, must fit inside the usable sewing field.
The MaggieFrames Christmas embroidery guide lists common design formats for 4 x 4, 5 x 7, 6 x 10, 8 x 8, and 12 x 12-inch hoops, with 4 x 4 suited to compact ornaments. Confirm the exact hoop, use the stabilizer weight in the design notes, and keep spare bobbin thread ready for uninterrupted backs.
The fabric scrap star ornament project offers another scrap friendly route. In person classes at B-Sew Inn locations can help beginners practice hooping and finishing before committing good fabric.
3. Snowflake and Winter Lace-Style Designs
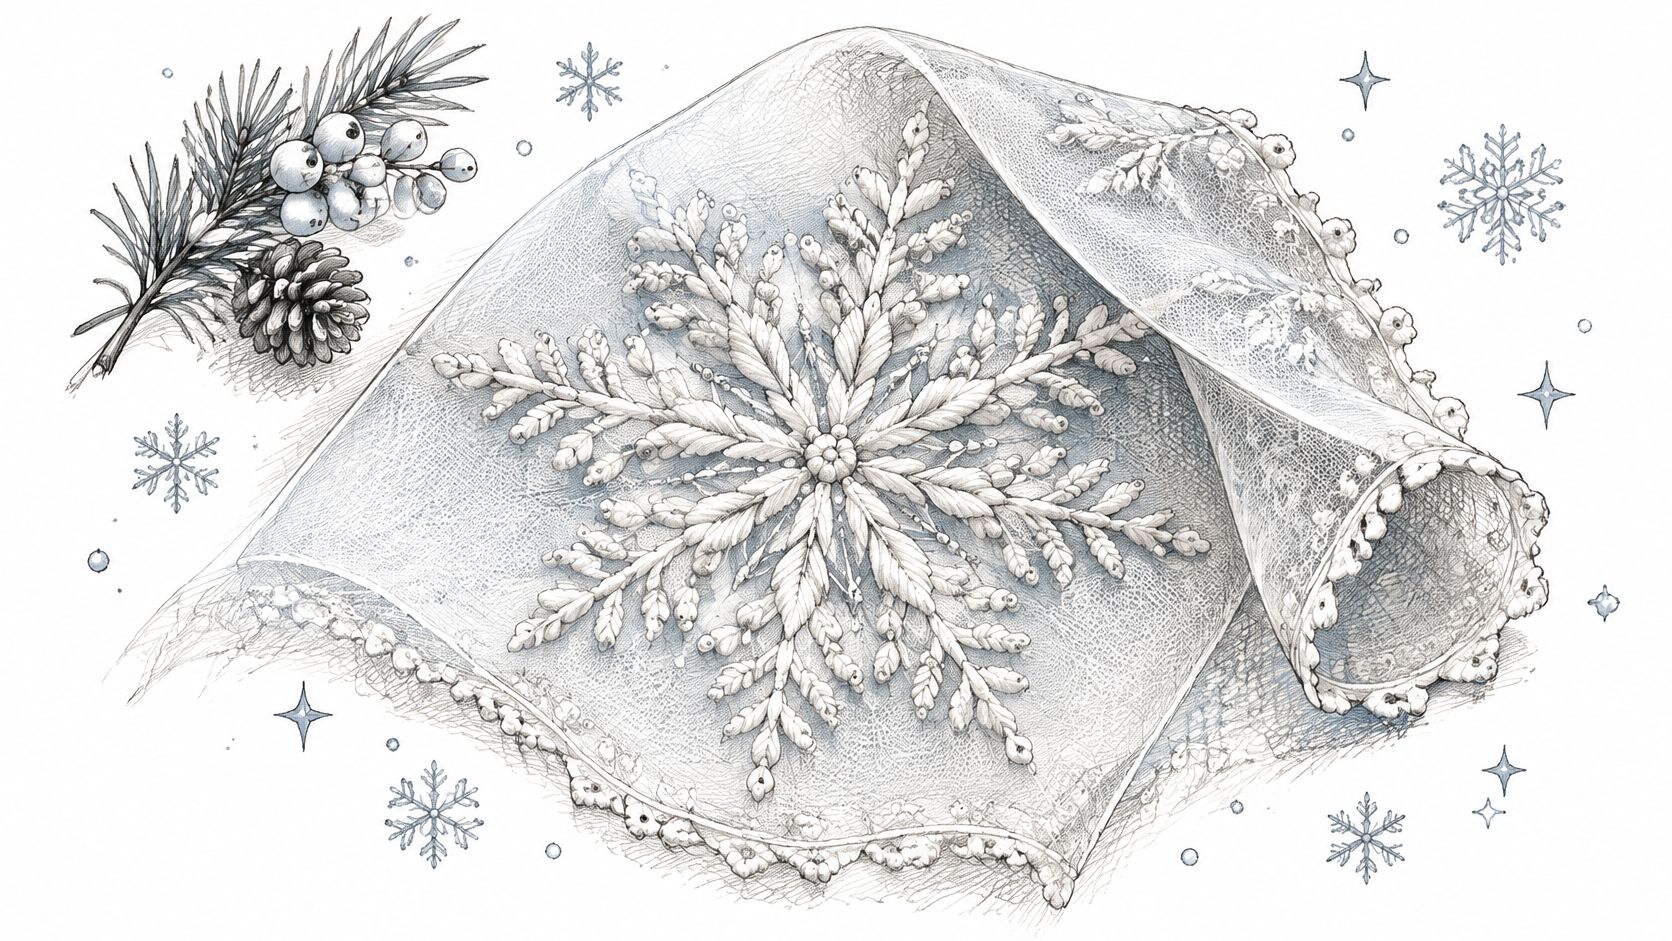
Snowflakes and winter lace depend on clean thread bridges, sharp points, and a tidy reverse. Freestanding lace is less forgiving than a filled motif because stabilizer removal can expose weak connections or distorted edges. Choose a design digitized for lace and check that its stitch count and finished size suit the project and hoop.
The Lace Museum's Twelve Days of Christmas exhibit documents a vintage ornament with white Schiffli machine embroidery and padded rose motifs on transparent organza, alongside an angel made with modern machine lace. For snowflake ornaments, sheer fabric and dimensional thread create a similar light effect, best suited to display rather than garment wear.
Sheers, Stabilizer, and Needles
- Freestanding lace: Use wash-away stabilizer and matching bobbin thread so both faces look finished. Rinse away the stabilizer as directed, then let the lace dry flat to help preserve its shape.
- Organza window ornaments: Hoop the sheer smoothly without stretching it. Test the design on a scrap first, since fine fabric can pucker under dense stitching.
- Napkin borders: Tear-away or wash-away support can work on stable cotton. Match the stabilizer to the design density and remove it carefully around the stitched edge.
The guide to using water-soluble stabilizer for embroidery explains the difference between film and fibrous products. For fine thread, choose a smaller needle and slow the machine if points begin to fray. B-Sew Inn's in-person classes and machine tutorials let stitchers test thread and needle combinations before buying.
4. Santa, Reindeer and Holiday Character Designs for Kids' Projects
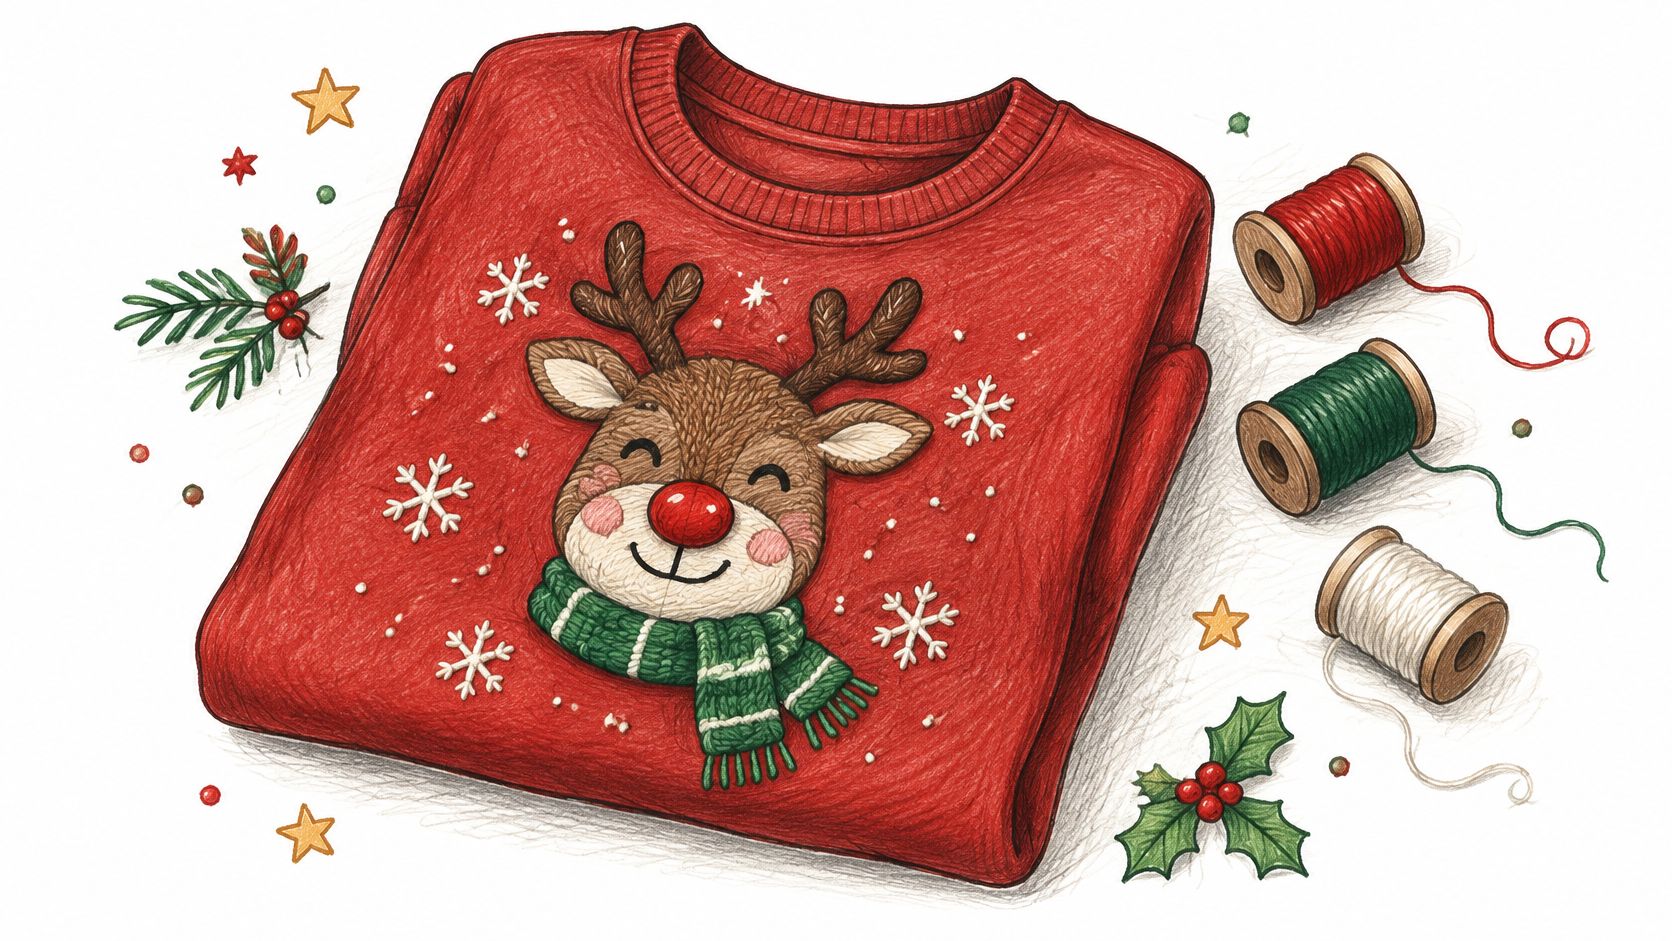
A reindeer on a child's sweatshirt looks simple until antlers, eyes, scarf, and lettering each demand a color stop. Character collections featuring Santa, elves, reindeer, and snowmen suit clothing, stockings, bibs, and pillows, but they reward orderly thread management. Print the color sequence and keep it beside the machine, because converted files don't always preserve the preview colors perfectly.
The preview image also hides the engineering. The DAX beginner embroidery guide explains that a digitizer sets stitch types, direction, density, underlay, sewing order, trims, and color changes before exporting a machine readable format such as DST. Two snowmen with identical outlines can therefore sew very differently, especially on knits.
For a sweatshirt, use cut away stabilizer that stays behind the design through washing, and consider a soft fusible backing against skin. Hoop the stabilizer and garment without stretching the knit, or float the garment over hooped stabilizer with temporary adhesive. On a pillow cover, firmer woven fabric tolerates denser fills and makes registration easier.
An in person class on garment hooping and color changes can save several blanks. The trade off is clear. Filled characters give bold color, while outlined redwork styles stitch faster, feel softer, and distort lightweight clothing less.
5. Christmas Table Linen and Tea Towel Designs
Flat goods expose crooked placement more than any other project. A border that's slightly off grain on a runner will announce itself at the table, even when the stitching itself is perfect. Mark centerlines and repeat spacing with a removable pen, align them with hoop markings, and baste or use a placement template for matched sets.
Stabilizer choice should follow stitch load, not habit. The HC Quilts machine embroidery guide recommends light to medium weight stabilizer for designs under 5,000 stitches, medium to heavy weight from 5,000 to 15,000 stitches, and heavy to extra heavy support above 15,000 stitches. Stable woven cotton often pairs with tear away, while a loose weave towel may need a topping so stitches don't sink into loops.
Building a Coordinated Set
Stitch one runner and napkin test before producing eight pieces. Record thread colors, hoop position, and stabilizer on a project card so later pieces match. Hosts comparing finished pieces with cocktail napkin options for hosts will notice that embroidered sets can be matched exactly to dishes and table linens already owned.
The applique tea towel tutorial shows how applique reduces dense fill while adding patterned fabric. That's a practical compromise for towels, which need to stay flexible and wash well.
6. Christmas Stocking and Monogram-Ready Designs
Personalized stockings fail for a predictable reason. The name is technically inside the hoop, but it's forced into a frame that's too narrow, making satin stitch lettering dense, lumpy, and prone to puckering. Check the maximum name length and test the longest name first, not the shortest.
Density numbers explain the risk. The TextileTuts embroidery construction reference identifies 0.4 to 0.6 mm spacing for satin stitches using 40 weight thread and 0.5 to 0.8 mm for tatami or fill areas, noting spacing tighter than 0.4 mm can crowd needle penetrations. Shrinking lettering in software without recalculating density creates exactly that crowding.
Small doesn't mean beginner friendly. Tiny monograms concentrate stitches into a small area, so registration and density matter more than total stitch count.
Embroider the stocking cuff flat before assembly whenever possible. Completed stockings can be hooped with difficulty, and thick seams deflect needles. For a tote, center a monogram inside a wreath and test on scrap canvas with the same stabilizer stack.
The guide to monogramming with a sewing machine covers layout basics. Embroidery software helps preview names above or below a reindeer, tree, or wreath, and spelling should be checked on screen and again on the printed template.
7. Multi-Hoop Christmas Scenes and Village Designs
A village, winter scene, or nativity stitched across multiple hoopings can become a wall hanging larger than the machine's embroidery field. The challenge is keeping adjoining sections aligned: small shifts in fabric position can leave rooflines and paths visibly out of register.
For a three-hooping scene, mark the alignment points before stitching and use a water-soluble pen. Leave enough fabric around the design to rehoop comfortably. Keep the fabric evenly supported rather than pulling it drum-tight, which can distort the finished piece.
For standard 40-weight thread on stable, medium-weight fabric, a 75/11 embroidery needle is a useful starting point. Reassess the needle choice for heavier thread, delicate fabric, or several stabilizer layers.
Check your machine's maximum hoop size with this embroidery hoop size guide before choosing a design. B-Sew Inn's machine and software tutorials can help owners practice positioning, rehooping, and recovery after a misaligned section. Quilt blocks make a practical first project because seam allowances can absorb small placement differences.
7 Machine Embroidery Xmas Designs at a Glance
| Design Type | Best Project | Skill Level | Stabilizer Consideration |
|---|---|---|---|
| Classic holiday motifs | Table runners and gift tags | Beginner-friendly | Test the motif with your fabric and stabilizer |
| In-the-hoop ornament sets | Quilted ornaments and small gift pouches | Beginner to intermediate | Follow the design's recommended stabilizer weight |
| Snowflake and winter lace designs | Sheer window ornaments and napkin borders | Intermediate | Use water-soluble or tear-away stabilizer for sheer fabrics |
| Holiday character designs | Children's sweatshirts and pillows | Intermediate | Choose stabilizer suited to the garment fabric, especially knits |
| Table linen and tea towel designs | Coordinated runners, napkins, and tea towels | Beginner-friendly | Use fabric-friendly stabilizer and test-stitch first |
| Stocking and monogram-ready designs | Personalized stockings and monogrammed totes | Intermediate | Test lettering density on scrap fabric to prevent puckering |
| Multi-hoop Christmas scenes | Holiday wall hangings and quilt blocks | Advanced | Mark alignment carefully for each hooping |
Start Your Holiday Stitching Today
Which finished project will earn a place in your holiday plans: a batch of ornaments, a personalized stocking, or a table runner? Start with the object, then choose a design that fits its fabric and hoop. For larger scenes, allow time for careful rehooping; for lettering, test the finished size on a scrap before stitching the stocking.
A practical gift plan pairs a repeatable project with one personalized piece. Batch tea towels or ornaments while the thread colors are loaded, then give the stocking or monogrammed tote its own setup. Stitch a sample at the final size and note the needle, stabilizer, and hoop position. Once the sample works, change only one setting at a time.
B-Sew Inn sells embroidery designs from OESD, Purely Gates, Kimberbell, and Floriani. Its Anita Goodesign Greatest Hits Christmas Edition book is $149.00 USD, and Baby Lock Palette 11 is available for embroidery design work. Resizing or arranging a design in software does not correct stitch density, so test edited files on the intended fabric.
Visit B-Sew Inn to see designs stitched, compare hoops and stabilizers, and try machines carried in store. Machine & Software Tutorials can help with setup and technique. Browse the embroidery designs and supplies, then choose a project you can finish and use this season.
Browse Christmas embroidery designs, thread, stabilizer, hoops, and Baby Lock machines and other equipment carried in store. Visit B-Sew Inn to explore designs, supplies, tutorials, and machines.

